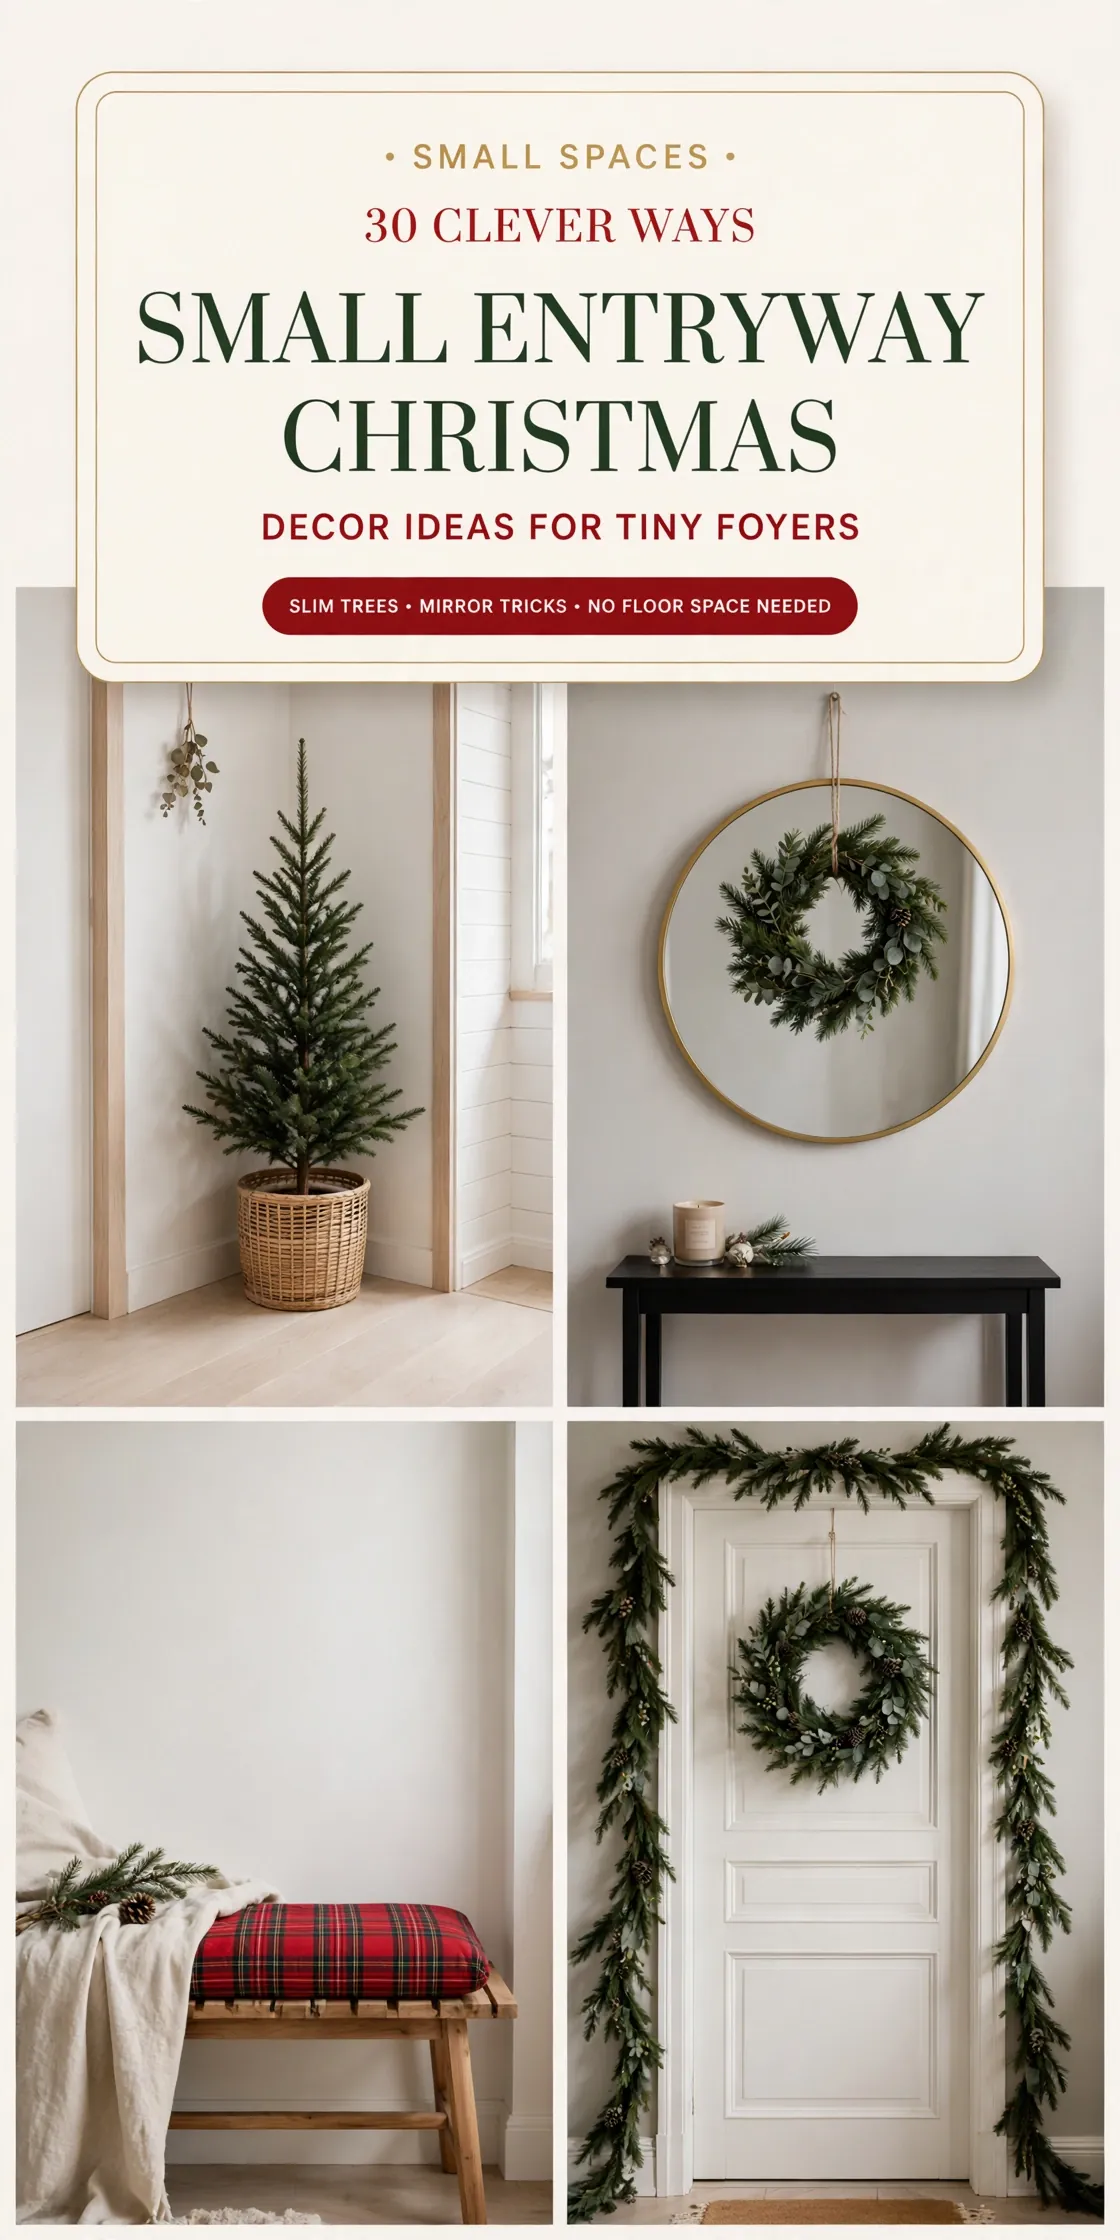


Every room has one: the corner where furniture goes to be forgotten. These corner christmas tree ideas claim that wasted triangle of floor and turn it into the spot everyone photographs. You will learn how to measure a corner properly, which tree shapes are built for corners, and how to decorate a tree nobody ever sees from the back. By the end, your corner christmas tree will look less like a compromise and more like the plan all along.
Quick Idea Summary
- The key takeaway: A corner is not leftover space, it is a stage with two built-in walls. The right tree shape (quarter, half, or a full tree styled front-only) fills it exactly, and the walls bounce light back into the room so a corner tree glows more than a tree in the open.
- The detail most people miss: You only decorate what the room can see. A tree in a corner shows about two-thirds of its surface, so front-only decorating cuts your ornament count by roughly a third and your decorating time by even more.
- What it costs or how long it takes: A corner tree setup runs $30 to $150 depending on the tree you choose, and most of these ideas take under an hour. Measuring the corner takes 5 minutes and saves you every other mistake.
At a glance
| Zone | Ideas | Budget |
|---|---|---|
| Choosing the right corner tree | 01–06 | $30–$150 |
| Decorating a tree that lives in a corner | 07–14 | $15–$60 |
| Bases, skirts, and the gift footprint | 15–19 | $10–$50 |
| Lighting the corner | 20–24 | $10–$45 |
| Corners, room by room | 25–30 | $15–$70 |
The corner christmas tree ideas
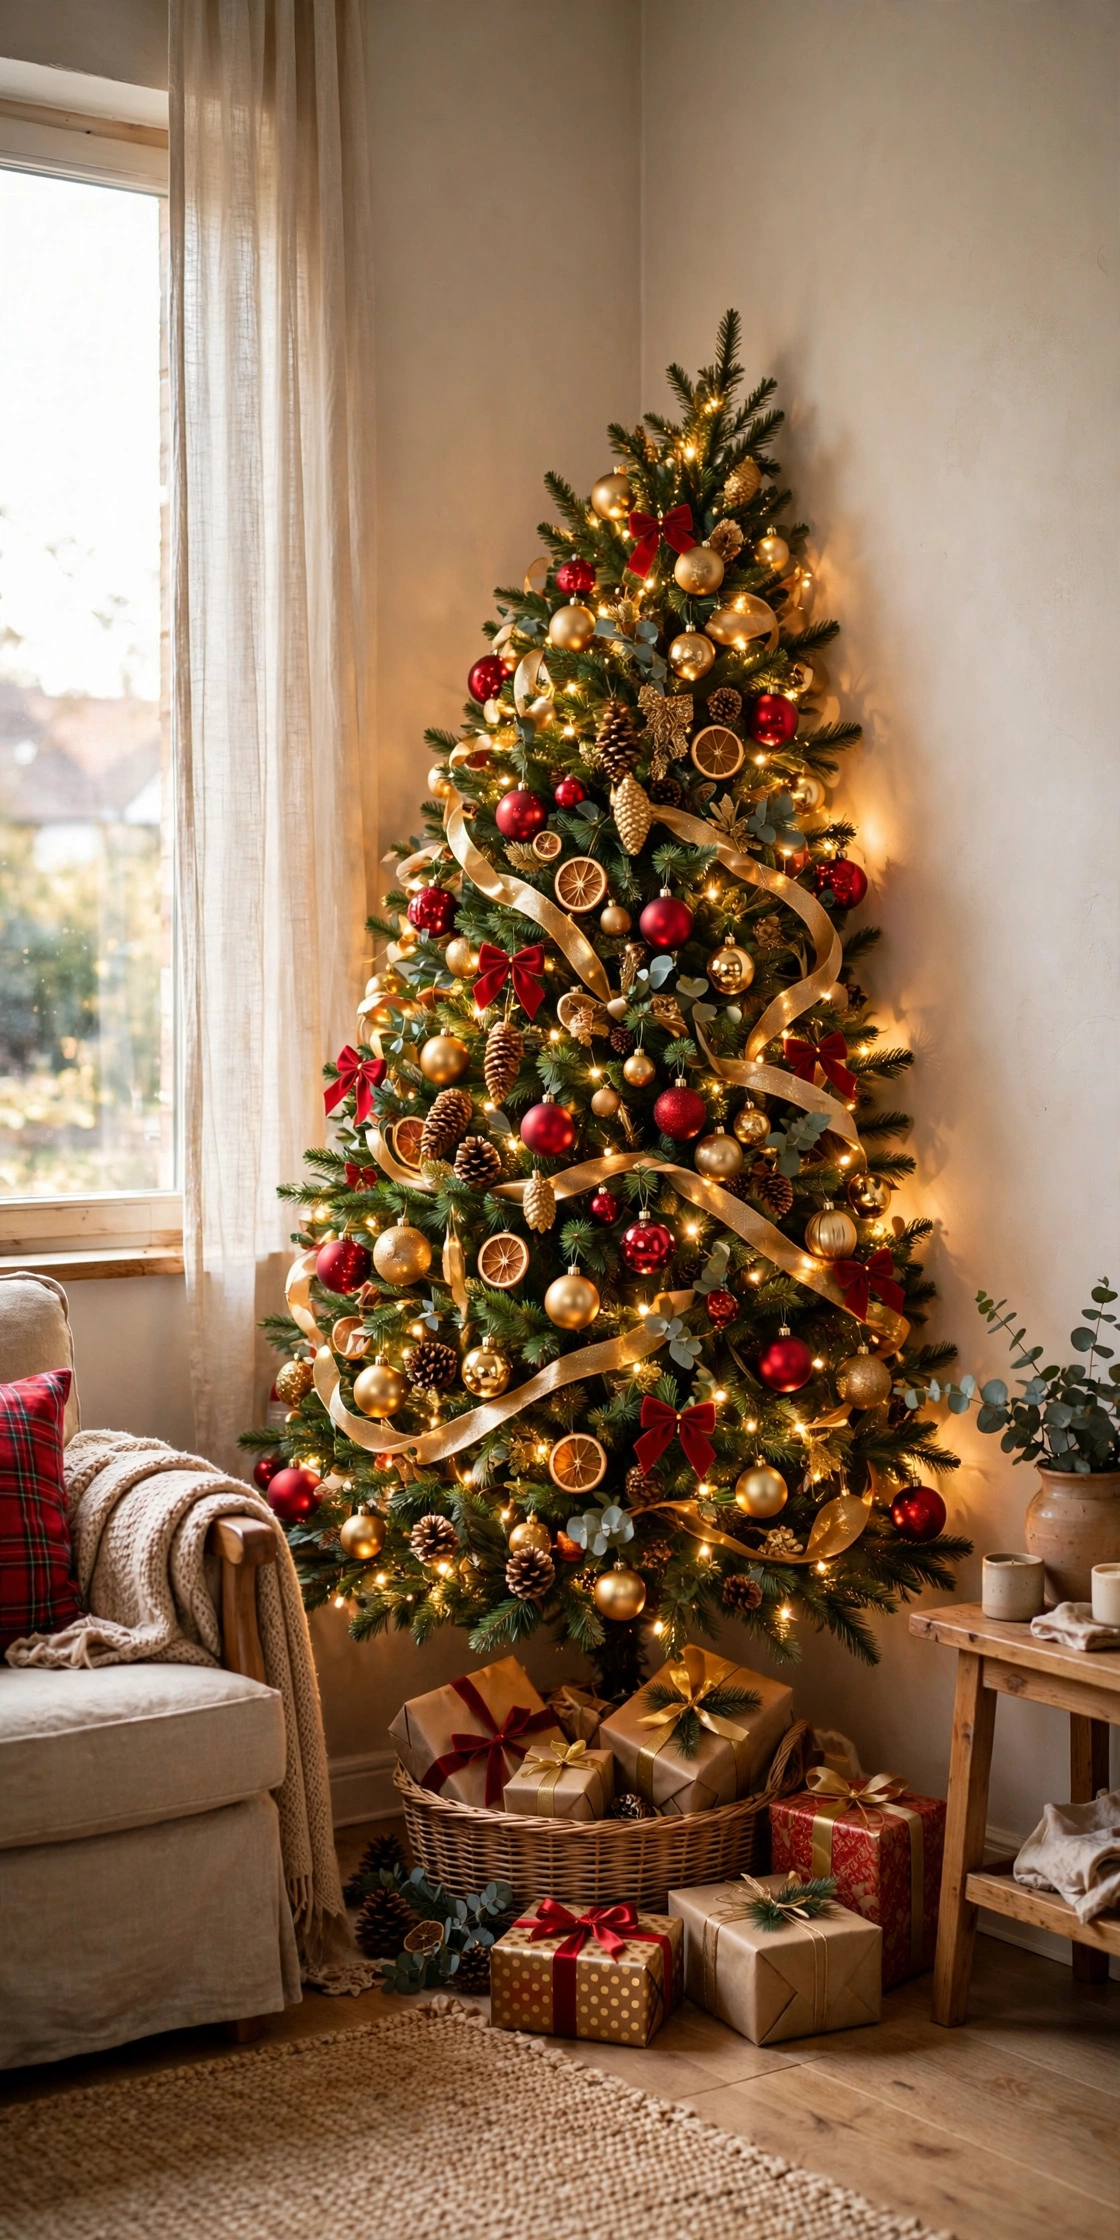
01
Start With a True Quarter Tree
A quarter tree is shaped like a slice of cake: two flat sides at a 90-degree angle and one curved front. It slides into a corner until both flat sides touch the walls, so it uses floor space no other furniture wants. A 7-foot quarter tree typically spans about 40 inches across the front but only reaches 24 inches into the room.
Try it: Measure your corner along both walls before ordering. The tree’s two straight edges should match those wall runs within an inch or two, or the gap will collect dust and look like a mistake.

02
The Half Tree for Corners and Tight Walls
A half tree, also sold as a flat-back tree, is a full tree sliced in half from top to bottom. Push the flat side into the corner or against the wall and you get a complete decorated front that projects only 20 to 24 inches into the room. Because the back half does not exist, you decorate with roughly half the ornaments of a full tree.
Try it: Anchor a half tree to the wall with a small eye hook and clear fishing line at two-thirds height. Half trees are front-heavy and tip toward the room if a cat or toddler leans in.
03
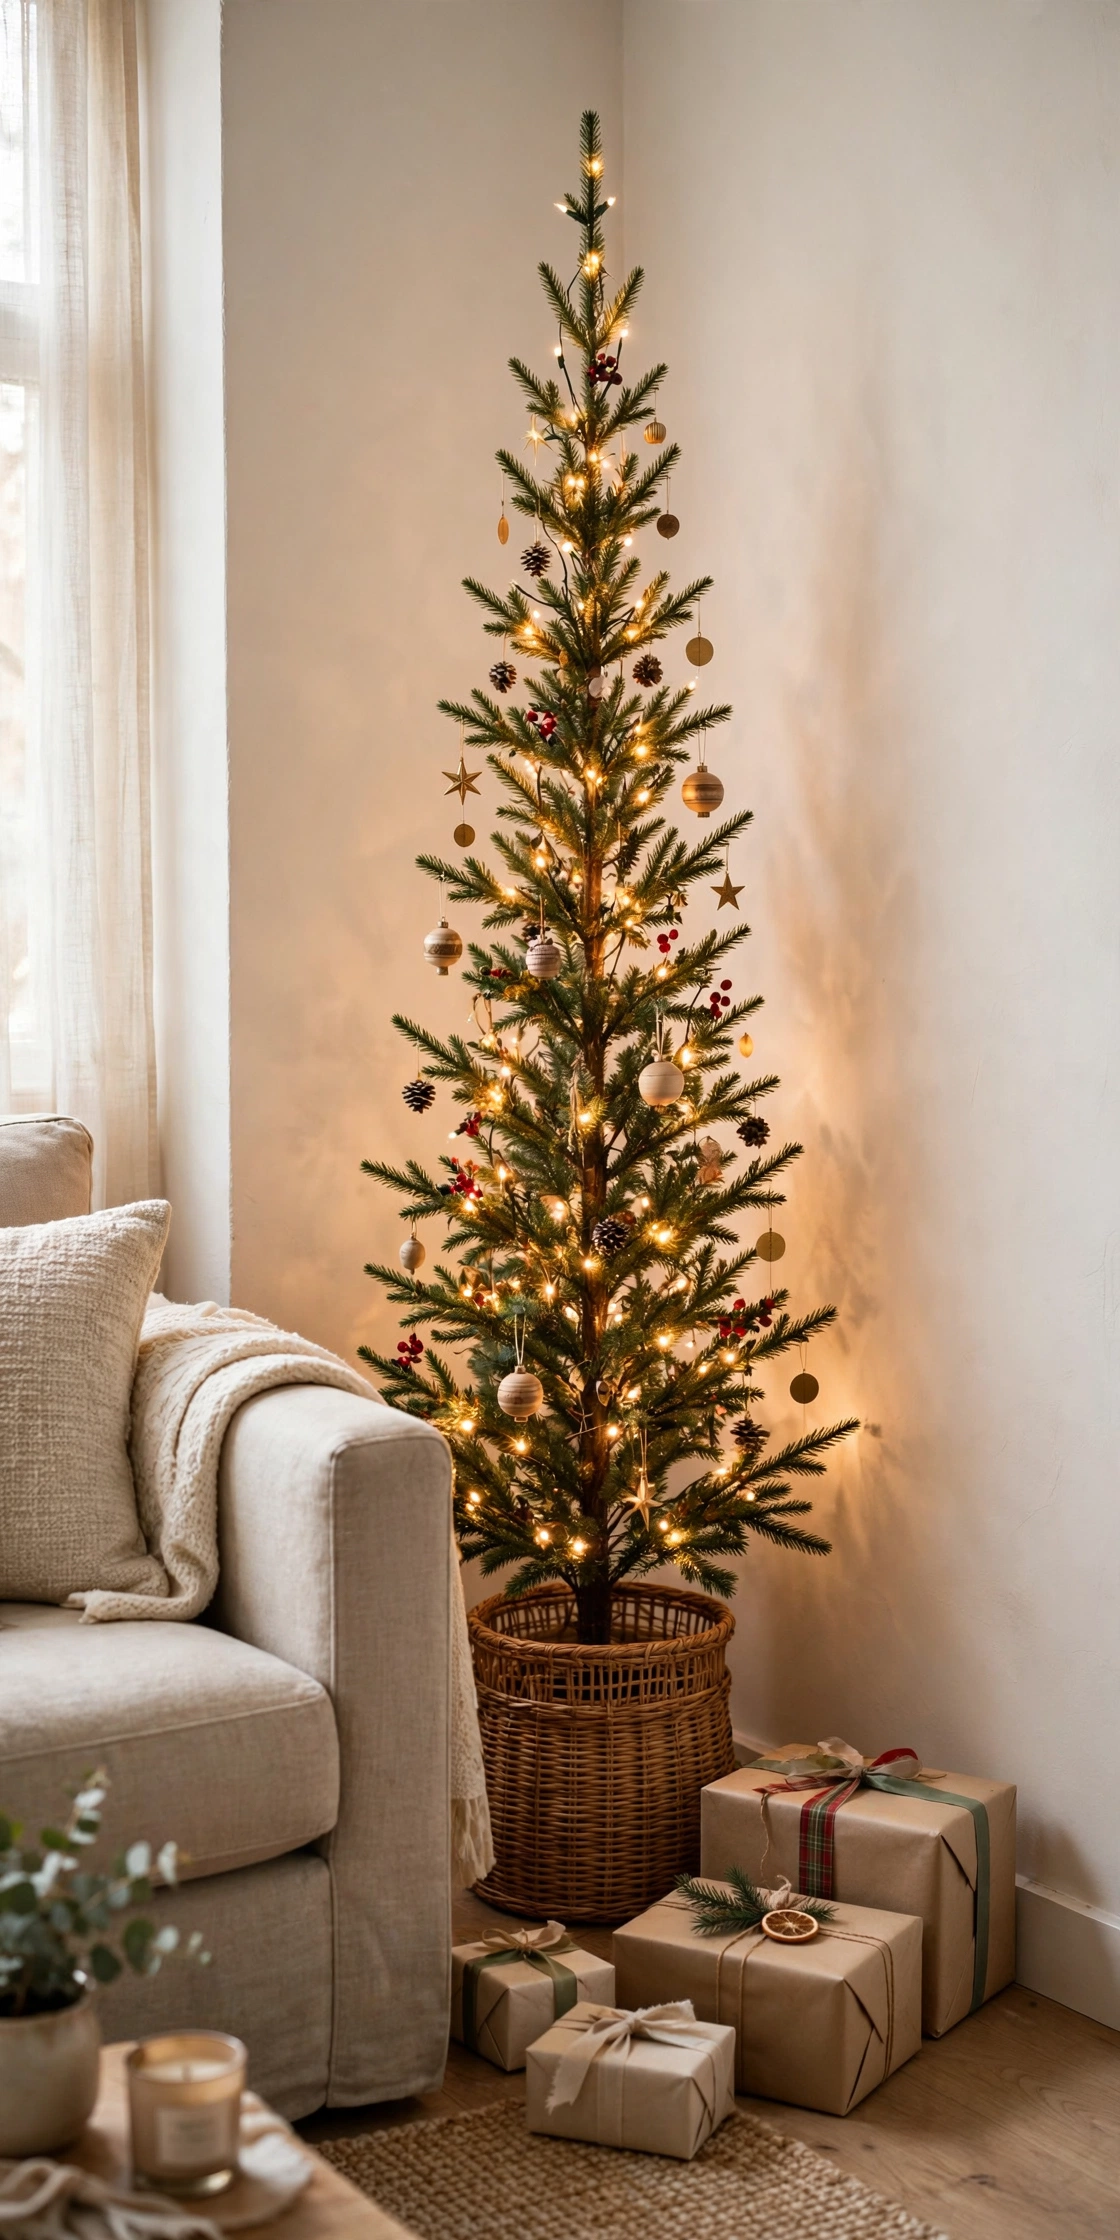
A Pencil Tree Where Nothing Else Fits
If your corner measures under 30 inches of usable width, a pencil tree is the honest answer. A 6 to 7.5-foot pencil tree is only 20 to 28 inches wide, so it threads between a sofa arm and a wall where even a slim tree would crowd. You still get full height, which is what makes a tree read as a tree.
Try it: Raise a pencil tree on a sturdy plant stand or crate hidden inside its collar. Six extra inches of height make a narrow tree look statuesque instead of skinny.
04
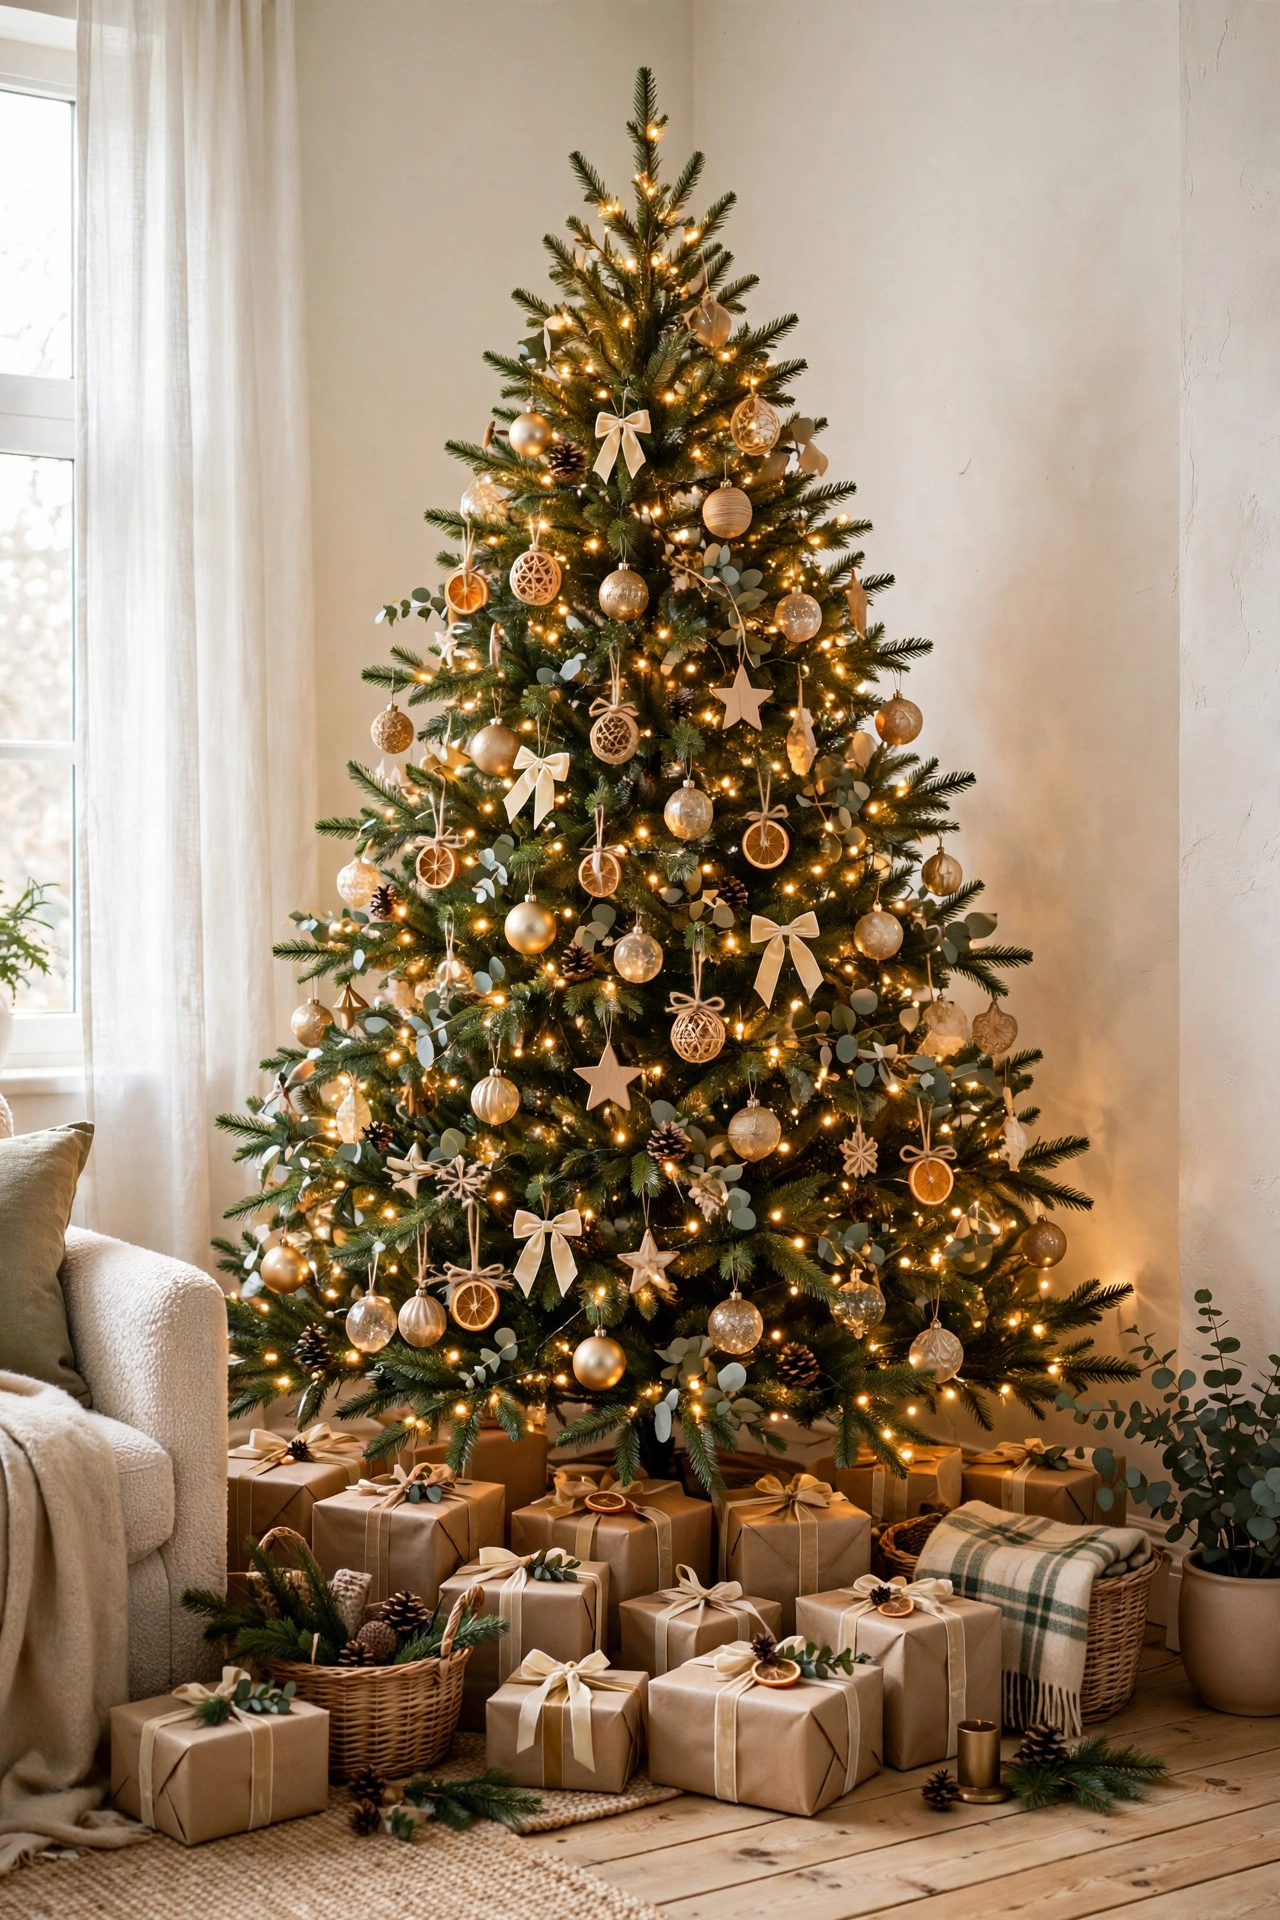
Use the Full Tree You Already Own
You do not need a special tree to use a corner. Take your regular full tree, rotate it slowly until its fullest, most even side faces the seating, and push it in until the back branches just kiss the walls. The corner hides the sparse back you never liked anyway.
Try it: Mark the good side with a ribbon tied at the trunk before you start decorating. Next year you will rotate straight to the good side in seconds instead of spinning the tree for ten minutes.
05
Measure the Corner Before You Buy Anything
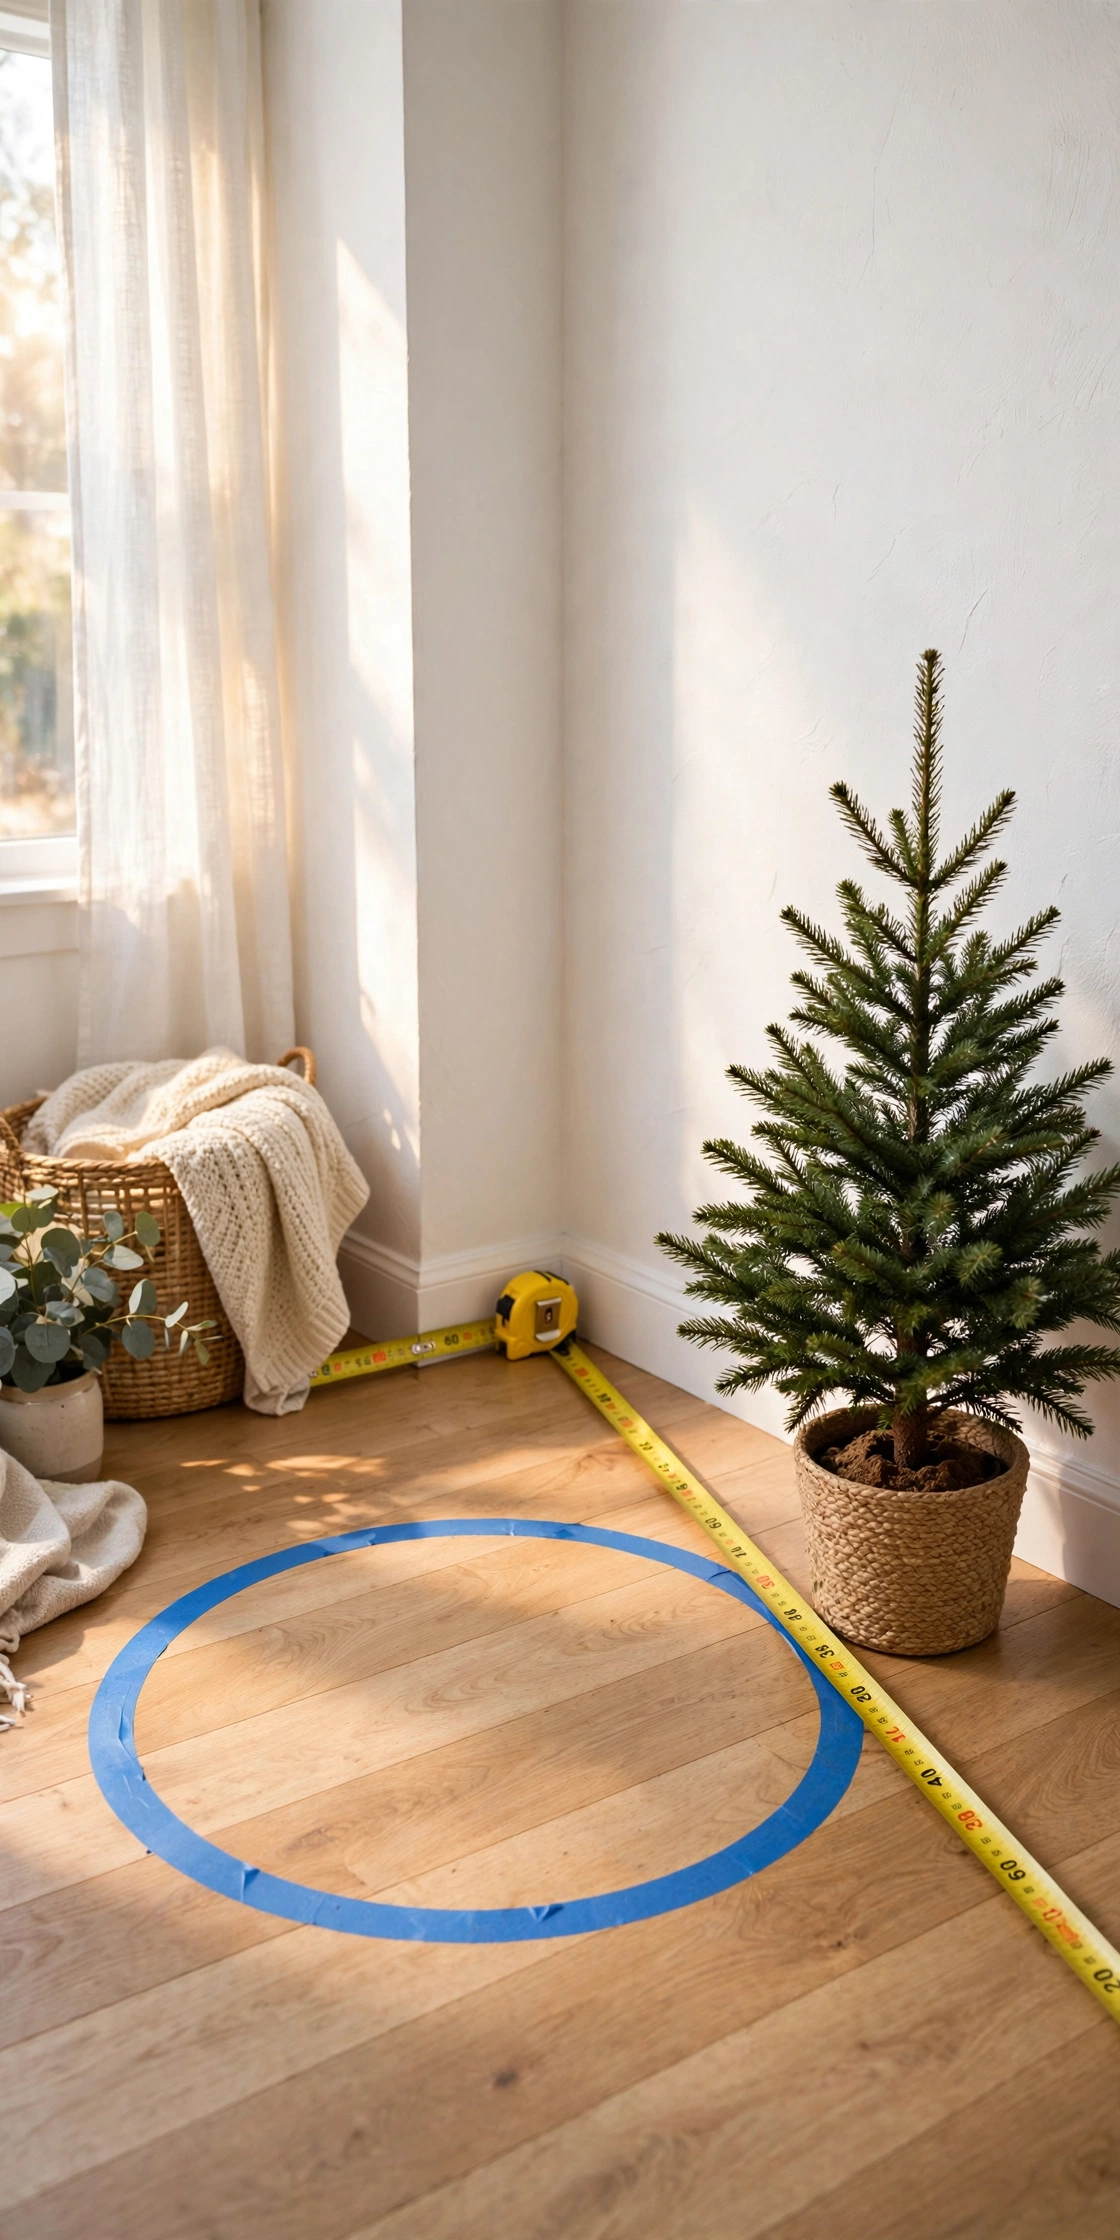
Five minutes with a tape measure prevents the classic December return. Measure three things: the distance each way along the walls from the corner, the depth from the corner point straight out into the room, and the ceiling height at that spot, since sloped ceilings and bulkheads steal inches. Leave 6 to 12 inches between the topper and the ceiling.
Try it: Mark the tree’s footprint on the floor with painter’s tape and live with it for a day. If you keep stepping over the tape line, the tree is too wide for that corner, no matter what the box promised.
06
Shrink a Too-Wide Tree With the Branch Trick
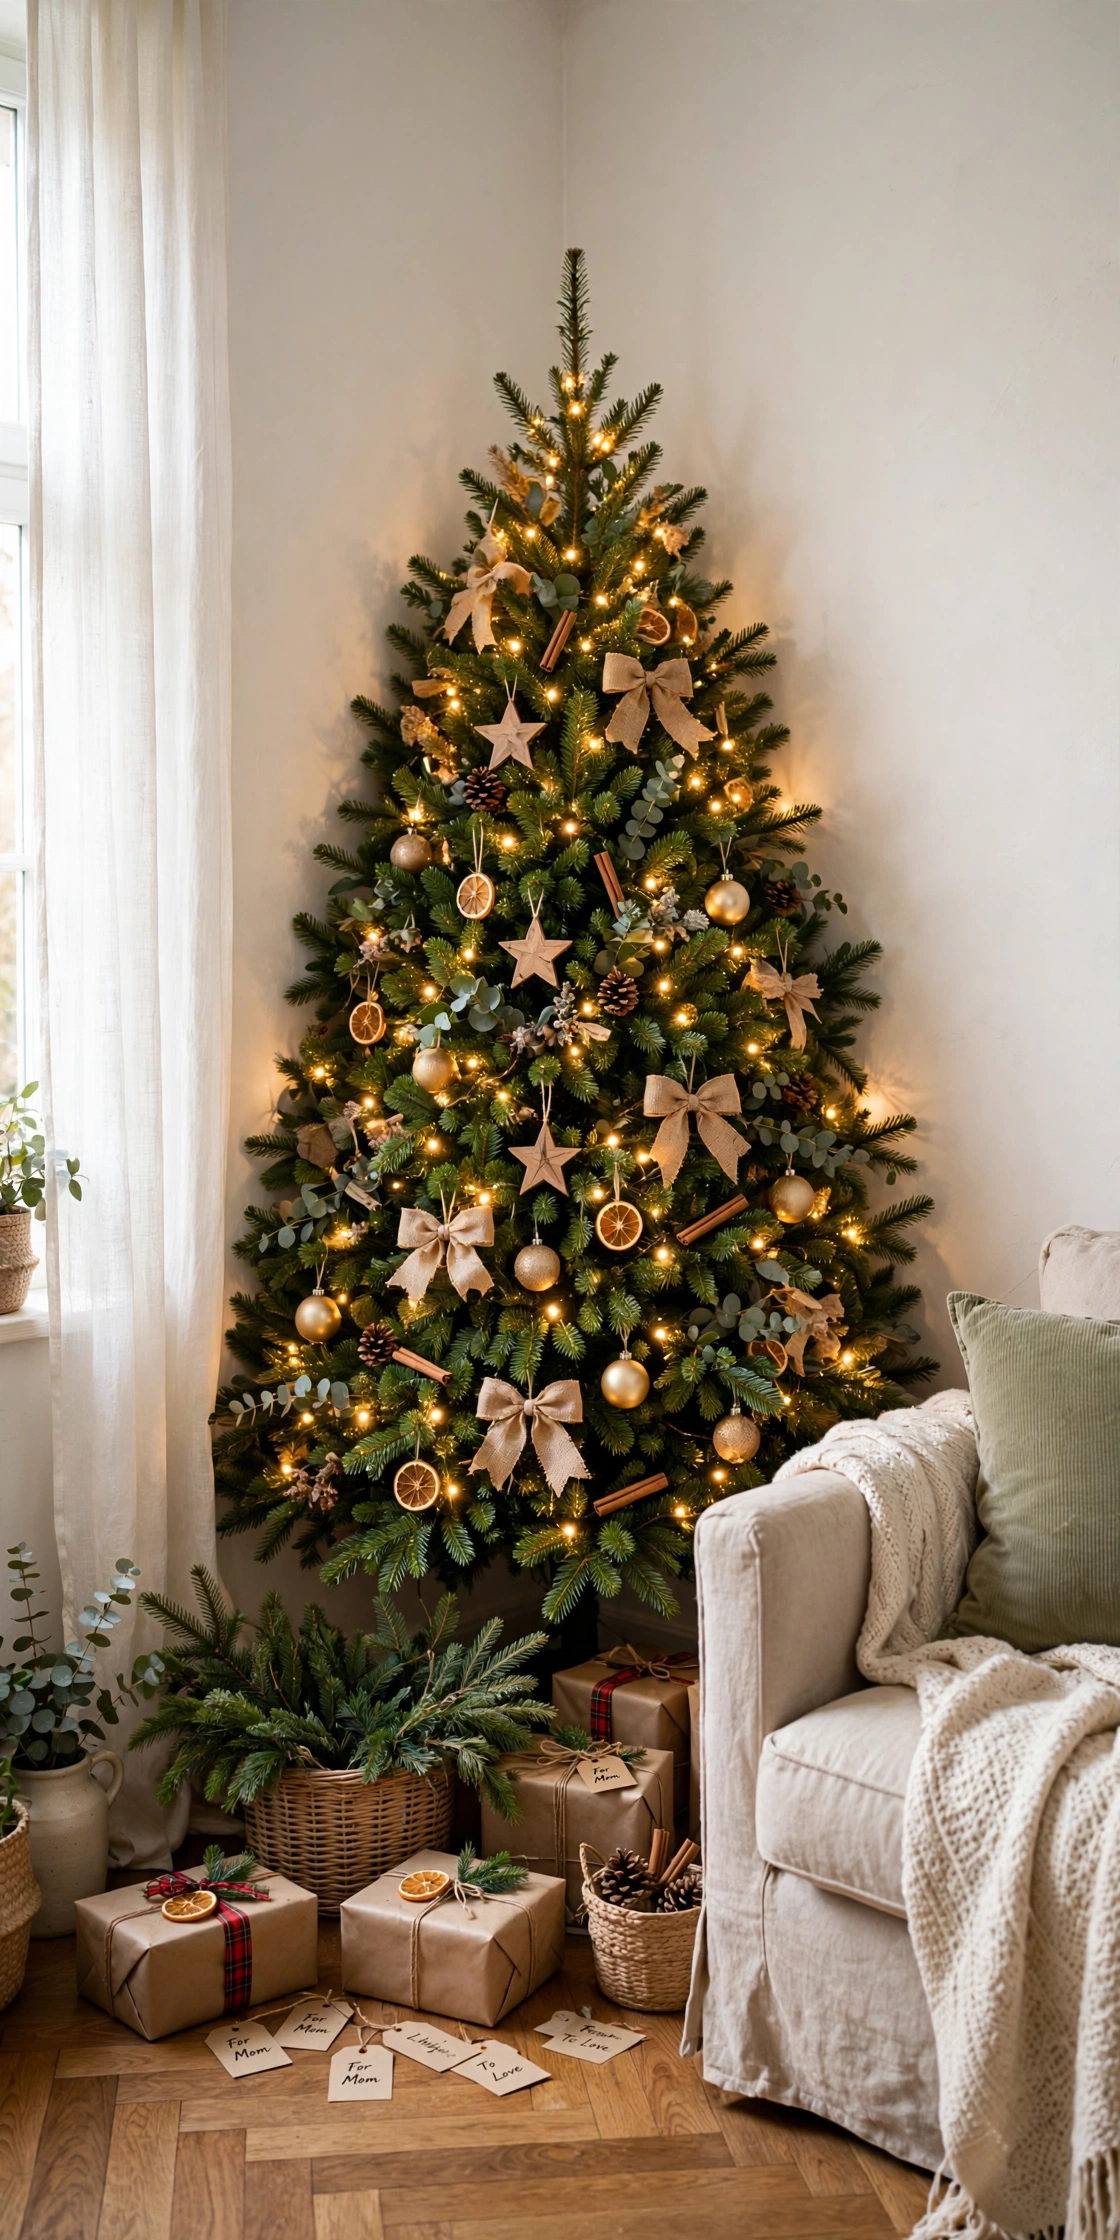
If your tree is a few inches too wide for the corner, remove or fold back the lowest back branches on a hinged artificial tree, or trim the back branches of a real tree with pruners. Removing two or three back branches at the widest tier can pull a tree 4 to 6 inches closer to the corner. Tuck the cut branches into thin spots on the front.
Try it: Work one tier at a time and step back after each cut. You can always remove another branch; you cannot put one back.
07
Decorate the Front, Bank the Savings
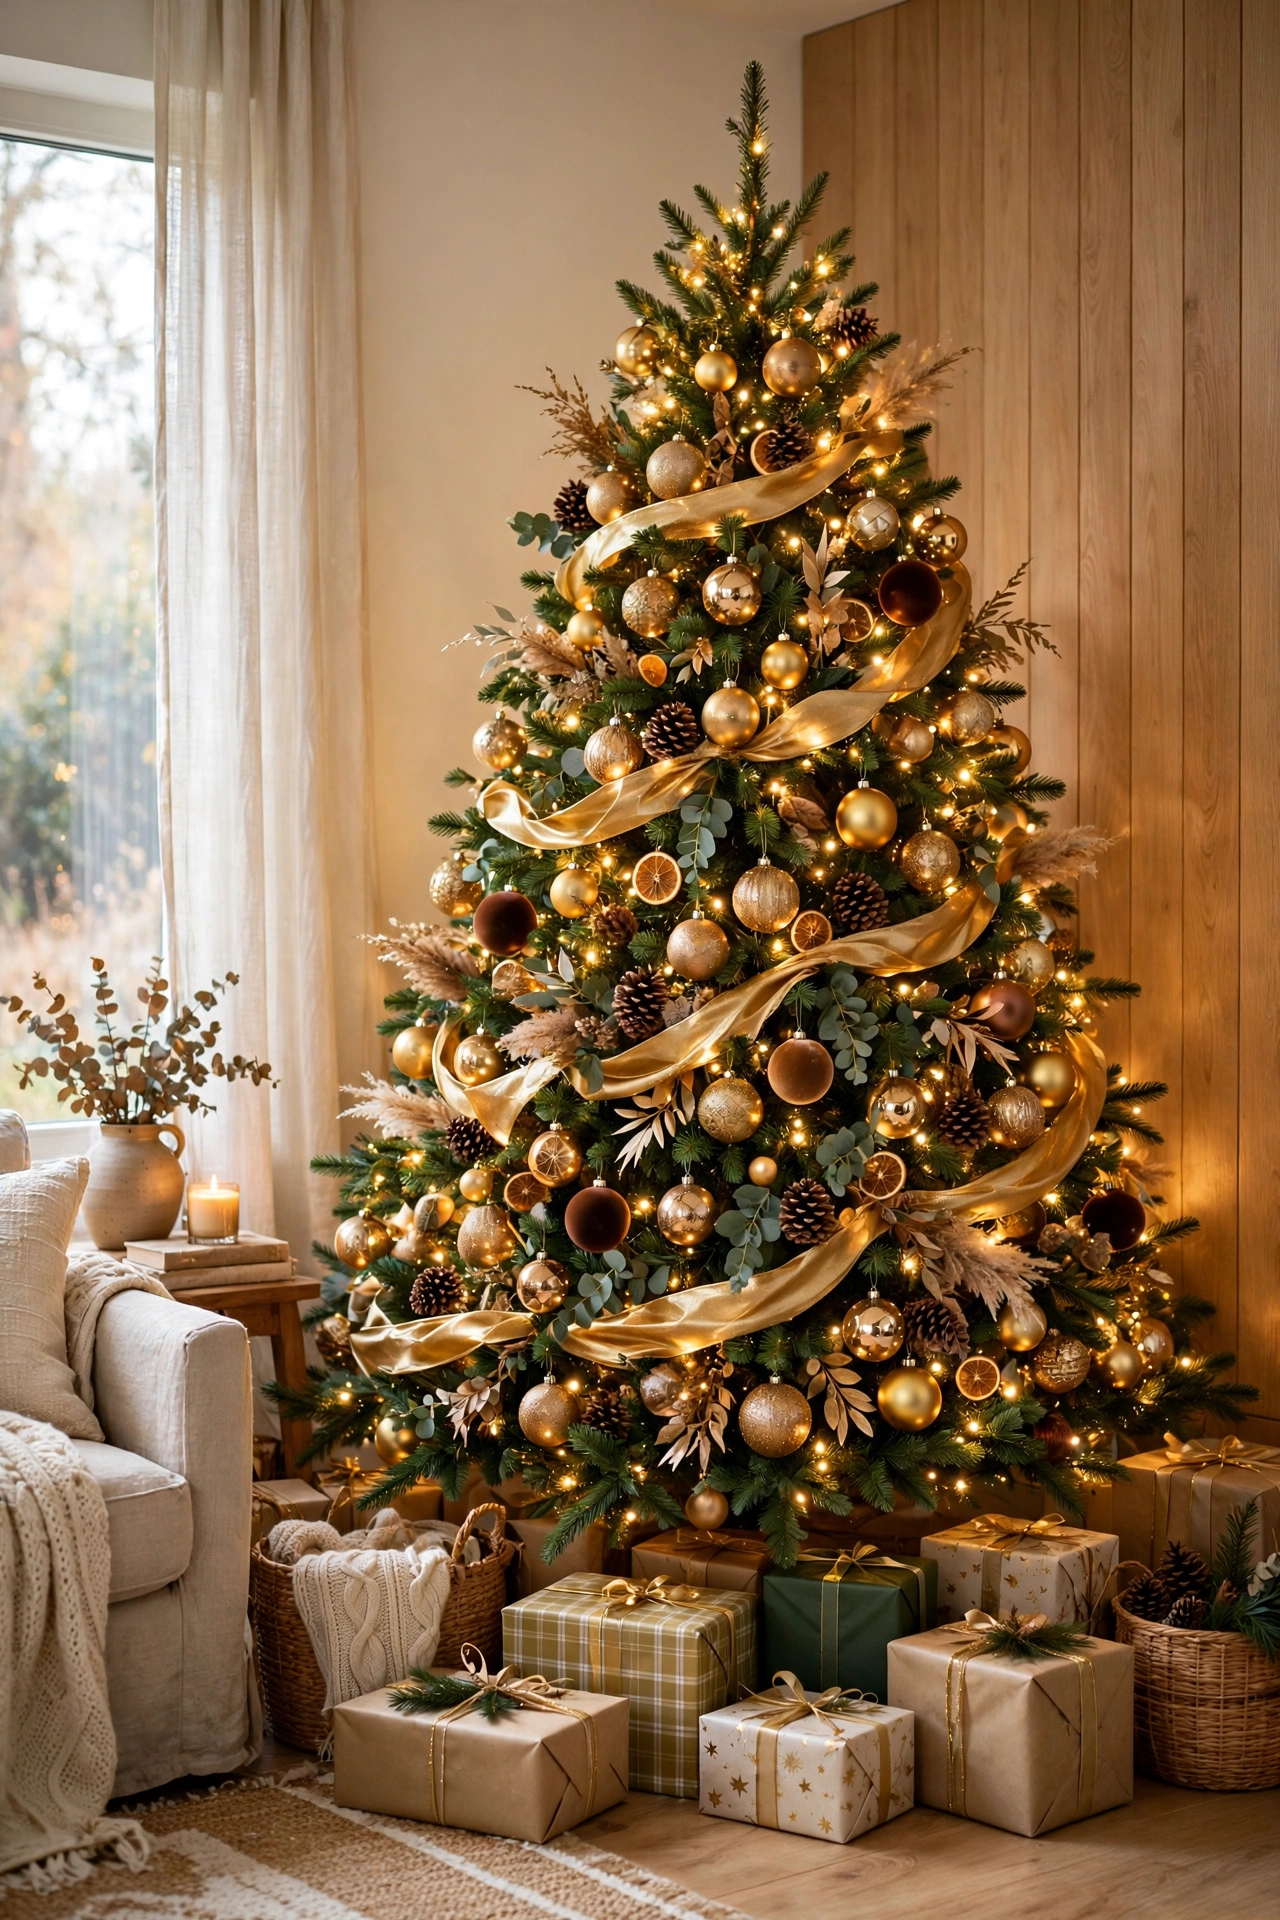
Stand where your guests will stand and look at the tree: everything you cannot see does not need an ornament. On a corner tree that is roughly a third of the surface, so a 7-foot tree that would take 80 to 100 ornaments fully decorated needs only 55 to 65 placed on the visible front and sides. The savings buy you better ornaments for the part people actually see.
Try it: Decorate in a defined arc: full effort across the front 180 degrees, a lighter touch on the two side wedges, and nothing at all on the back wedge against the walls.
08
Let a Rotating Stand Show Every Ornament
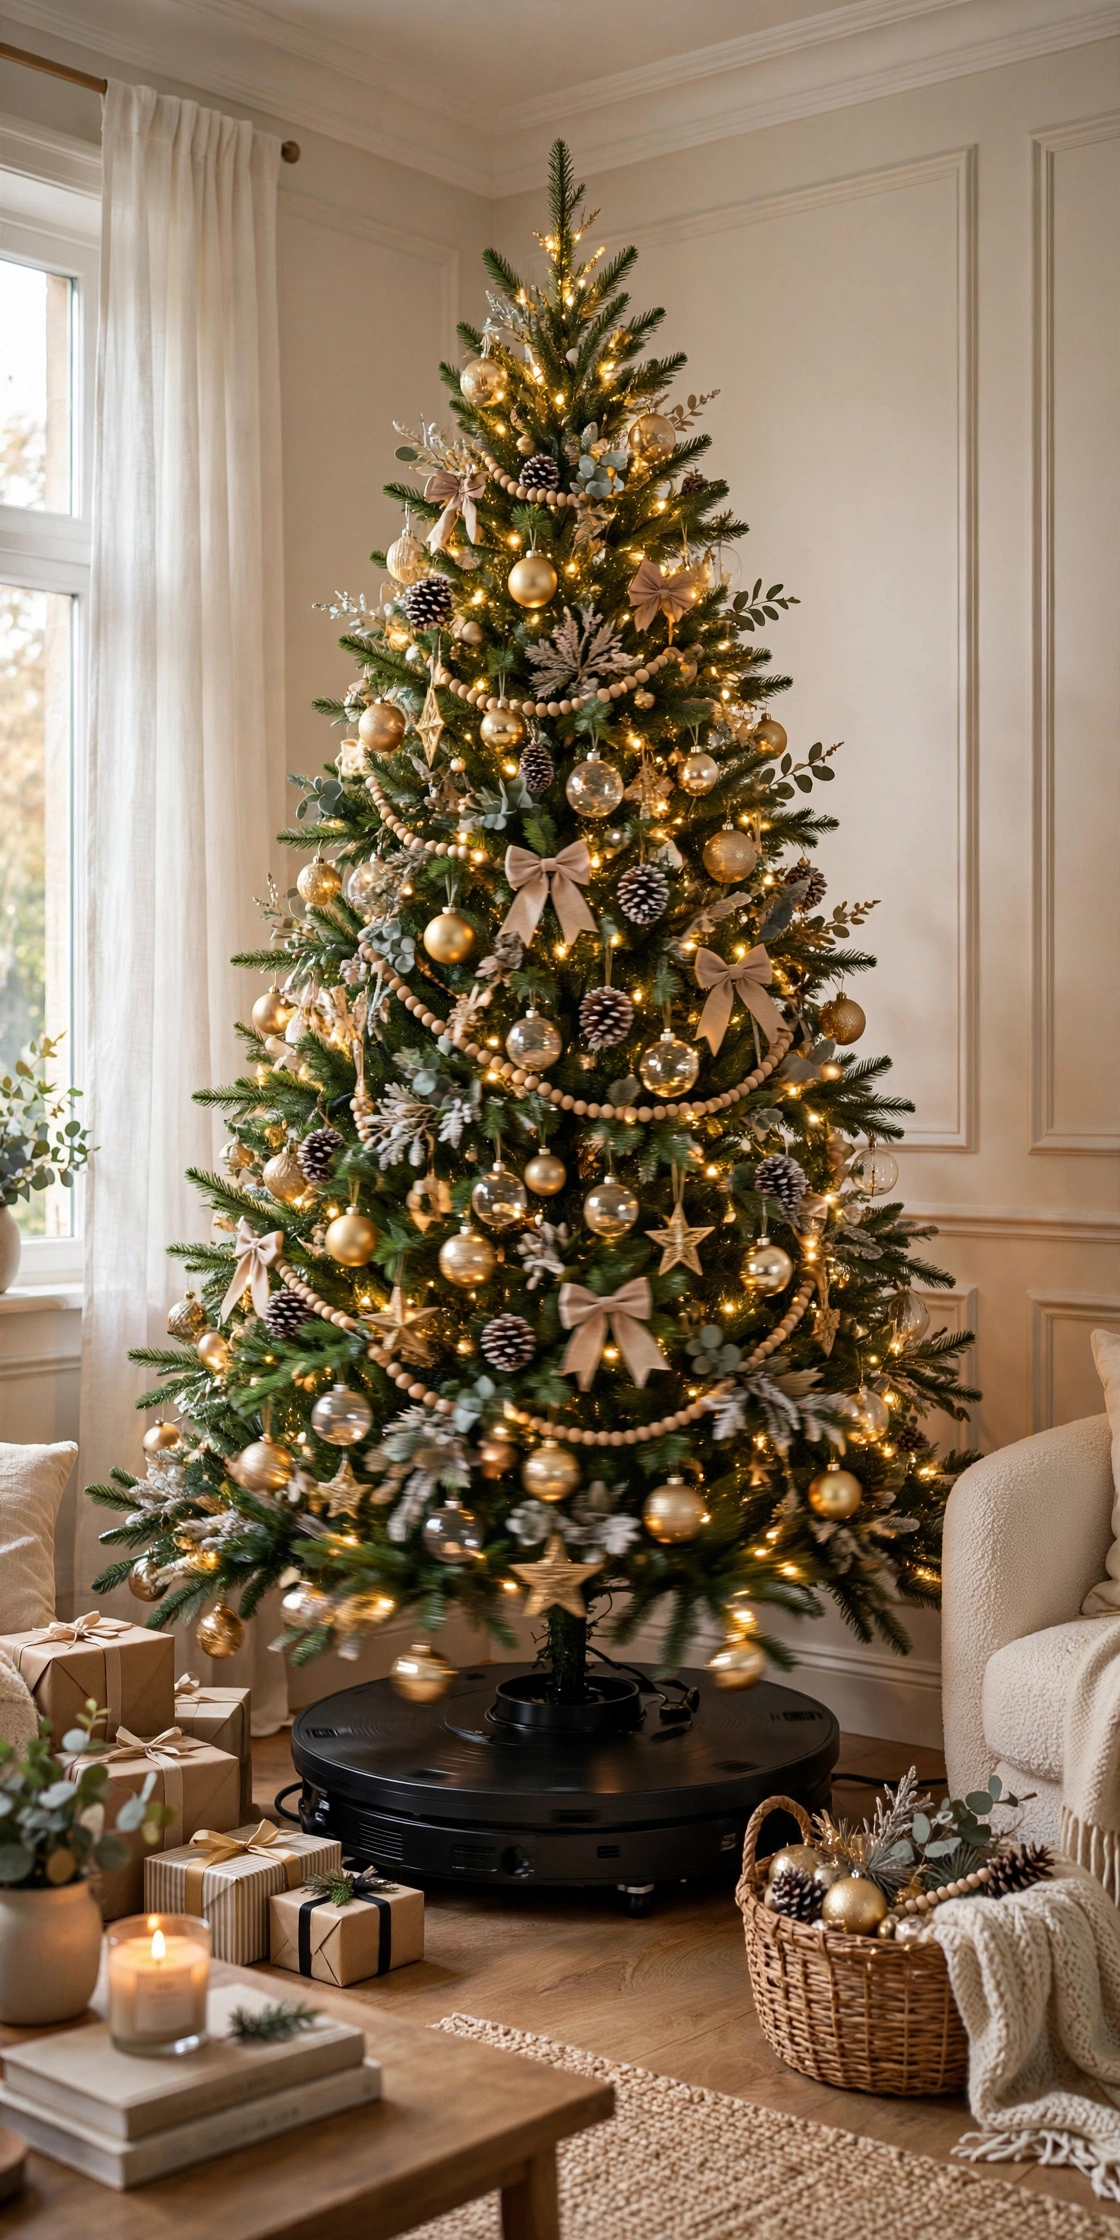
A motorized rotating stand turns a corner tree slowly, about one revolution per minute, so the whole collection gets seen across an evening. It also solves the heirloom problem: no ornament has to be exiled to the unseen back. Rotating stands run $40 to $90 and suit trees up to about 7.5 feet.
Try it: Check the stand’s weight rating against your decorated tree, and leave 3 inches of clearance on the widest swing. A rotating tree that brushes the wall sheds ornaments.
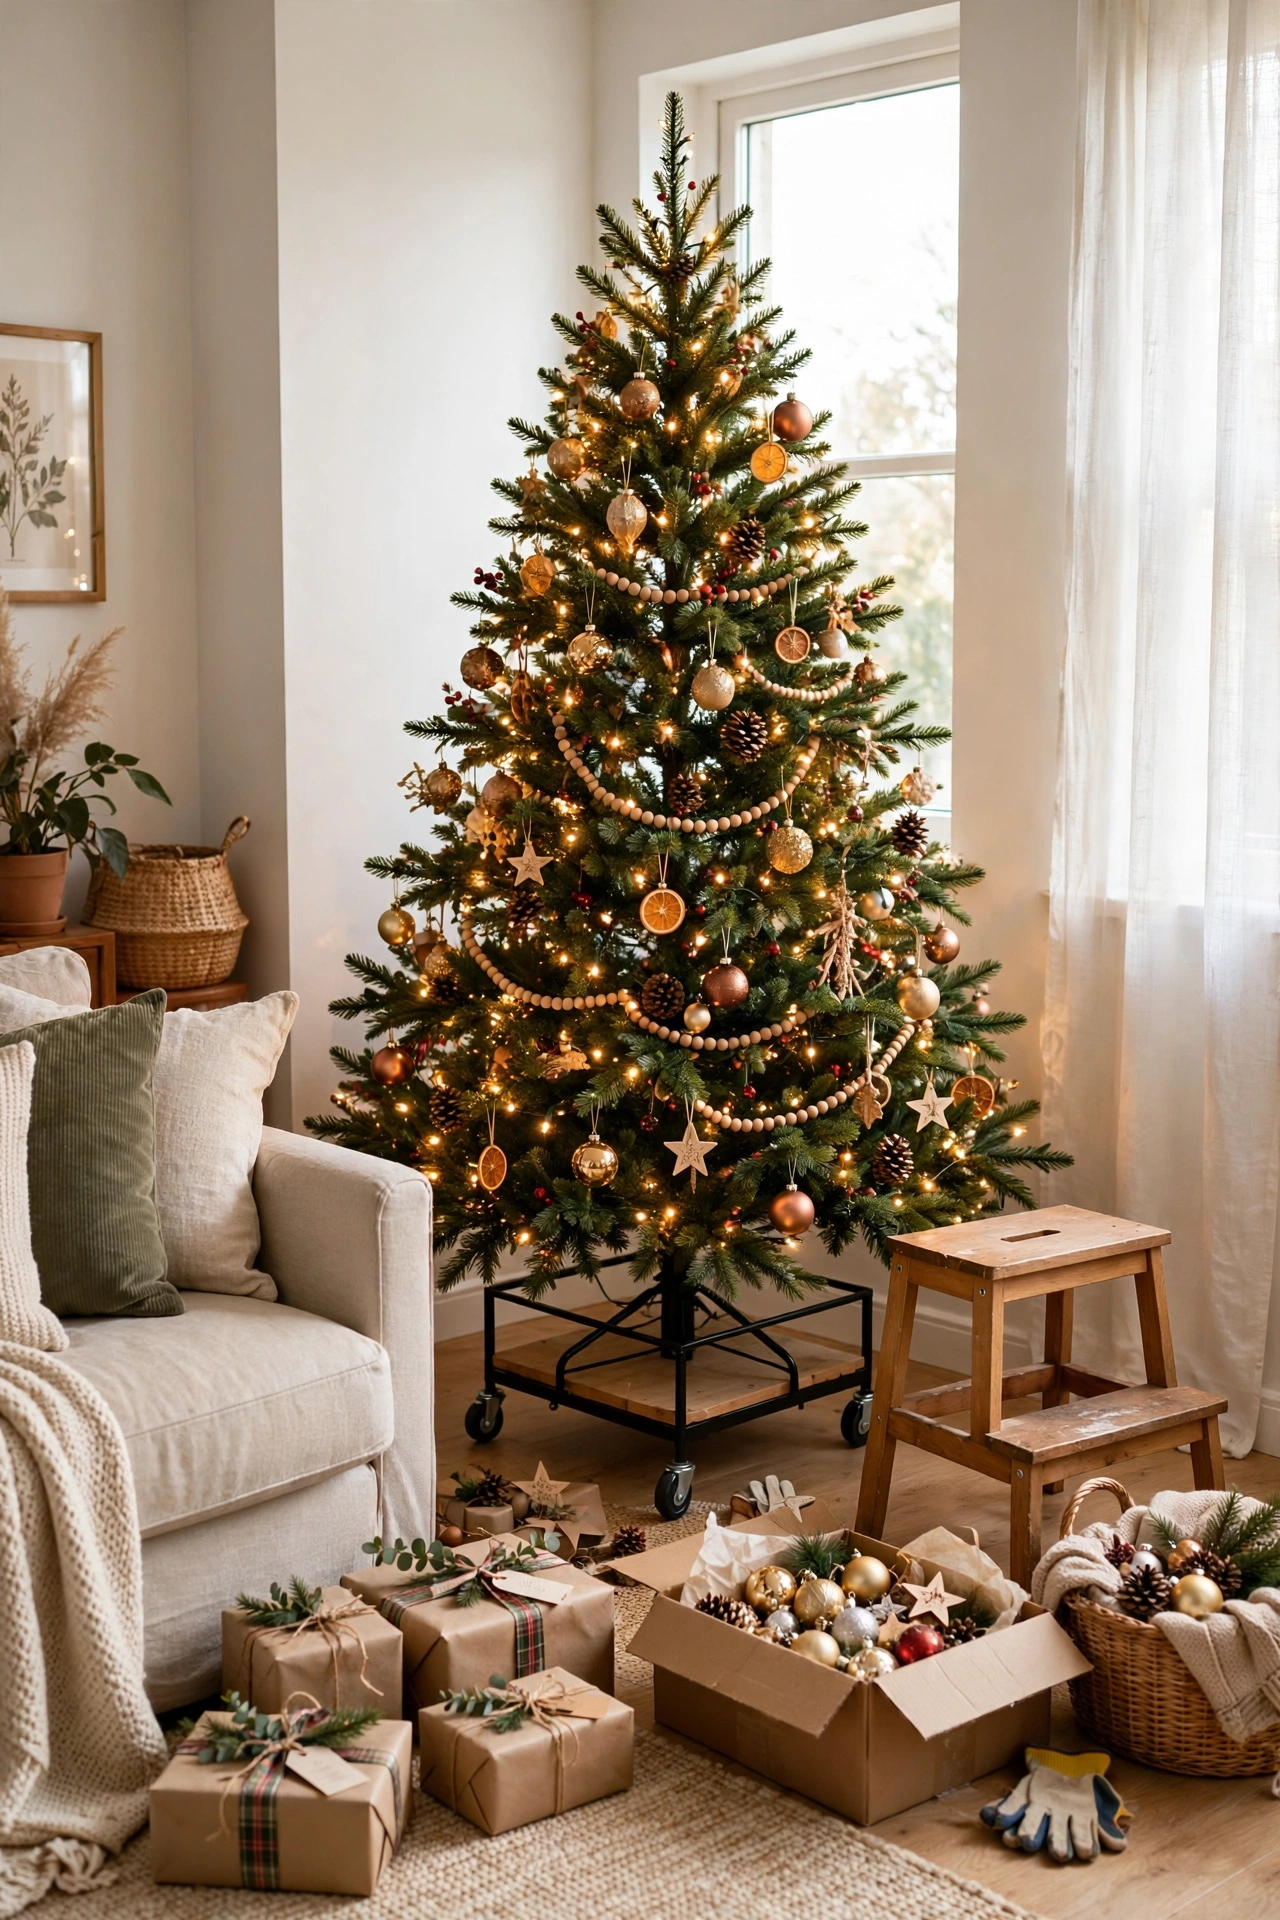
09
Rotate As You Decorate, Then Turn the Best Side Out
Even without a motor, rotation is the corner decorator’s best tool. Set the tree on a wheeled plant caddy or a tree stand with casters, decorate the section facing you, spin a quarter turn, and repeat. When you finish, rotate the tree so its best face points at the room’s main seat.
Try it: Decorate standing up, then sit in the main chair and look again. The view from seated eye level is the one that matters, and bare patches hide at standing height.
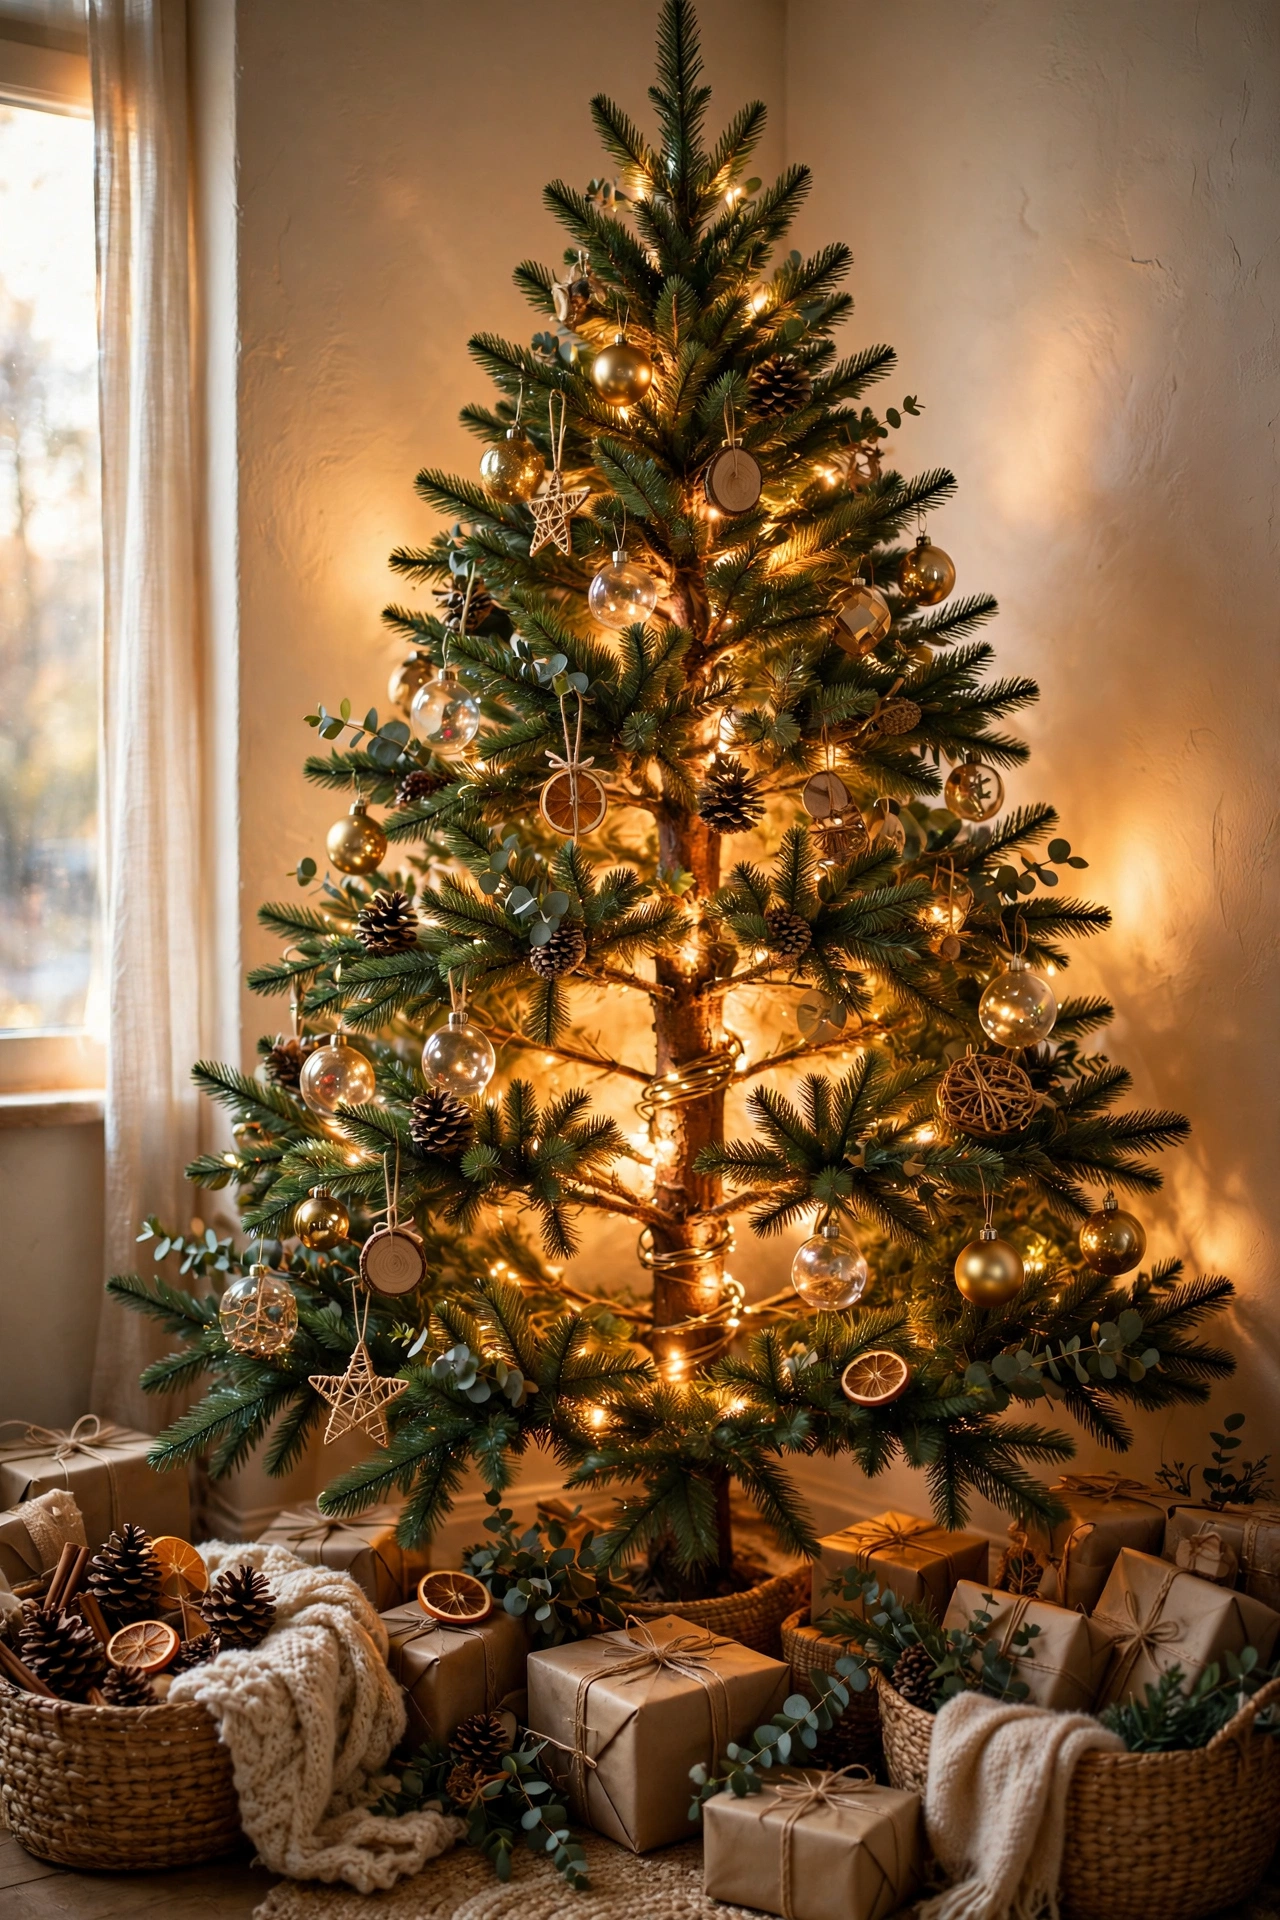
10
Lights Go Deep, Because Corners Eat Light
Corners absorb light, so a corner tree needs its lights worked into the branches, not draped on the surface. It also pays to follow basic holiday lighting safety guidance whenever you work strands deep into the branches. Follow the standard rule of 100 lights per foot of height, then add one extra strand wound close to the trunk. The inner strand lights the tree from within and throws a halo onto both walls behind it.
Try it: Plug the lights in and decorate with them on. In a corner you cannot judge spacing in daylight; the lit tree shows its own gaps.
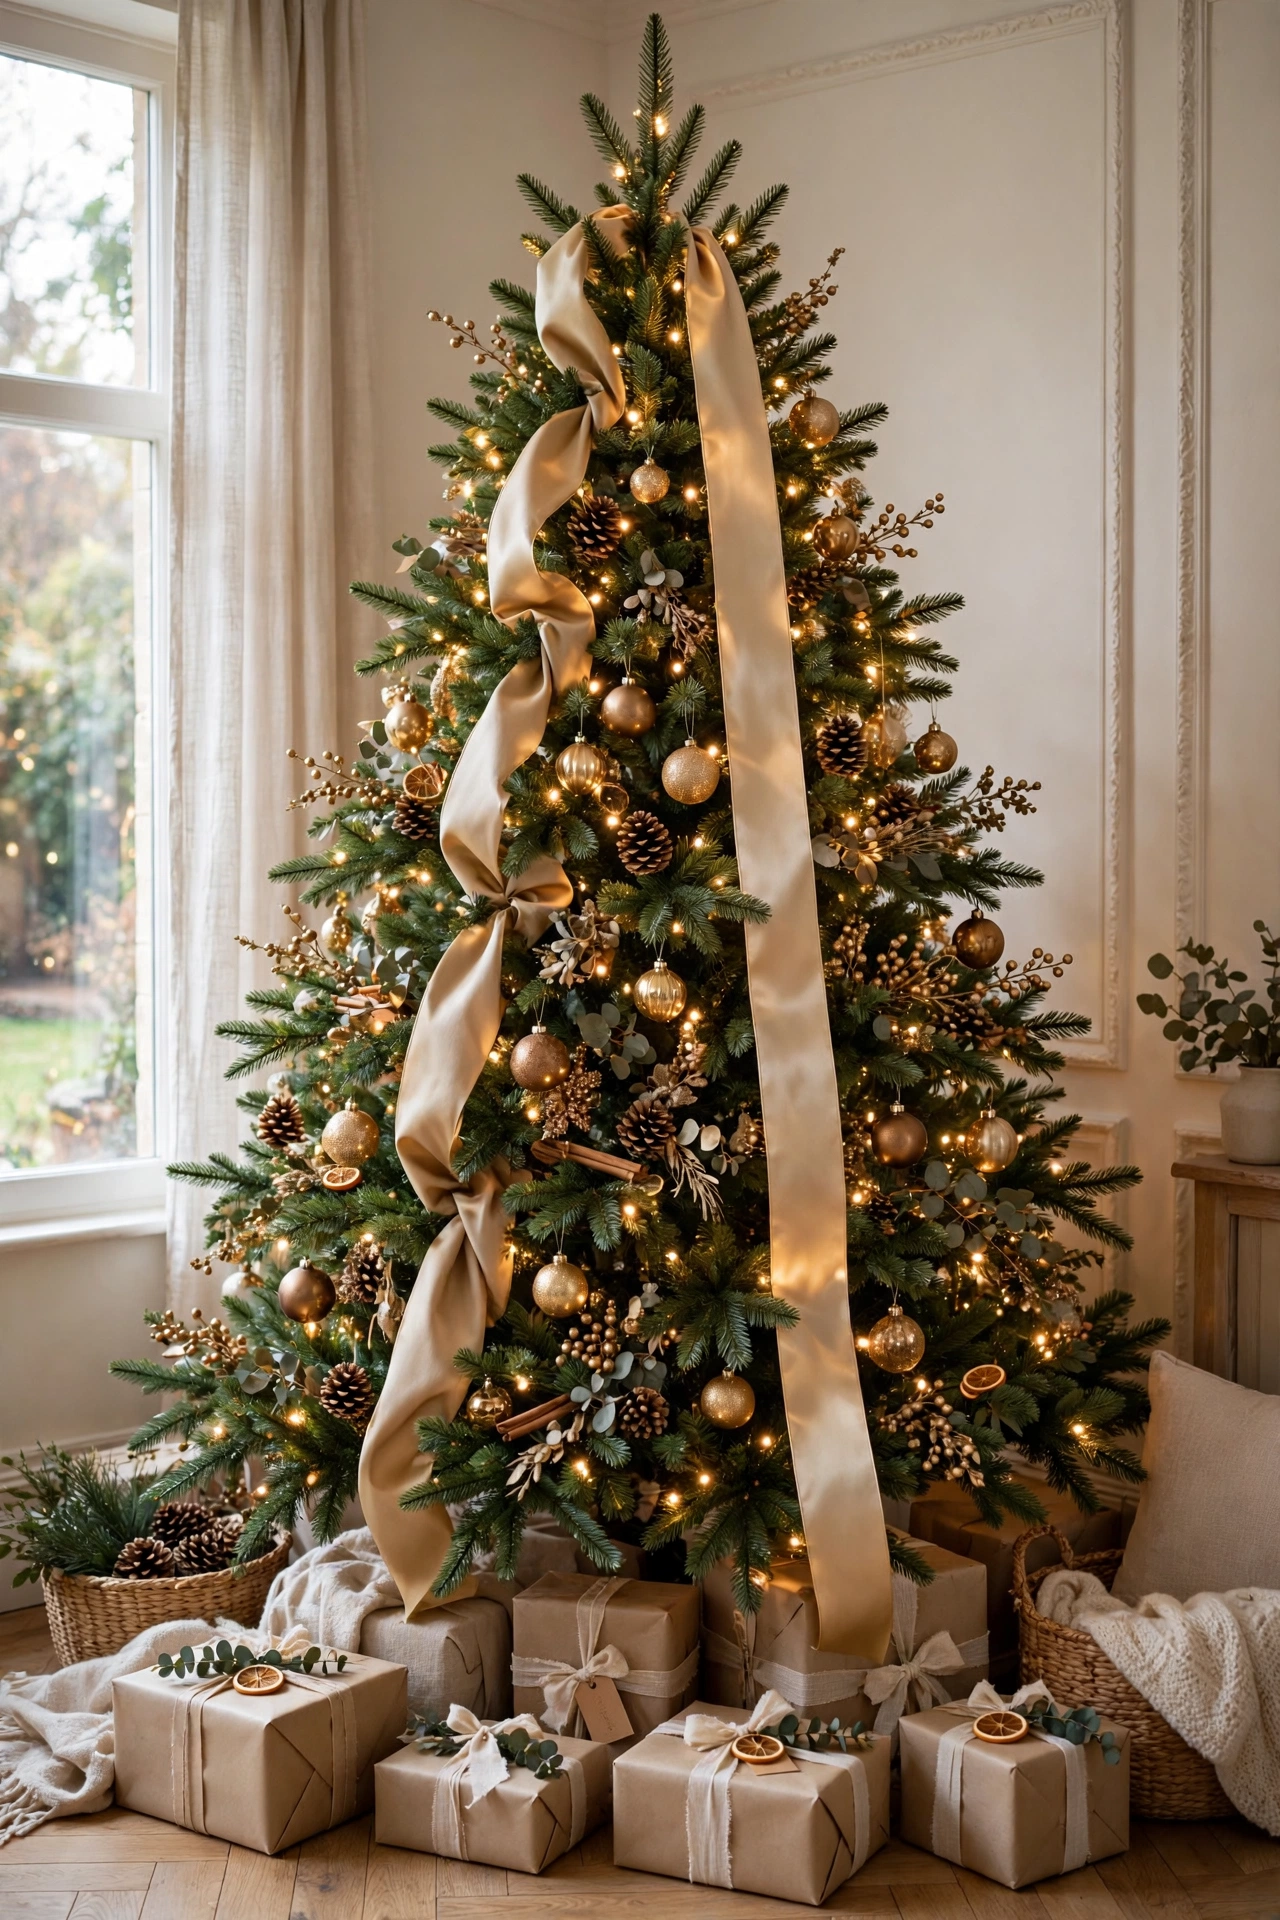
11
Ribbon Only Where Eyes Land
Ribbon is the most expensive-looking filler on a tree, and the corner lets you use less of it. Run two or three vertical cascades down the front and stop at the side wedges instead of wrapping the full circle. On a 7-foot tree that cuts ribbon use from about 30 yards to under 20, and nobody can tell the difference from any seat in the room.
Try it: Tuck ribbon ends deep into the branches every 10 to 12 inches so the cascades look woven, not laid on. Deep tucks are what separate styled trees from decorated ones.

12
Pick a Topper That Reads From the Front
A corner tree is viewed from one direction, so choose a topper with a strong front silhouette: a star, an angel facing forward, or a large bow with long tails down the front. Skip delicate 360-degree toppers whose best detail ends up facing the wall. Keep the total height, tree plus topper, at least 6 inches under the ceiling.
Try it: Wire the topper to the top branch with floral wire, angled about 10 degrees toward the room. A slight forward tilt makes it read as intentional from seated height.
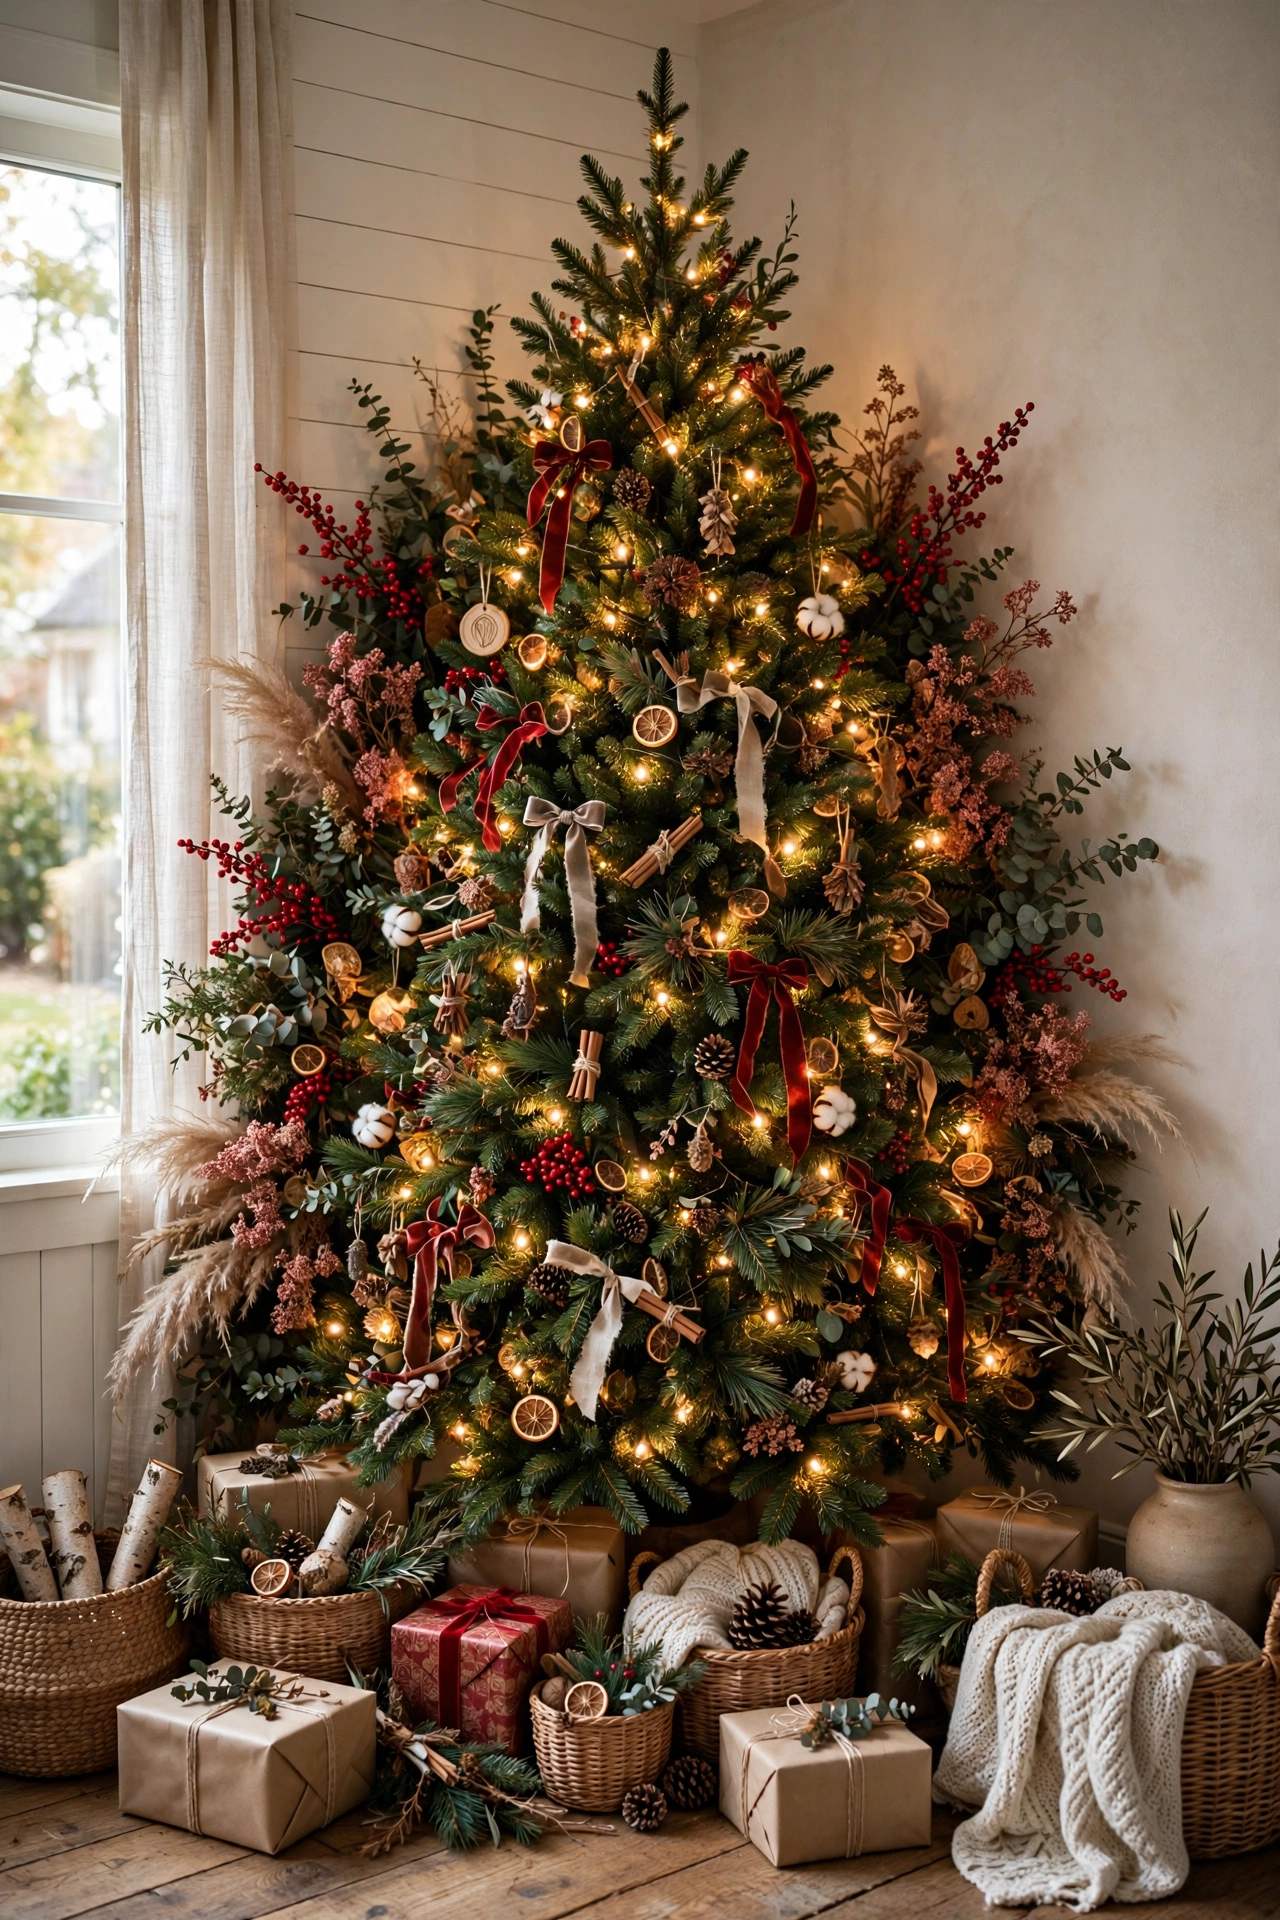
13
Fill the Wall-Side Gaps Nobody Sees, Skip the Rest
Here is the honest corner rule: the back wedge needs nothing, but the two side wedges at the wall edges do get seen at an angle. Fill those side gaps with cheap filler, floral picks, berry sprays, or spare branches, because a hollow silhouette at the wall line makes the whole tree look thin. Spend your ornament budget on the front; spend filler on the edges.
Try it: View the tree from the doorway and from the hallway, not just the sofa. Corners have more viewing angles than you think, and the side wedges are where thin spots show.

14
Grade Your Ornaments by Zone
Professional stylists zone a corner tree: large, matte, high-impact ornaments (3 to 4 inches) across the front plane where they ground the design, medium ornaments on the side wedges, and the shiniest, most reflective pieces tucked where they catch lamplight and bounce it into the room. Flat-backed ornaments and clips sit flush on the wall-side branches without poking the paint.
Try it: Hang the three biggest ornaments first, in a loose triangle across the front. Everything else on the tree should support those three anchors.
15
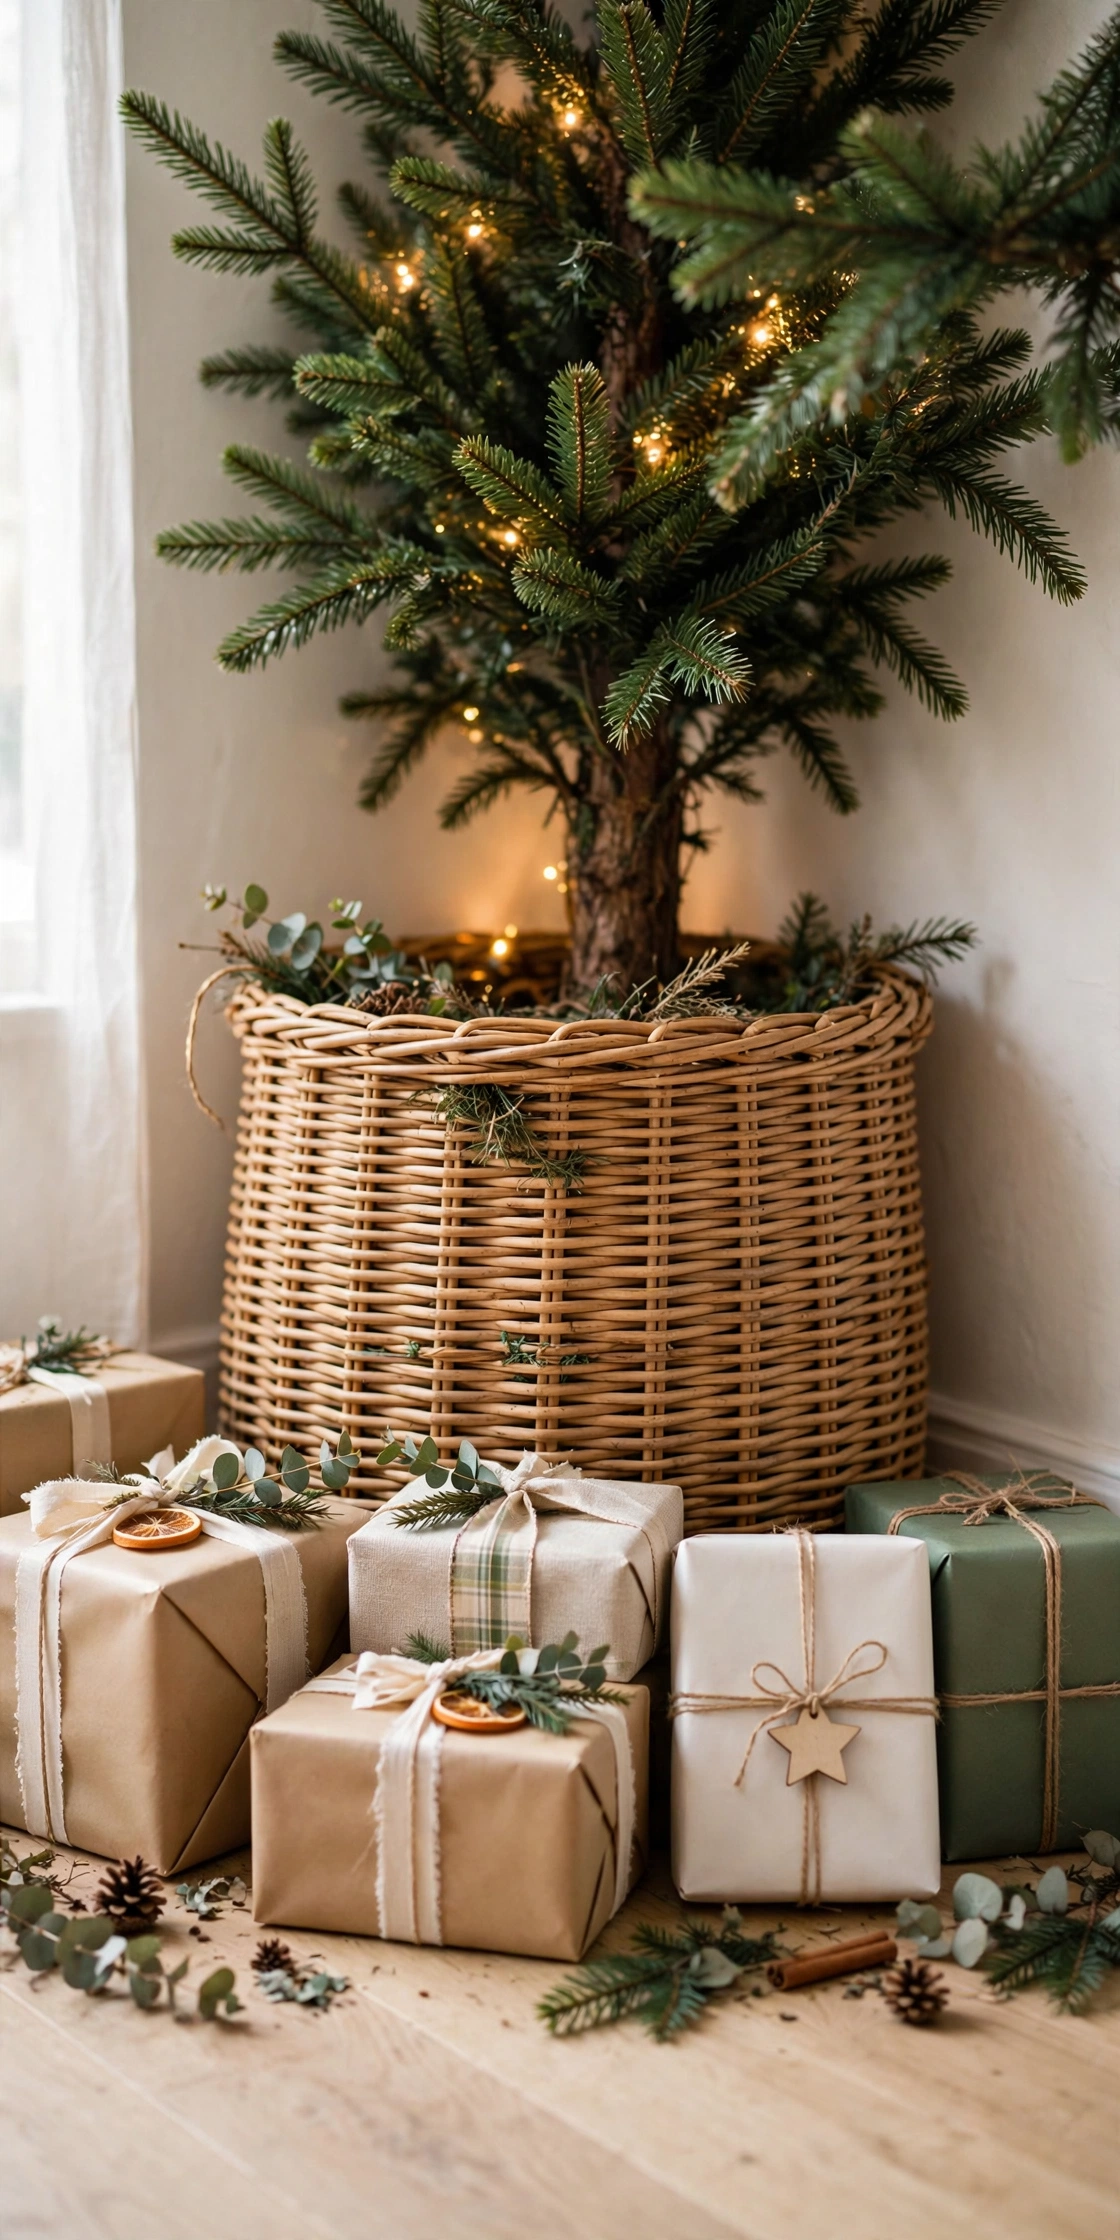
Swap the Skirt for a Collar in a Corner
A round tree skirt wastes its back half inside a corner and puddles against the walls. A collar, basket, or wooden crate hugs the trunk, reads clean from the front, and takes up zero extra floor. Measure your stand first; the collar must clear it by about 2 inches on the front and sides.
Try it: If you love a skirt, fold a round one into a half-moon and tuck the folded edge into the corner. You get the soft front drape with none of the bunched fabric behind.
16
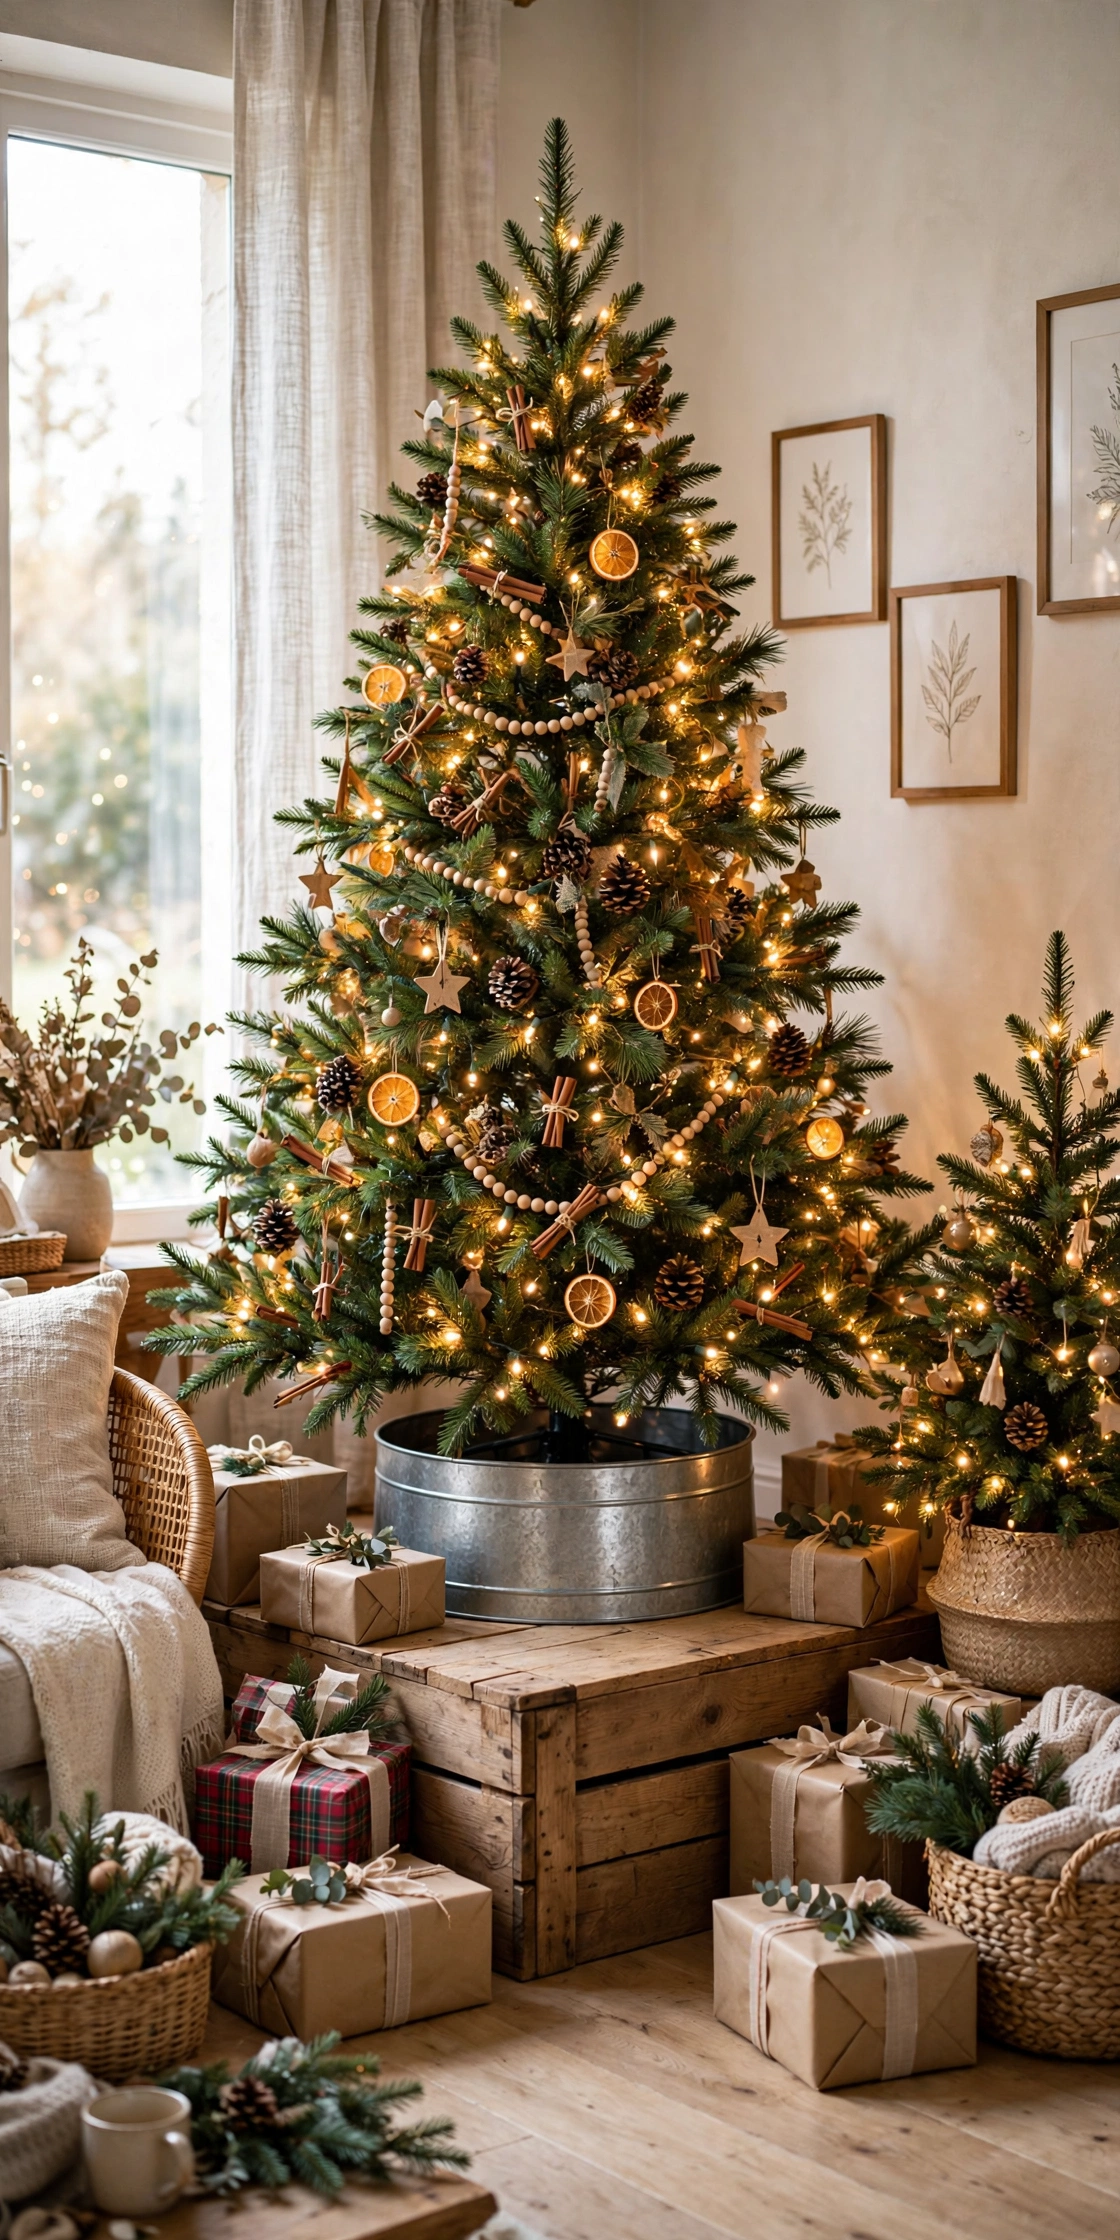
Raise the Tree on a Platform
Corner trees sit low in the room’s sightlines, behind sofa arms and side tables. A sturdy platform, crate, or low bench that lifts the tree 6 to 10 inches puts the decorated middle of the tree at seated eye level and lets a shorter, cheaper tree play taller. A 6-foot tree on an 8-inch platform reads like a 7-footer.
Try it: Hide the platform with the collar, a folded throw, or wrapped gift boxes. The mechanics should never be part of the display.
17
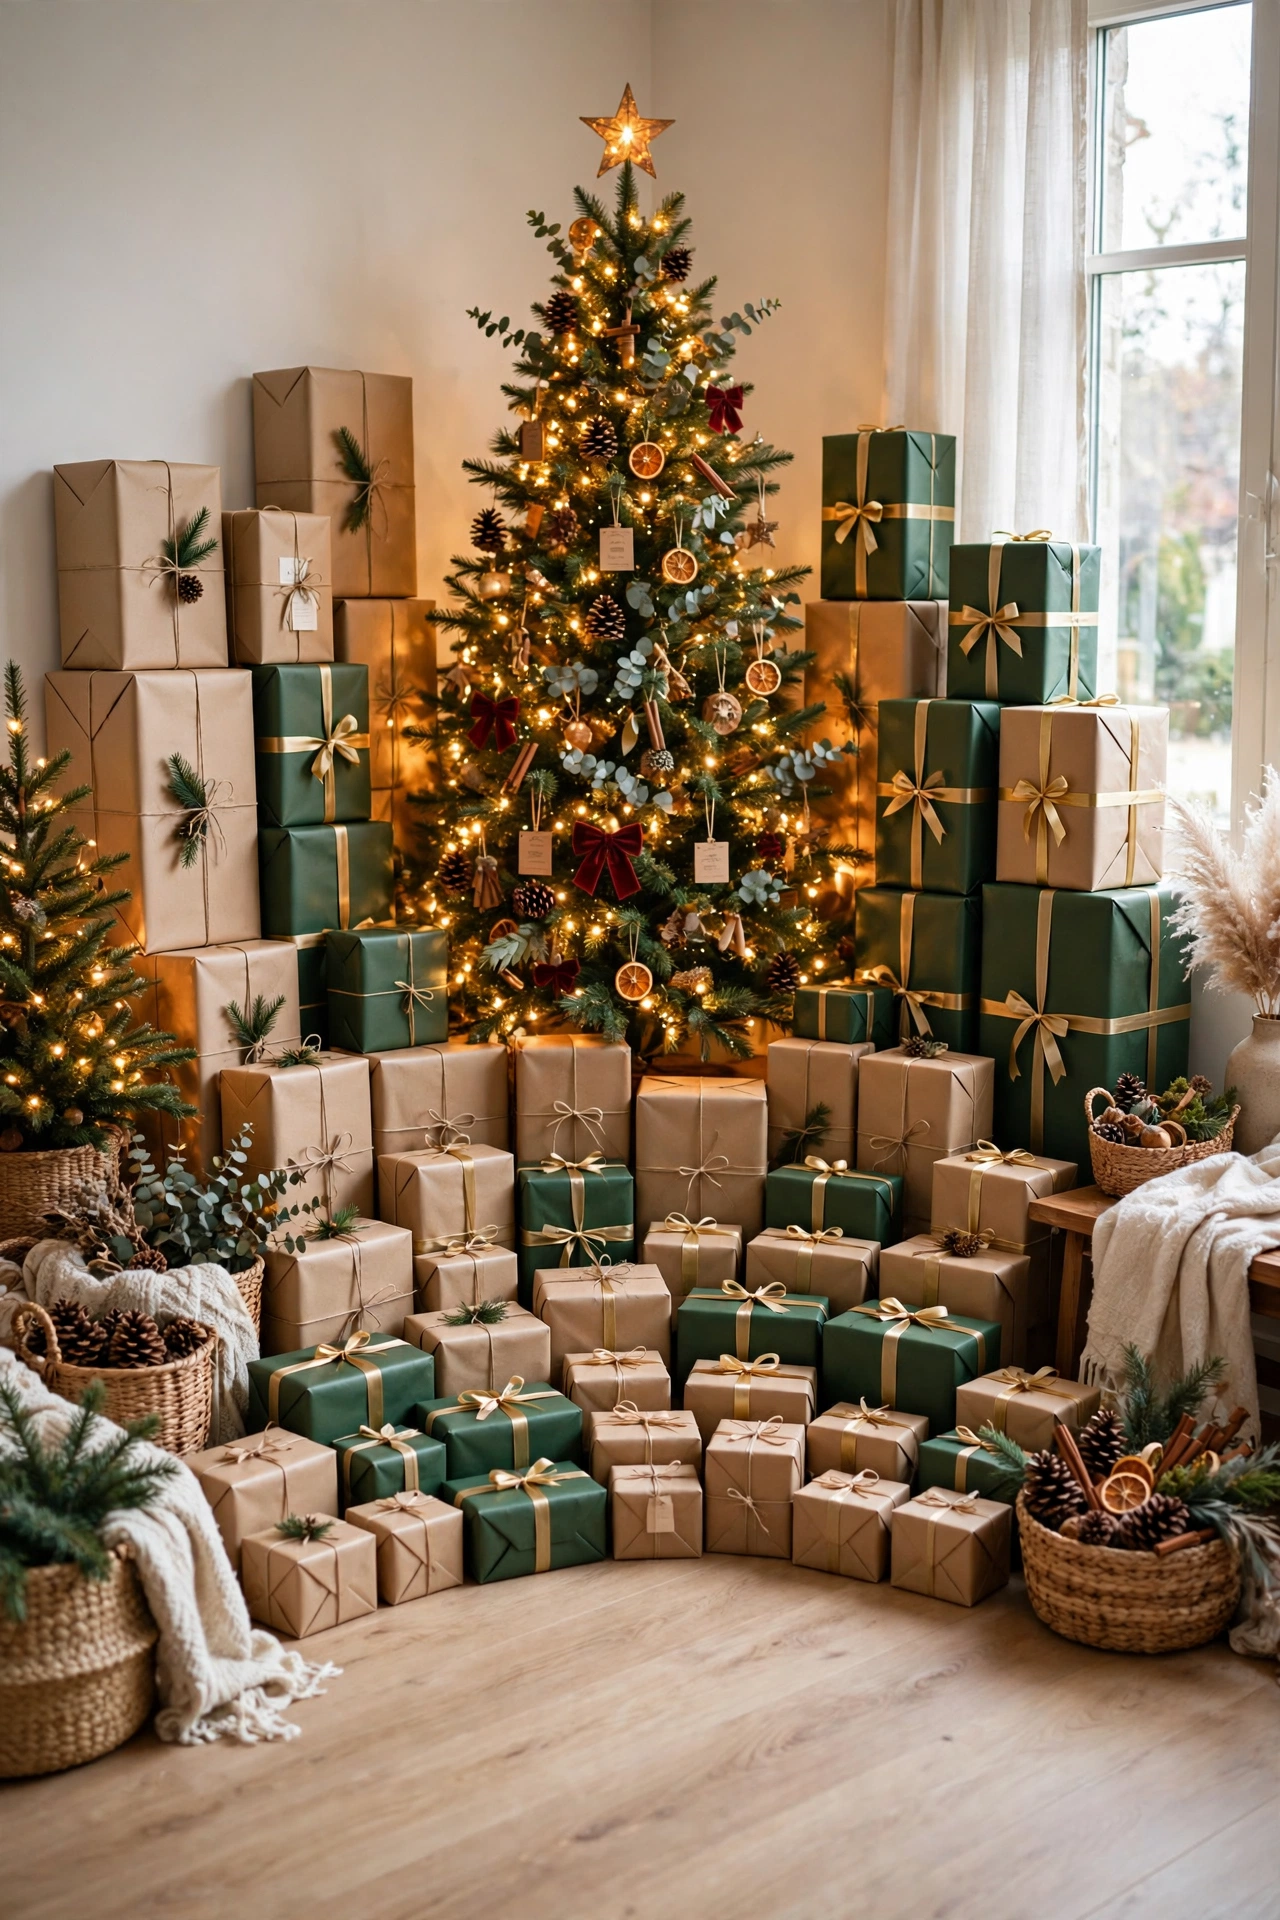
Arrange Gifts in the Wedge, Not a Ring
Presents under a corner tree belong in a fan shape across the front wedge, tallest boxes at the walls and small ones forward, like a little amphitheater. It looks abundant with fewer gifts than a full ring and keeps a clear walking lane past the tree. Wrap a few empty decoy boxes early so the display looks finished from week one.
Try it: Keep one flat, clear path of at least 24 inches along the front of the gifts. Presents that creep into the walkway get stepped on by December 20, every year.
18
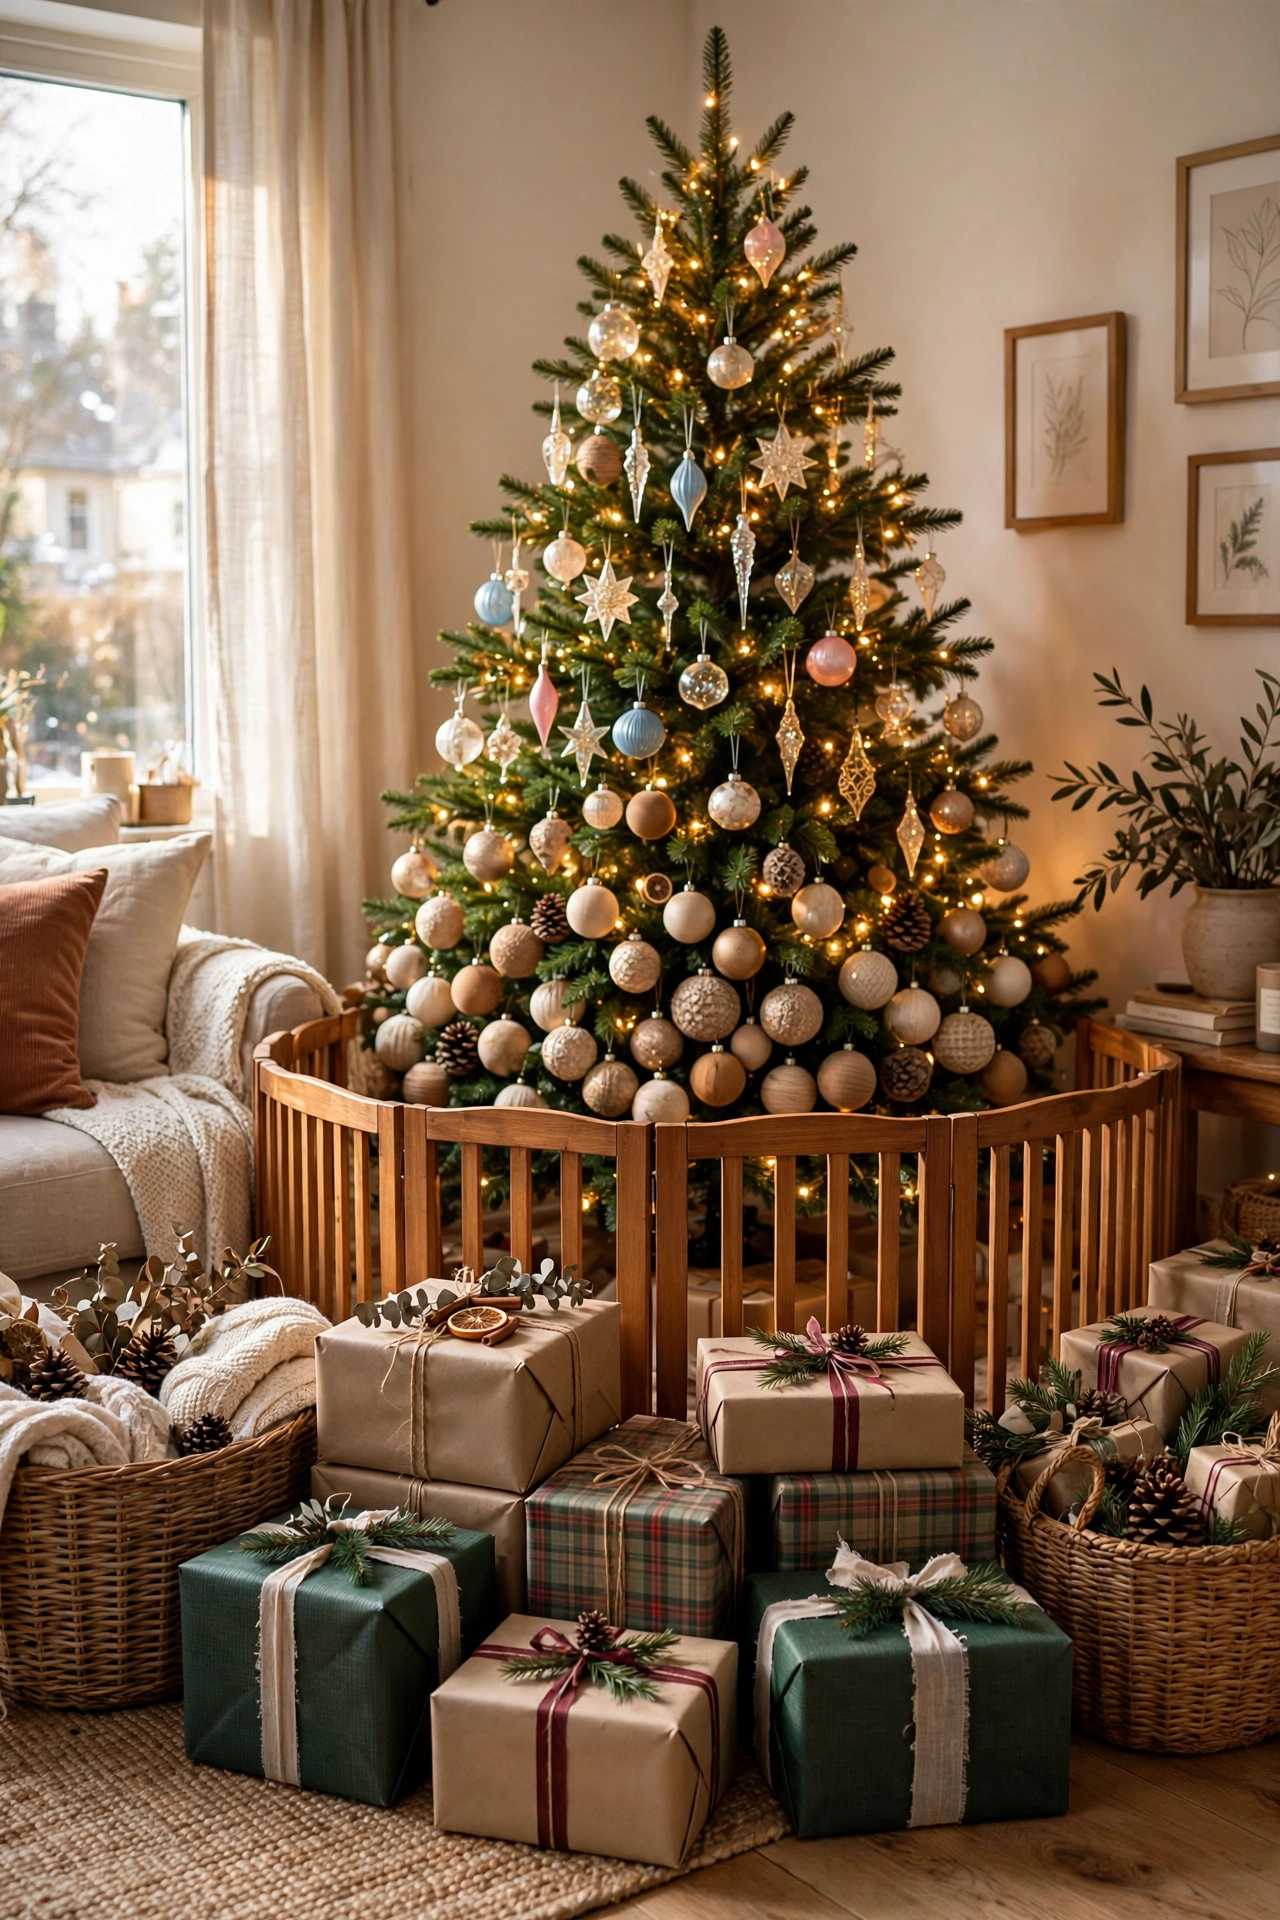
Make the Corner a Safe Zone for Kids and Pets
A corner is the easiest place in the room to protect a tree, because two sides are already walled off. Add a low decorative gate or a row of heavy gift boxes across the front arc and the tree is fenced on all sides. Anchor the tree itself to the corner with clear fishing line from the trunk to a small eye hook in each wall.
Try it: Keep shatterproof ornaments on the bottom two feet and move glass heirlooms above reach height. In a corner, the low front arc is exactly where small hands and tails arrive.
19
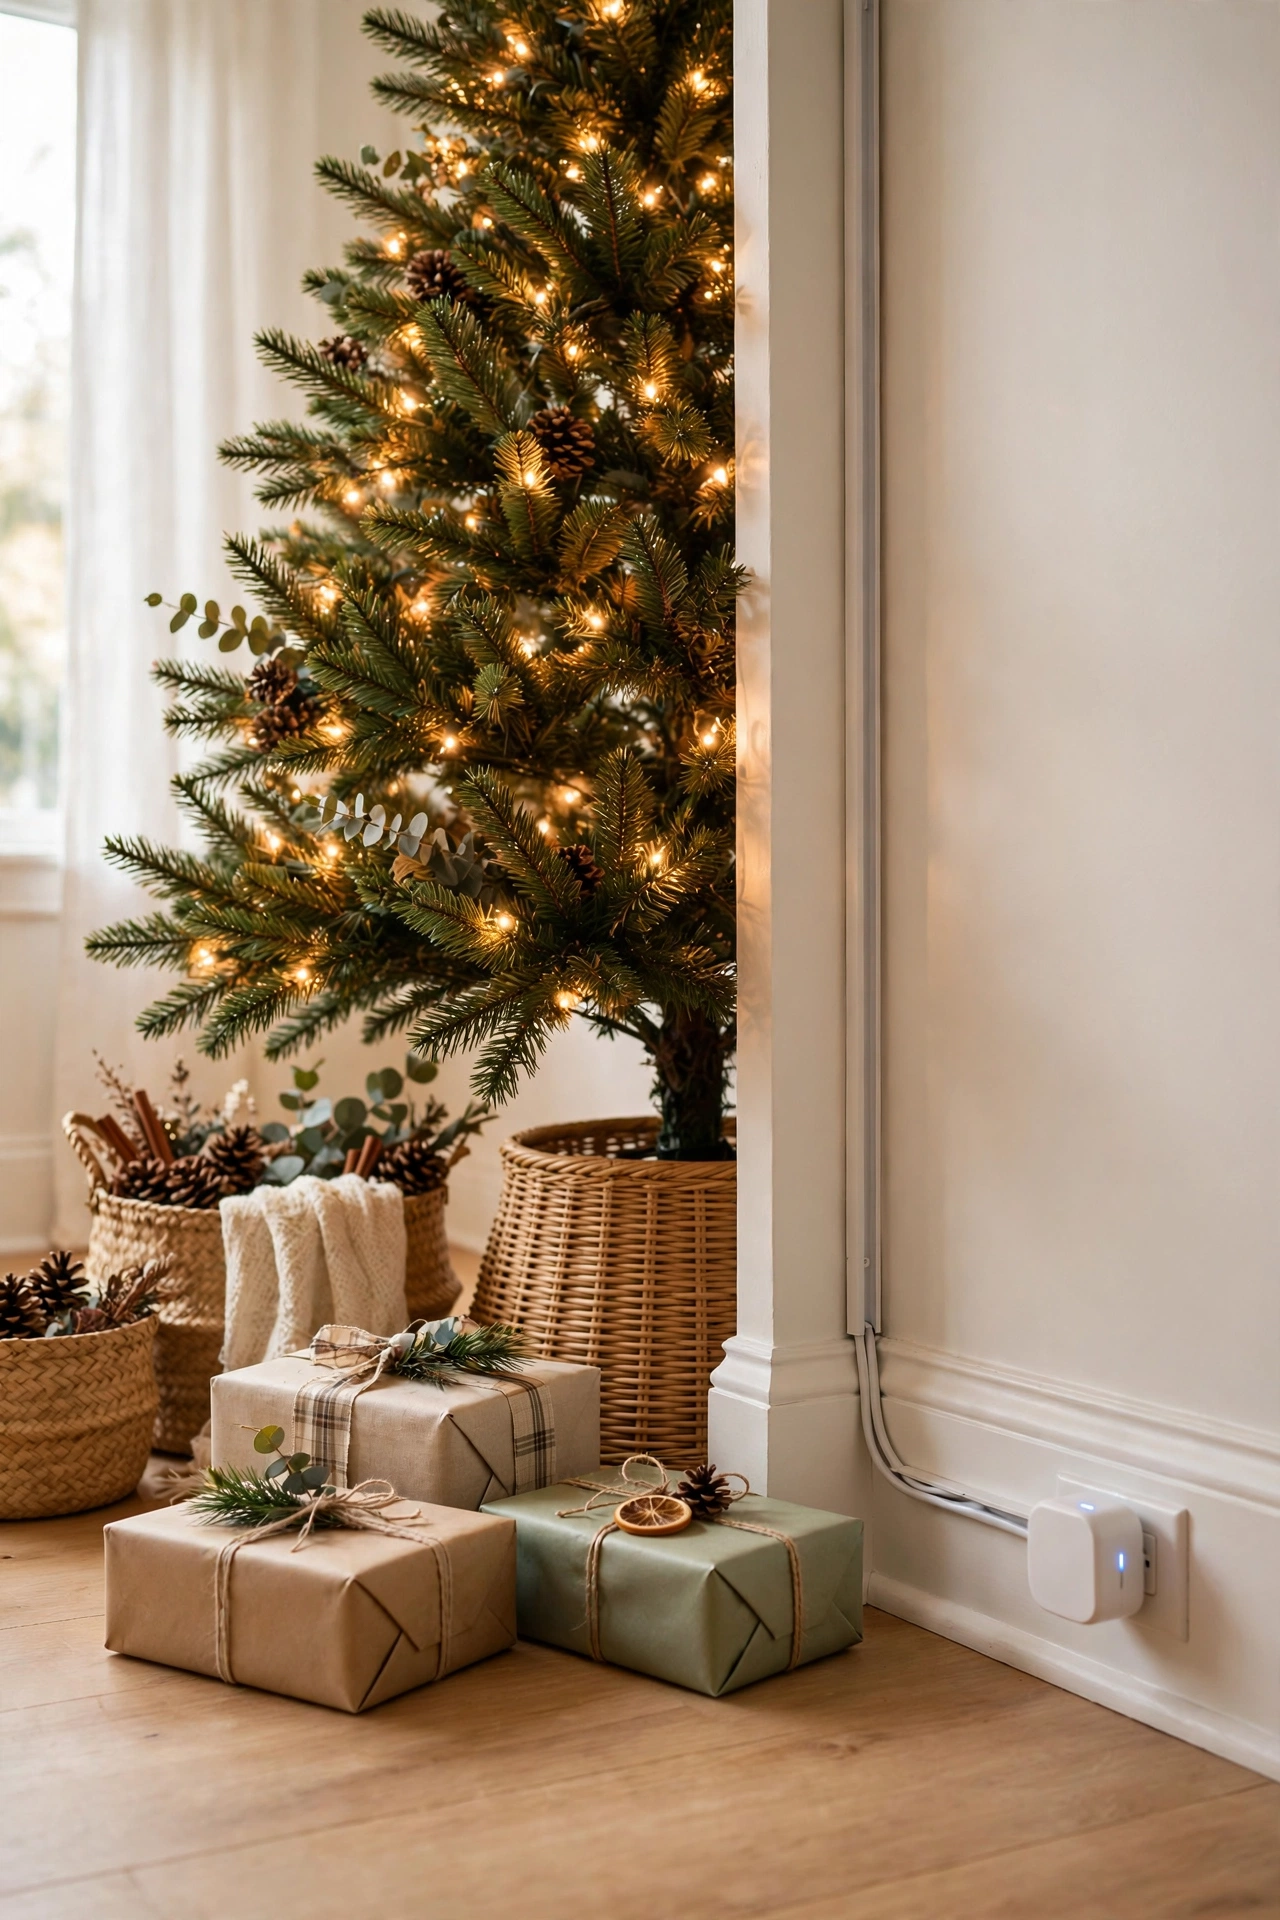
Hide Every Cord in the Corner Seam
Corners are cord-hiding gold: the seam where the walls meet swallows a cable run invisibly. Route the tree’s cord down the trunk, along the corner seam, and across the baseboard to the outlet, using a paintable adhesive cable channel if the run is visible. One visible cord can undo an otherwise styled corner.
Try it: Use a smart plug or timer outlet in the corner so the tree lights itself at dusk. Reaching behind a corner tree daily to find a switch gets old by December 3.
20
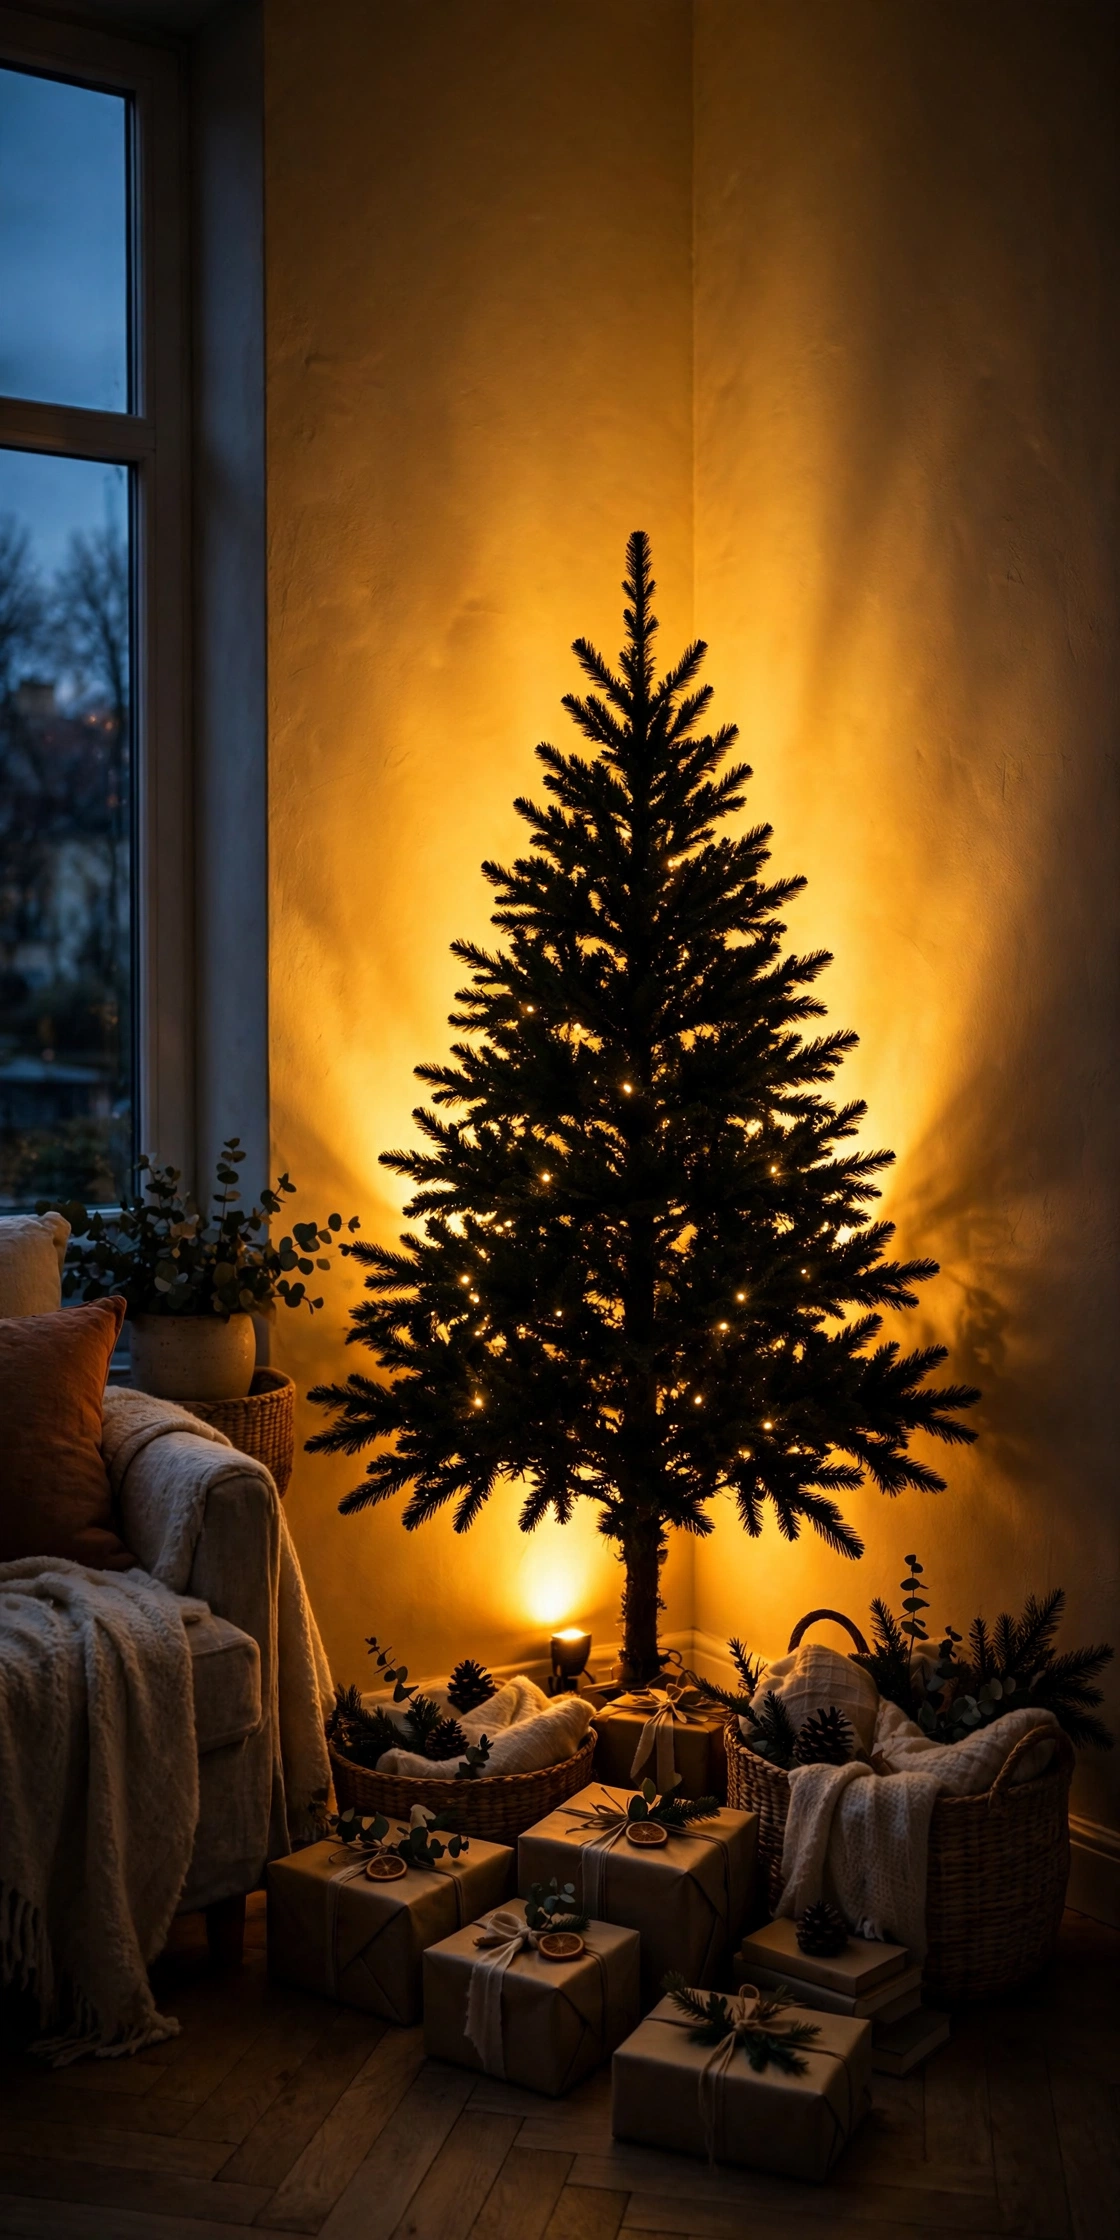
Add an Uplight Behind the Tree
A small can uplight or LED puck on the floor behind the tree, aimed up the corner, turns two plain walls into a glowing backdrop. It adds the depth a corner tree cannot get from its own lights and makes the whole corner feel twice as large after dark. Warm white, 2700K, keeps the glow candle-like.
Try it: Put the uplight on the same timer as the tree. One switch, one schedule, and the corner performs every evening without you thinking about it.

21
Hang a Mirror Across From the Corner
A mirror on the opposite wall doubles a corner tree: you see the tree and its reflection from most seats, and the reflected lights add a second light source to the room. It is the cheapest way to make one tree do the work of two. A mirror above a mantel or console facing the corner works best.
Try it: Test the angle with your phone camera before hanging anything. Sit in the main seats and confirm the reflection shows the tree, not the ceiling fan.
22
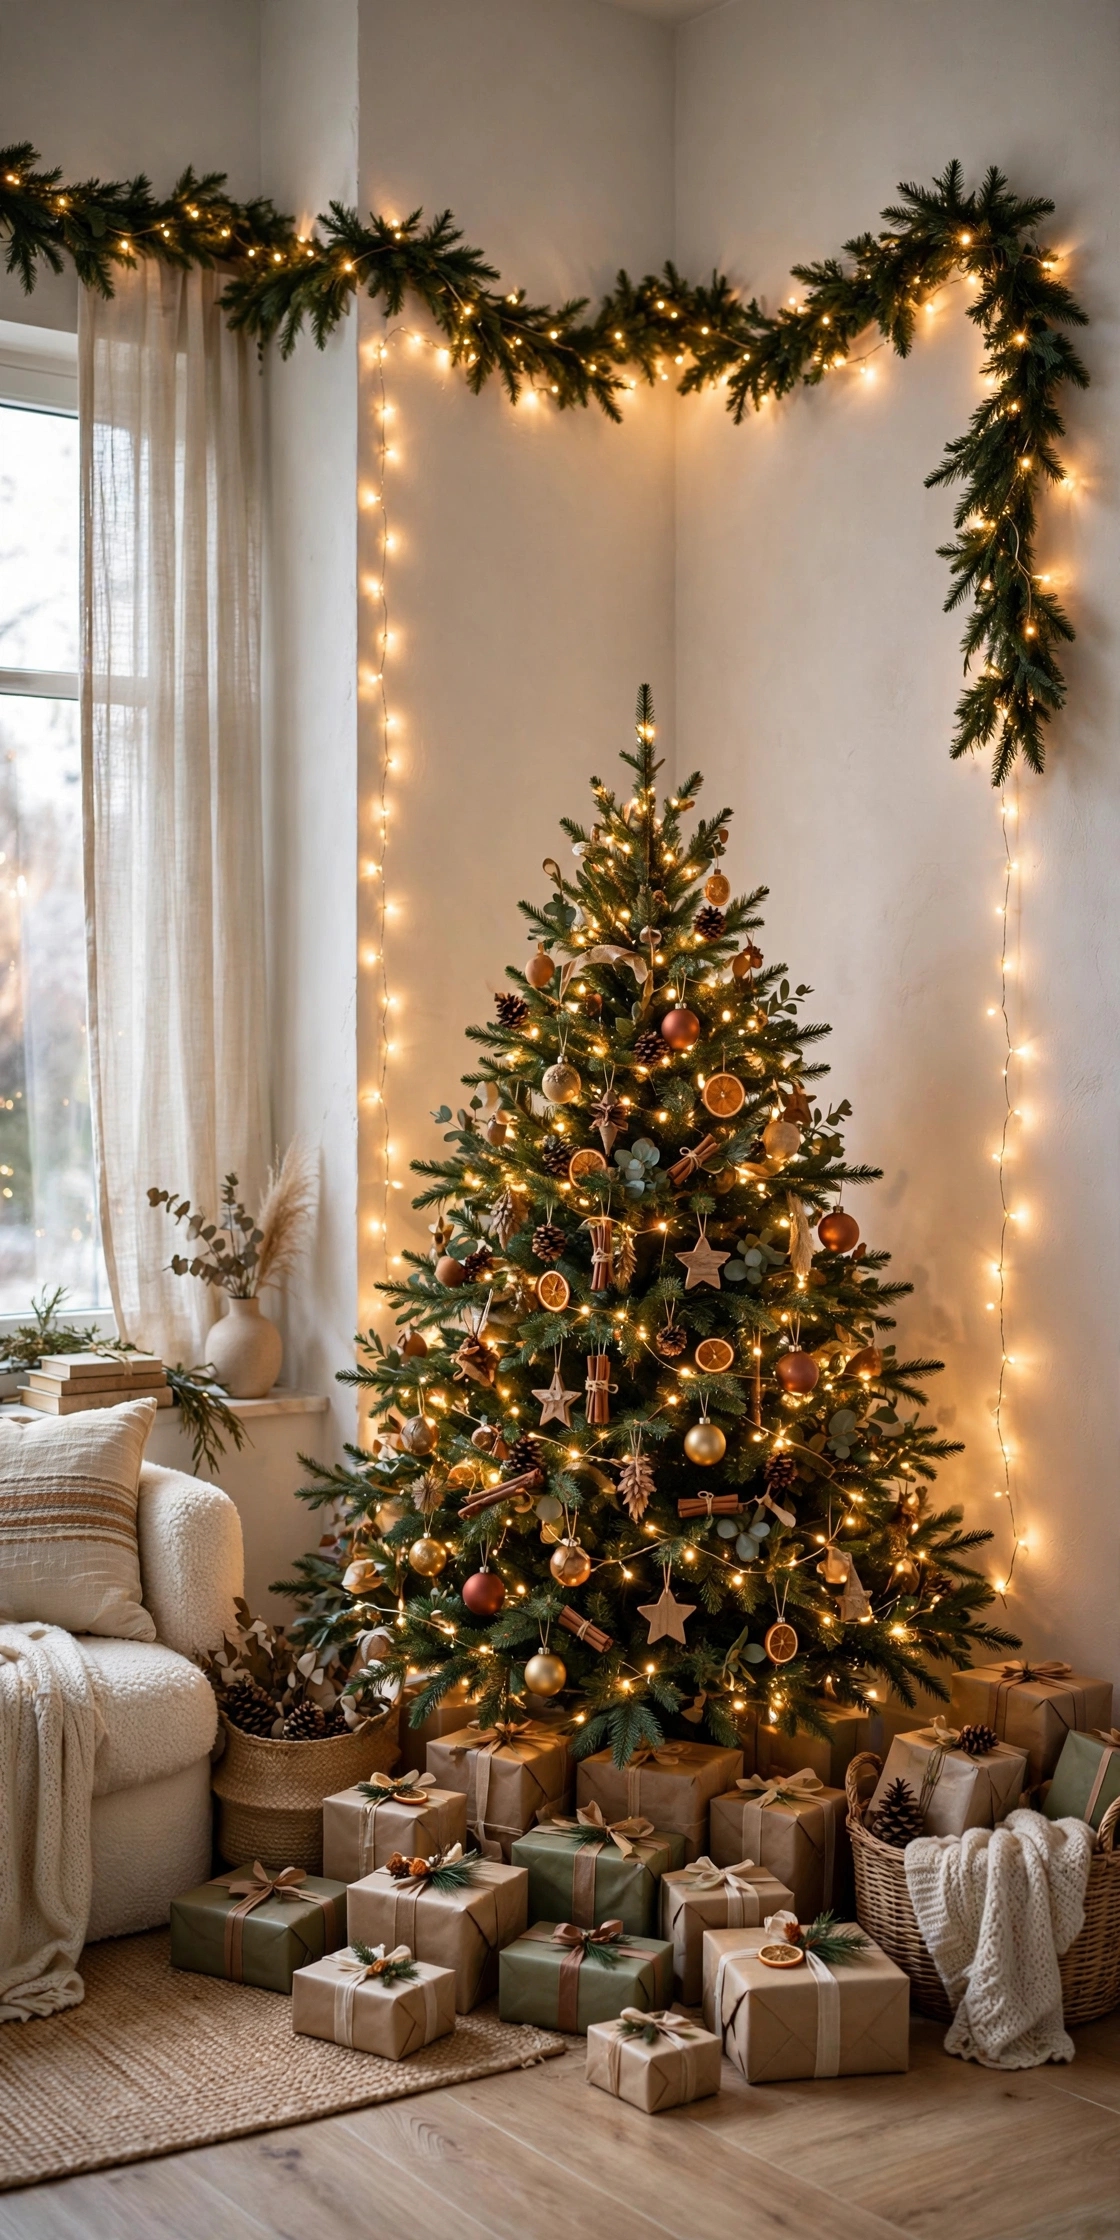
Give the Corner a Halo of Light
Run a strand of warm fairy lights along the two wall edges above the tree, or drape a lighted garland across the corner at picture-rail height. The halo outlines the corner as its own little room and connects the tree to the architecture instead of leaving it floating in front of two bare walls.
Try it: Use removable adhesive hooks rated for the garland’s weight, one every 12 inches. A sagging halo looks worse than no halo, so do not skip hooks to save two minutes.
23
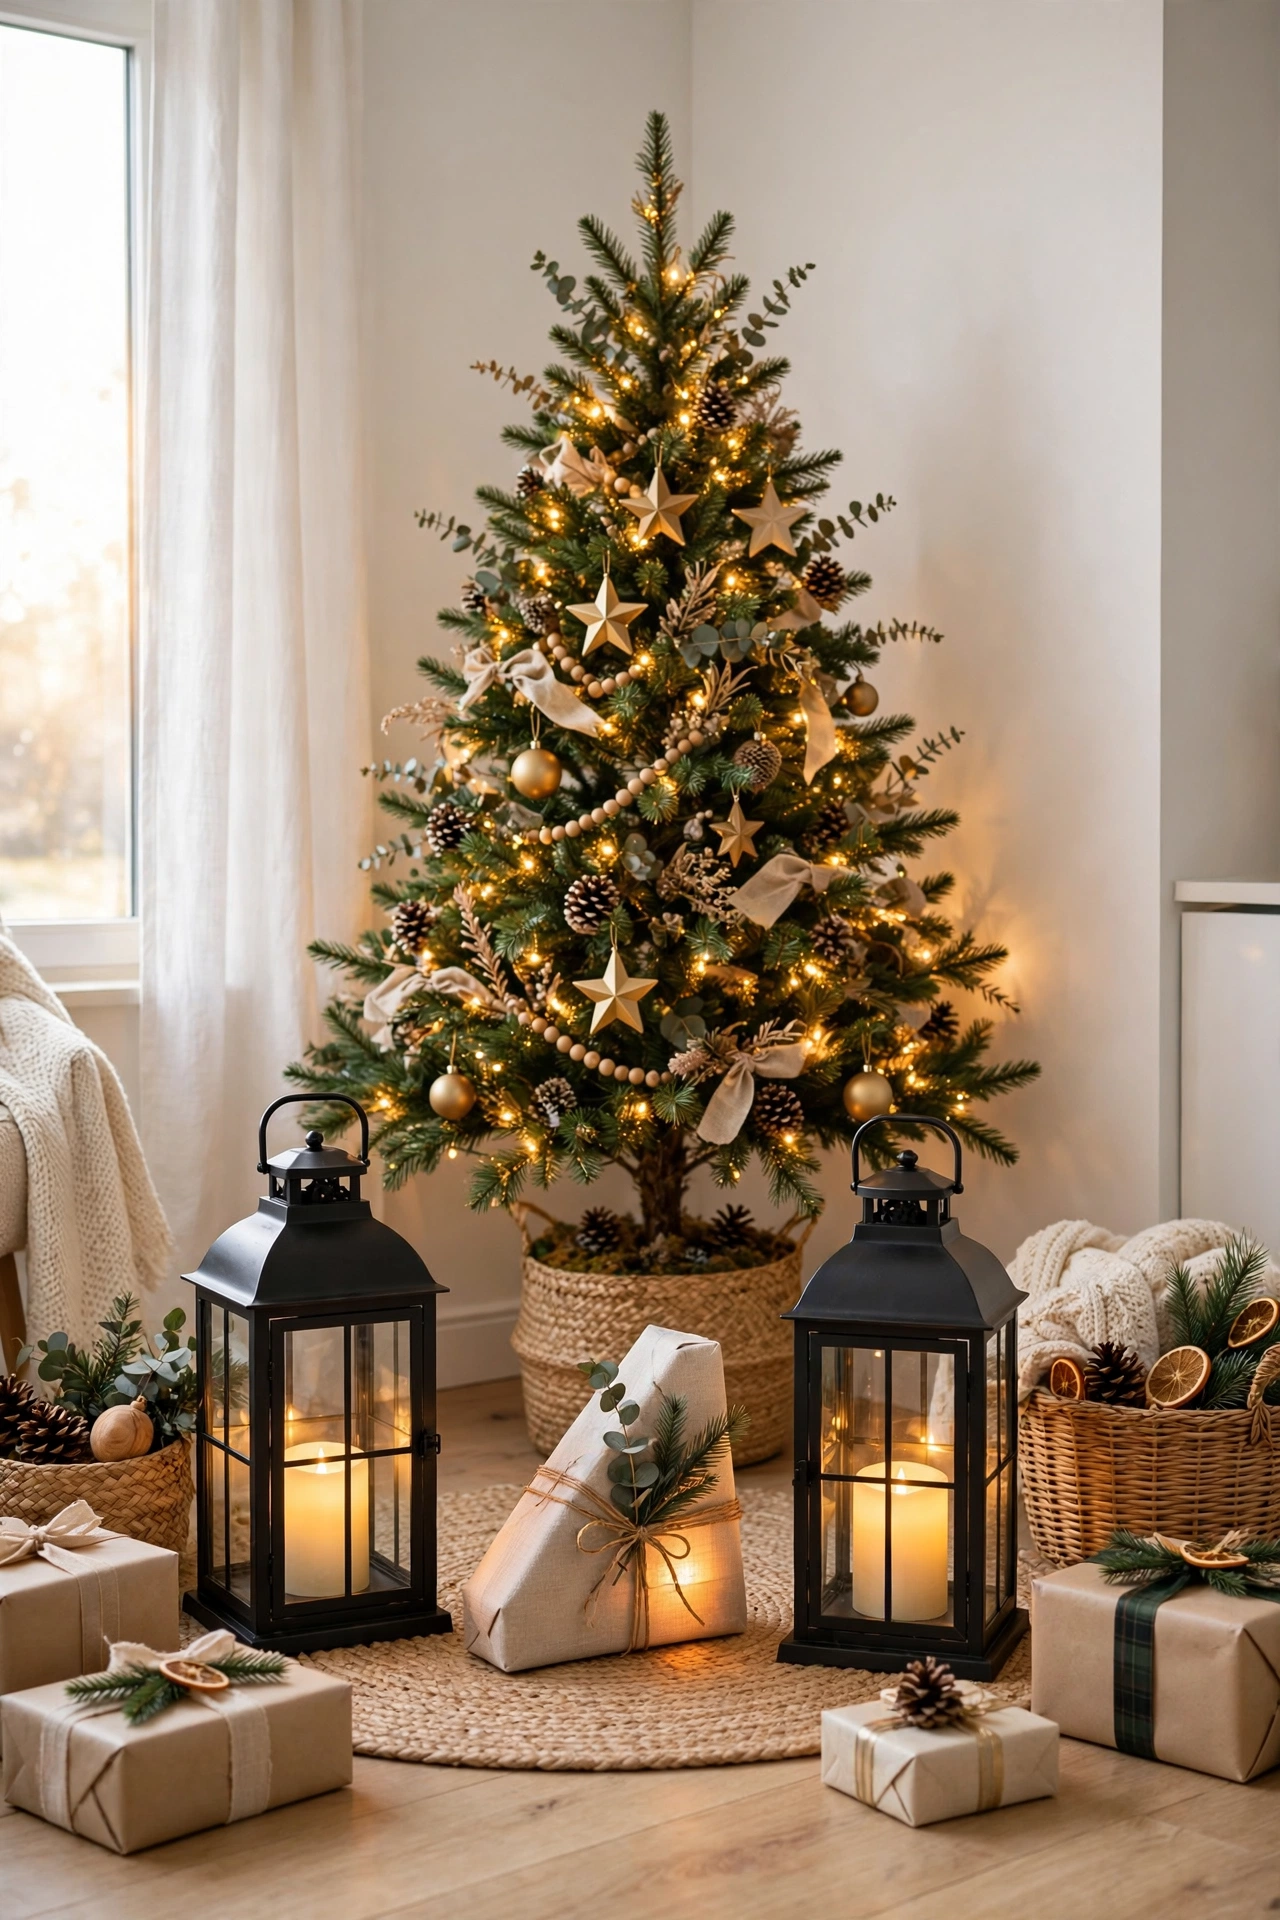
Flank the Tree With Lanterns at the Floor
Two lanterns or a trio of flameless candles on the floor at the front edges of the tree finish the corner like bookends. They light the gift wedge, mark the boundary so nobody clips the tree in the dark, and add a low light source that balances the topper. Keep real flames for tables; floor traffic and wrapping paper make flameless the smart corner choice.
Try it: Match the lantern finish to one metal already in the room, brass with brass, black with black. Mixed metals at floor level just read as clutter.
24
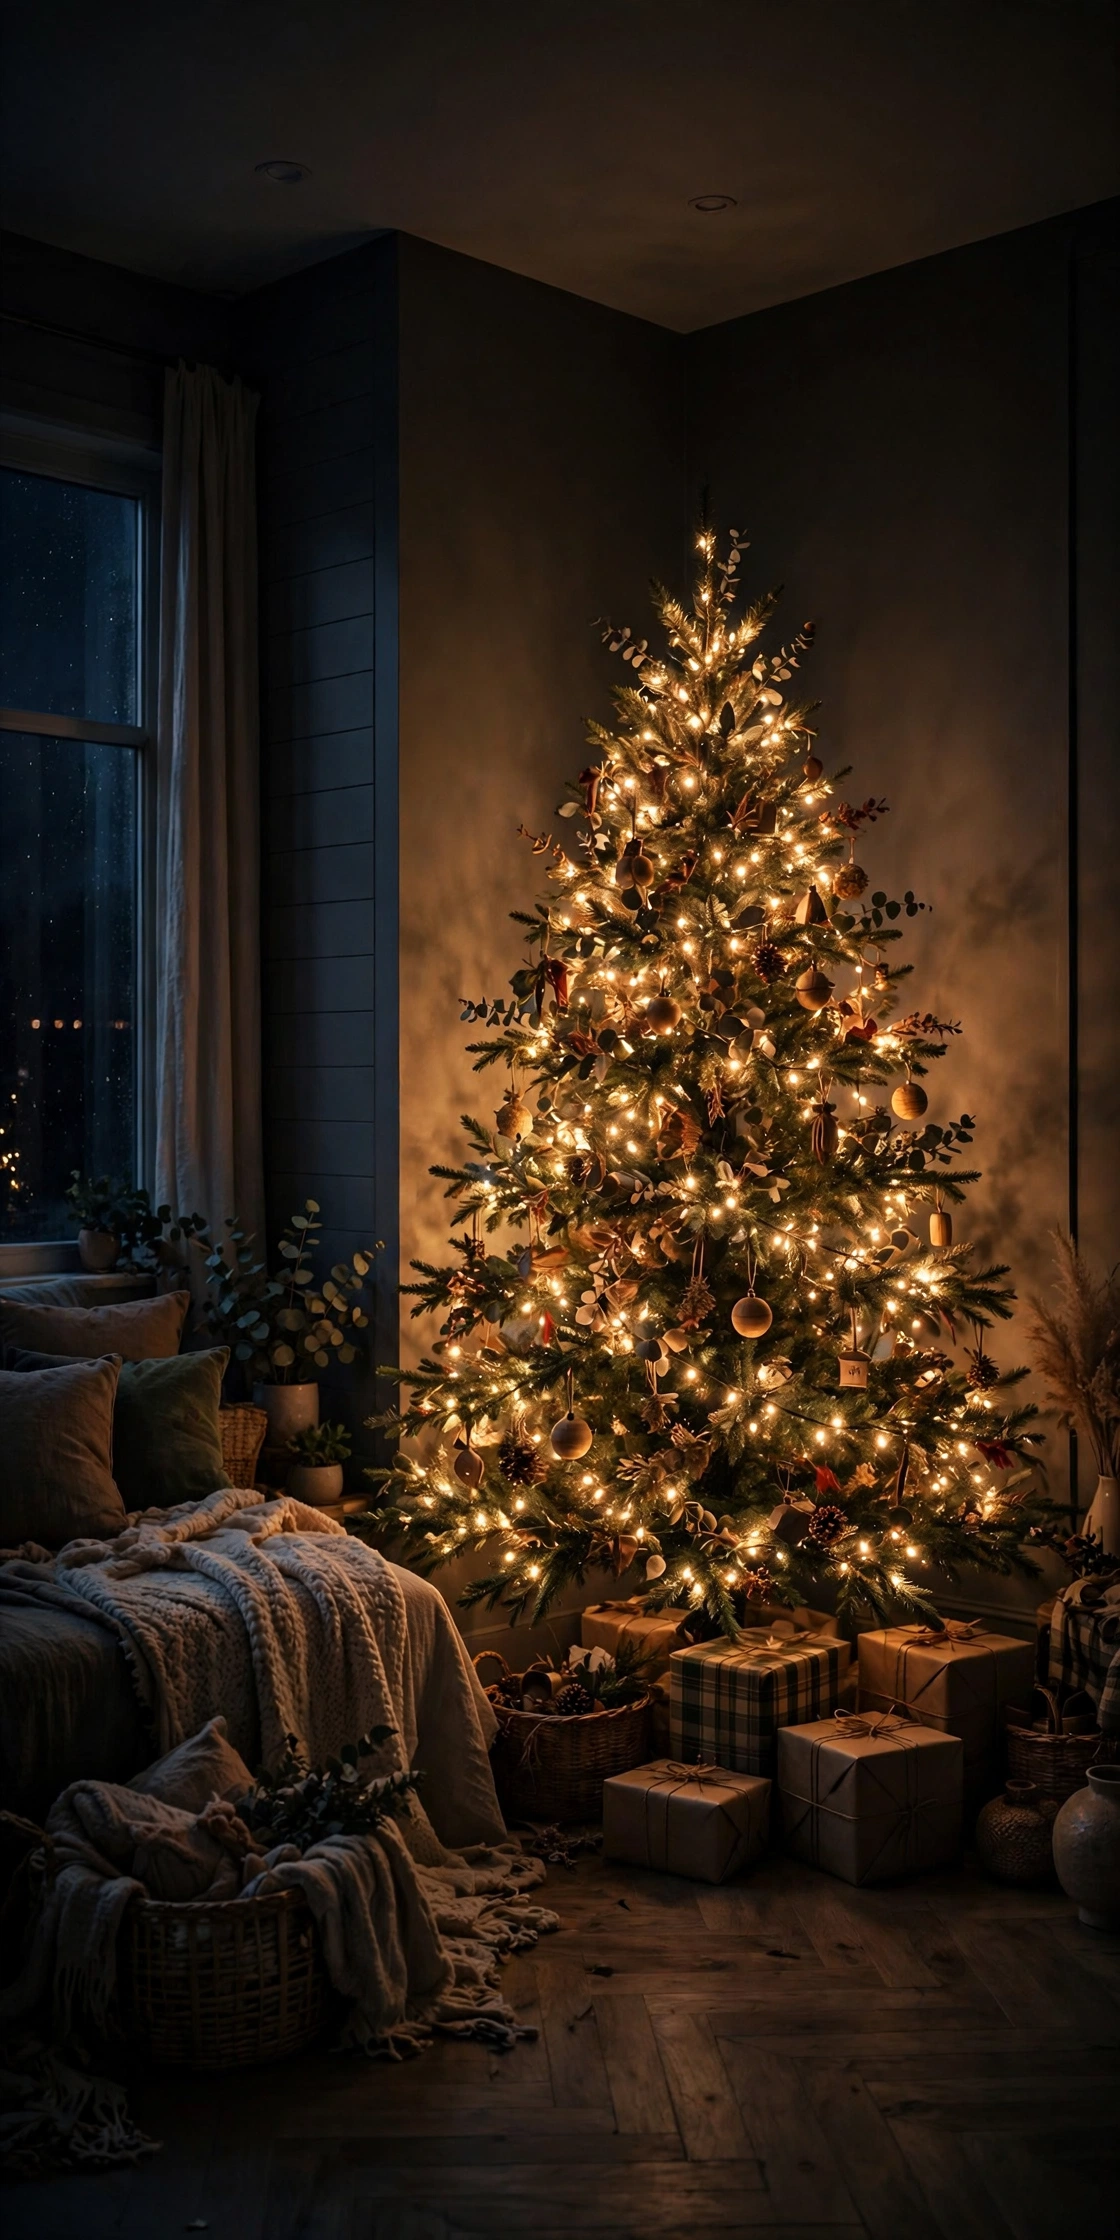
Test the Corner After Dark Before You Commit
A corner that looks fine at noon can go dead at night if it sits outside every lamp’s reach. Before you decorate, plug in the tree lights, turn off the overheads, and sit in the room the way you will in December. If the corner reads dark or flat, add the uplight and halo first; ornaments cannot fix a lighting problem.
Try it: Take a photo of the lit corner at night and look at it the next morning. The photo shows dead spots your eyes adjusted for in the moment.
25
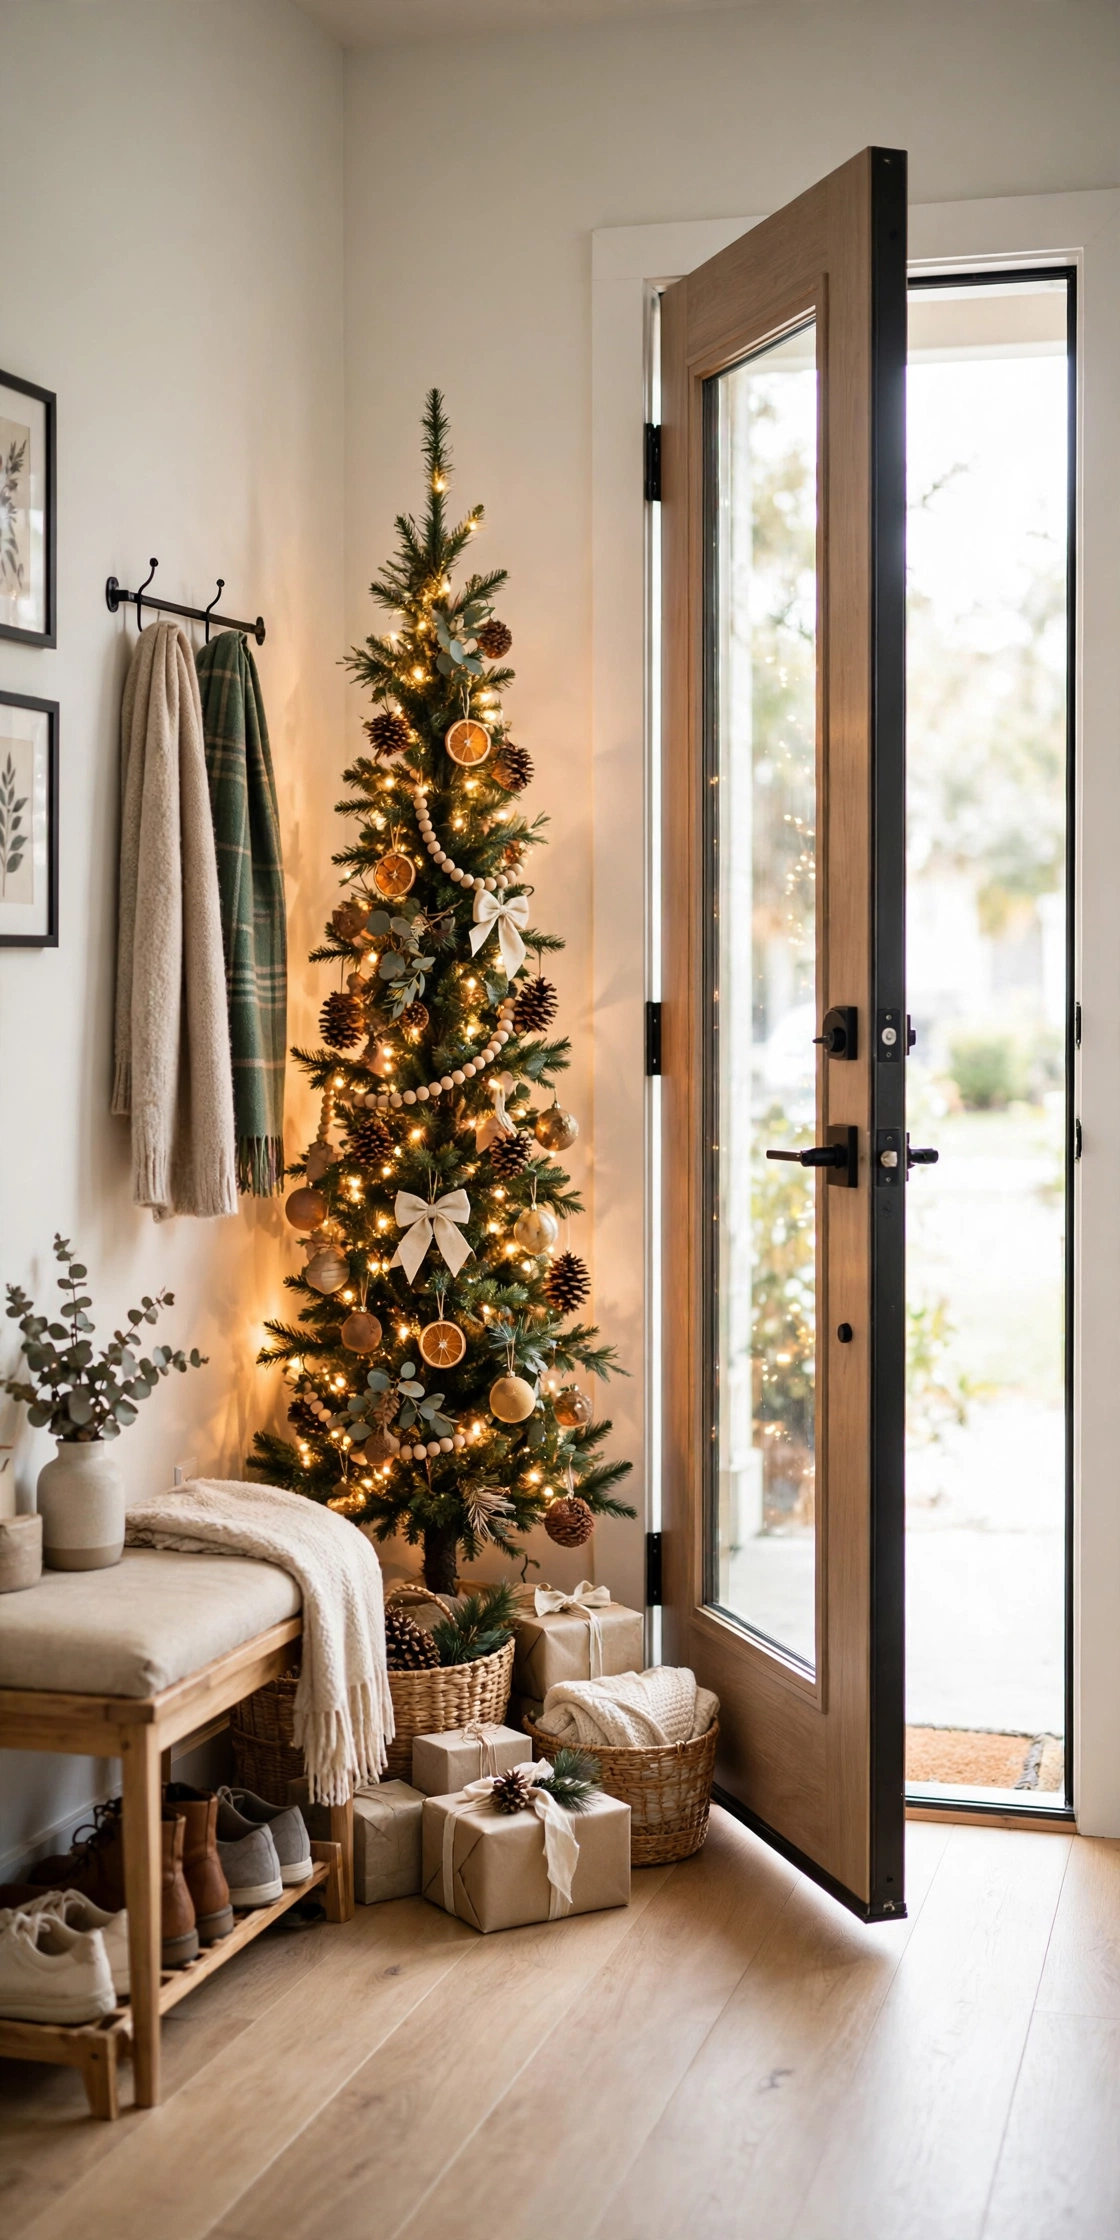
The Entry Corner: First Impression, Zero Footprint
The corner beside the front door is the highest-value corner in the house: guests see it first and it usually holds nothing but a shoe rack. A slim or half tree there greets people properly while leaving the door swing and the walkway completely clear. Keep the decorated face turned toward the door so the welcome lands the moment it opens.
Try it: Leave 36 inches of clear floor inside the door swing. A beautiful tree that gets clipped by the door every arrival loses ornaments and goodwill fast.
26
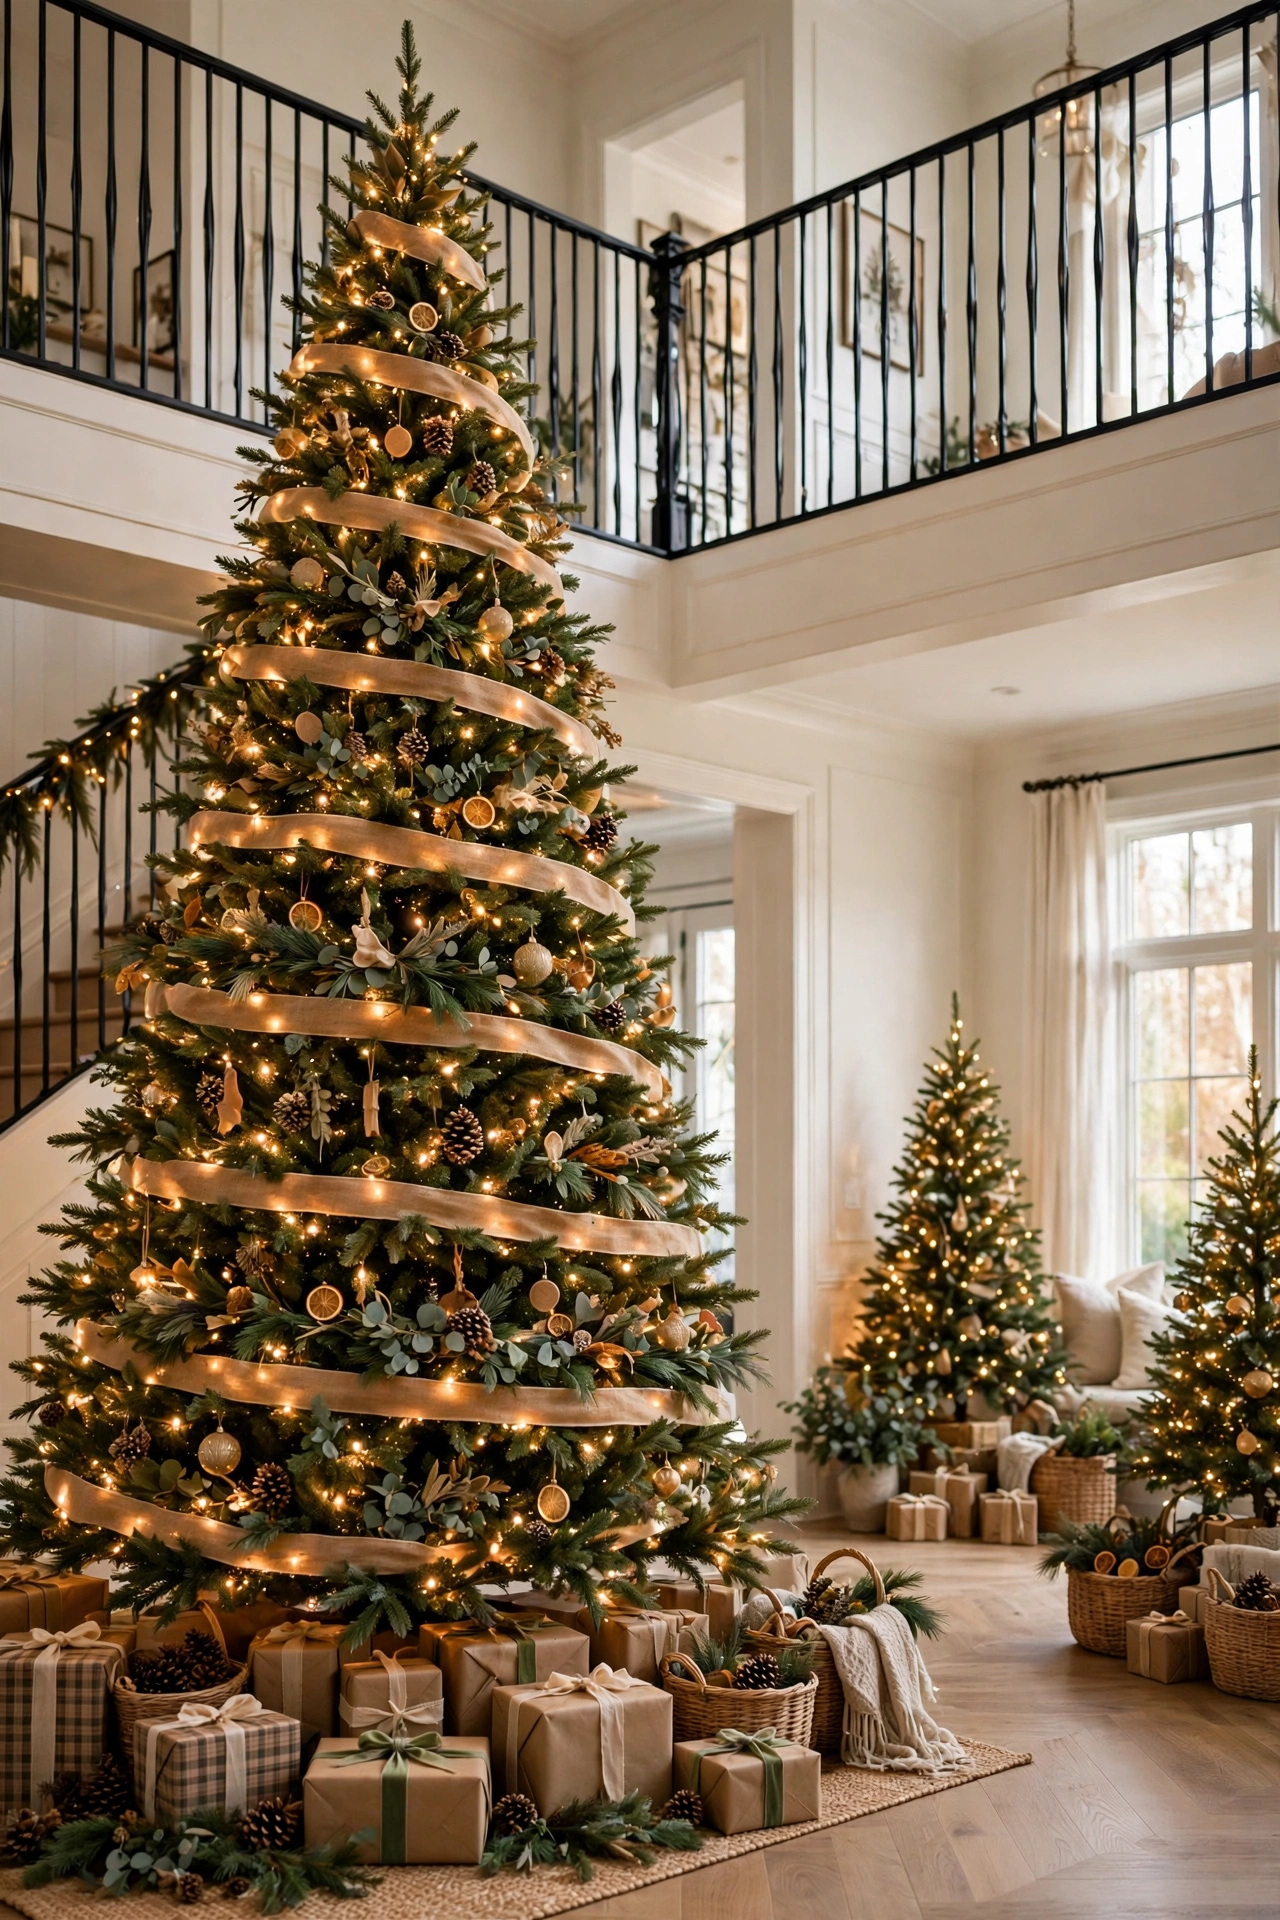
Go Tall in a Two-Story Foyer Corner
A two-story foyer corner is the one place a 9 to 12-foot tree earns its footprint, because the corner walls give it a backdrop on two sides and the height fills vertical space nothing else can. Decorate the front two-thirds only and the ornament math stays sane even at that size: about 10 ornaments per foot of height, minus a third for the hidden back.
Try it: Decorate a tall foyer tree from a step ladder in zones, finishing each 3-foot band before moving up. Dragging a ladder back for one missed gap is the December workout nobody wants.
27
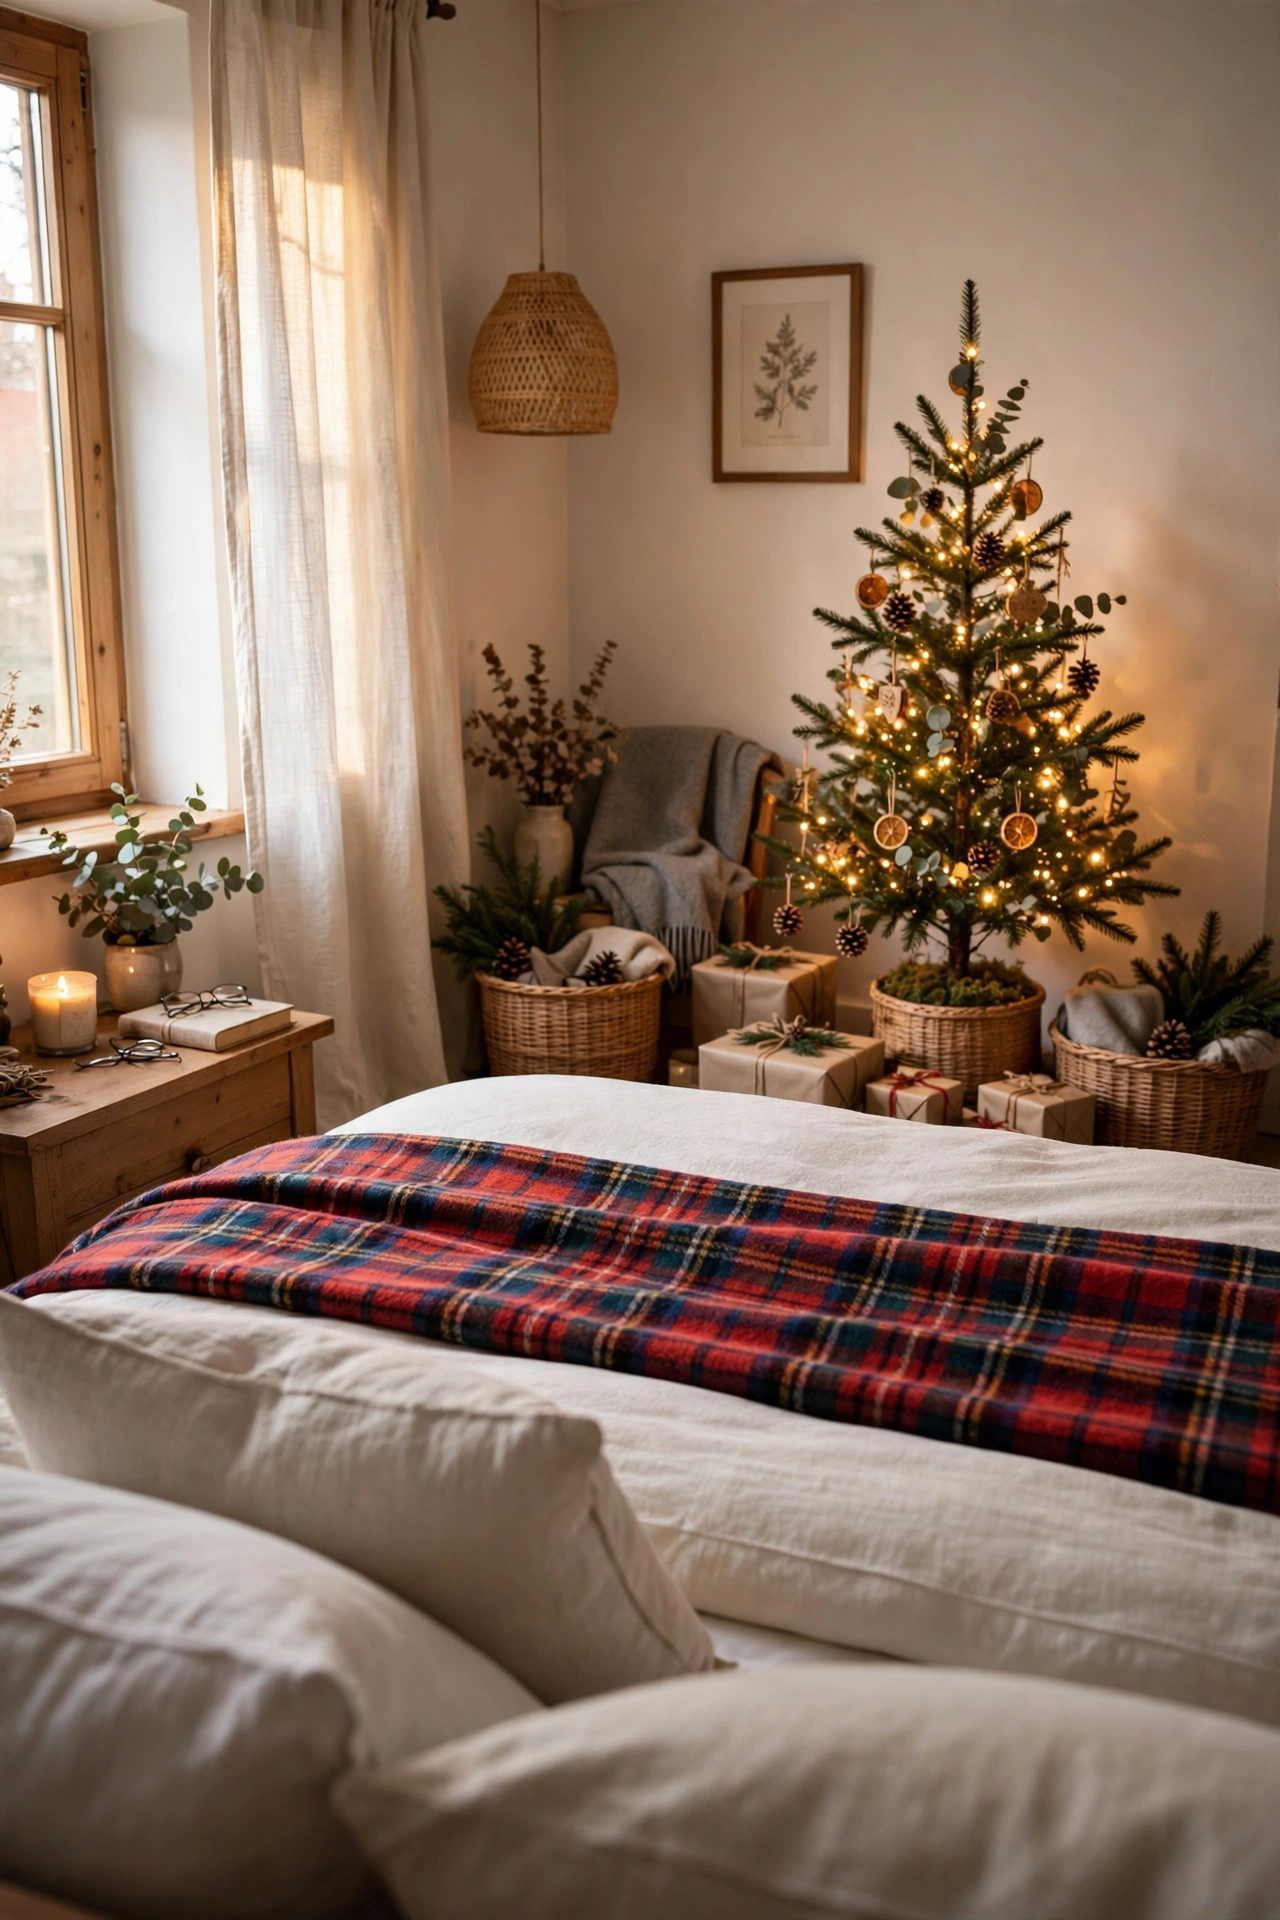
A Bedroom Corner Tree You Can See From the Pillow
In a bedroom, the right corner is the one in your direct sightline from the pillow, usually the corner opposite the foot of the bed. A 4 to 5-foot tree there, on a dresser-height stand or the floor, gives you the glow as the last thing you see at night. Keep scents and sounds out: no tinkling ornaments near a light sleeper’s room.
Try it: Put bedroom corner lights on a timer that turns off 30 minutes after your usual bedtime. The tree greets you, then lets you sleep in the dark.
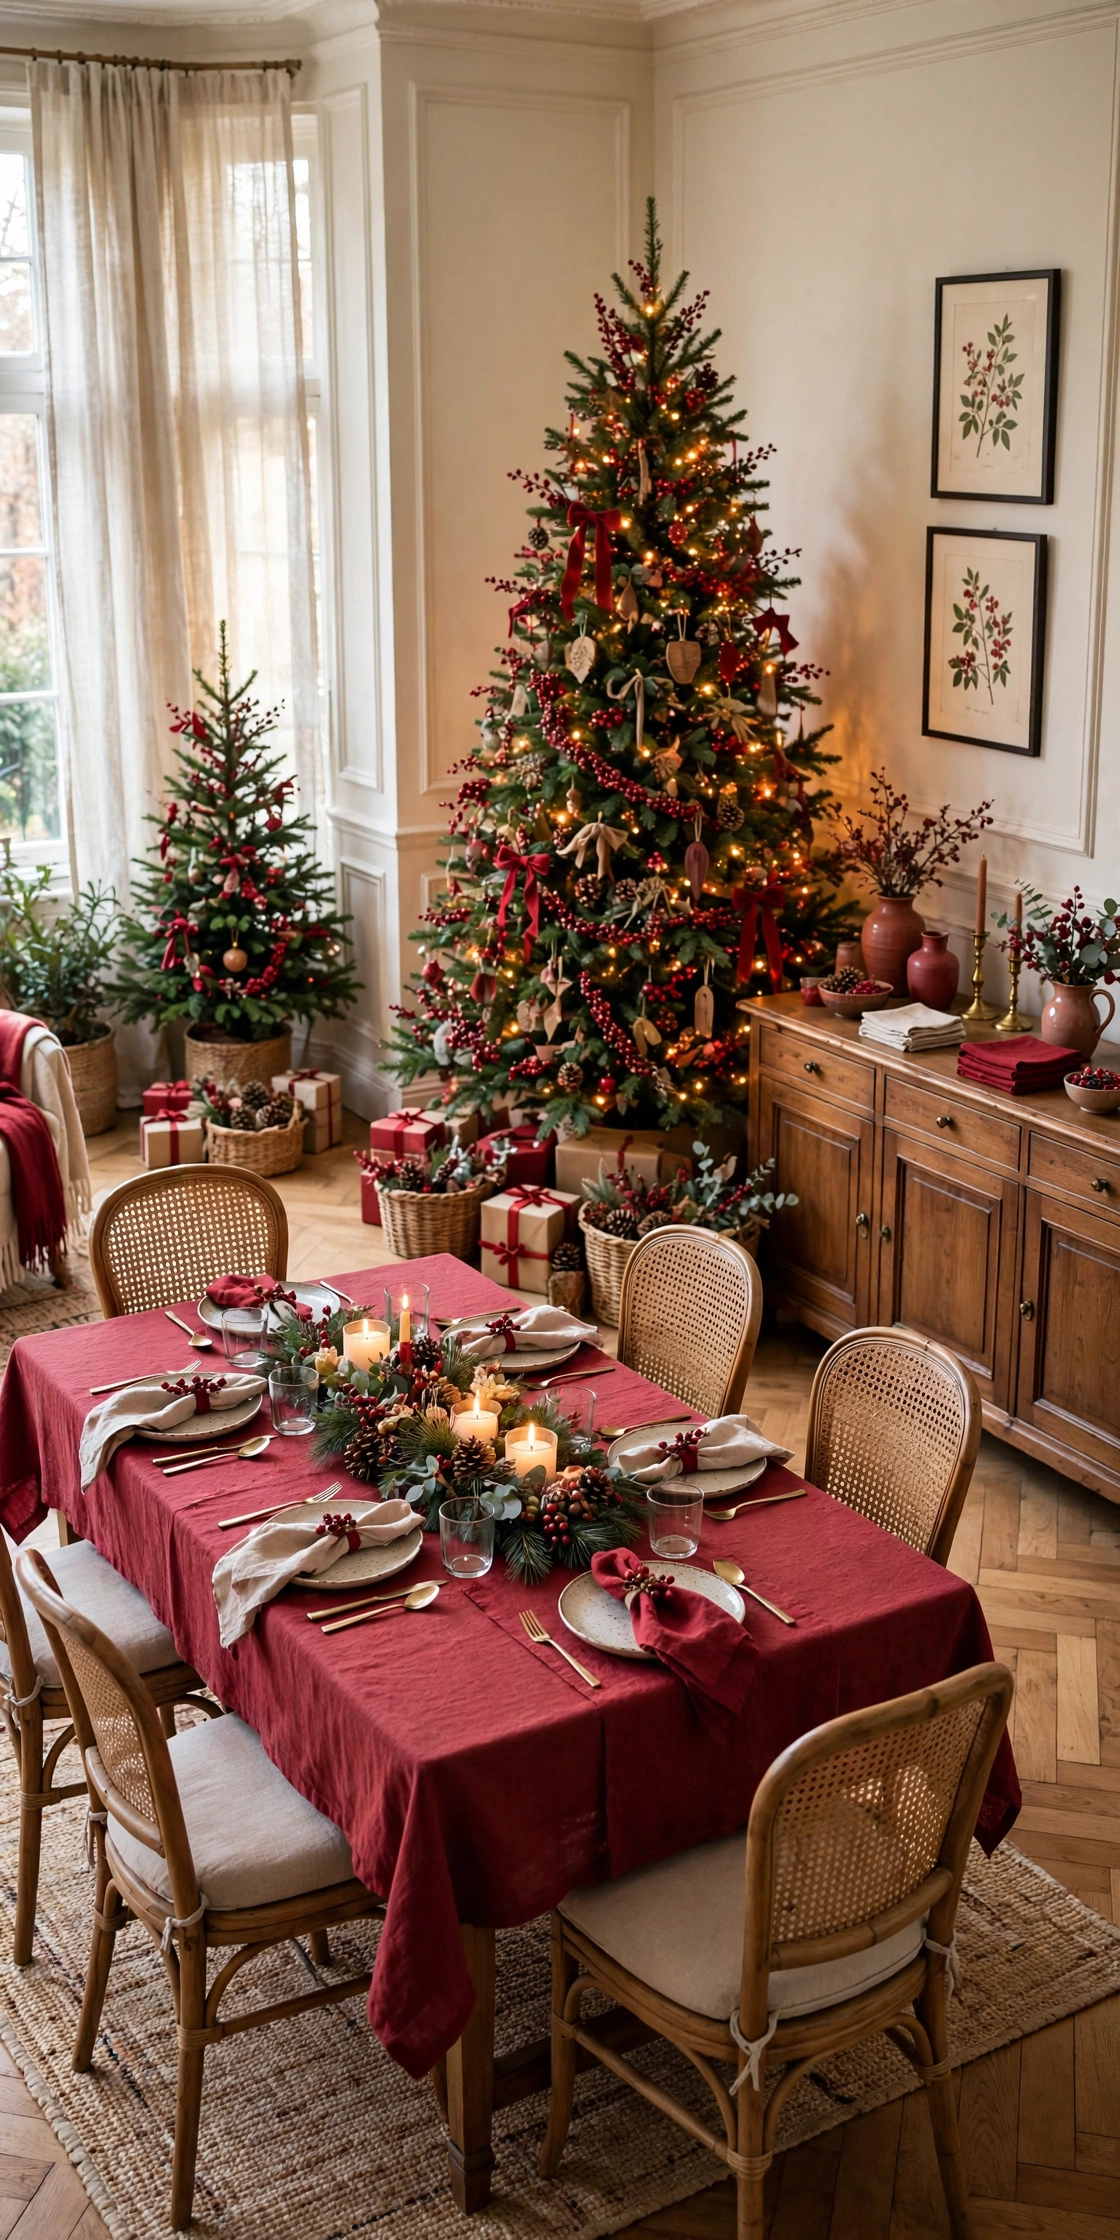
28
The Dining Room Corner That Serves the Table
A dining corner tree should support the table, not compete with it: match two colors from your table linens and keep the tree’s palette quieter than the centerpiece. Corners beside a sideboard are ideal, since the tree and buffet style into one scene. Keep a full chair’s width, about 24 inches, between the tree and the nearest pulled-out chair.
Try it: Hang a few ornaments on the tree that repeat the table’s centerpiece, same ribbon, same berry, same finish. The repetition makes a modest tree look designed.
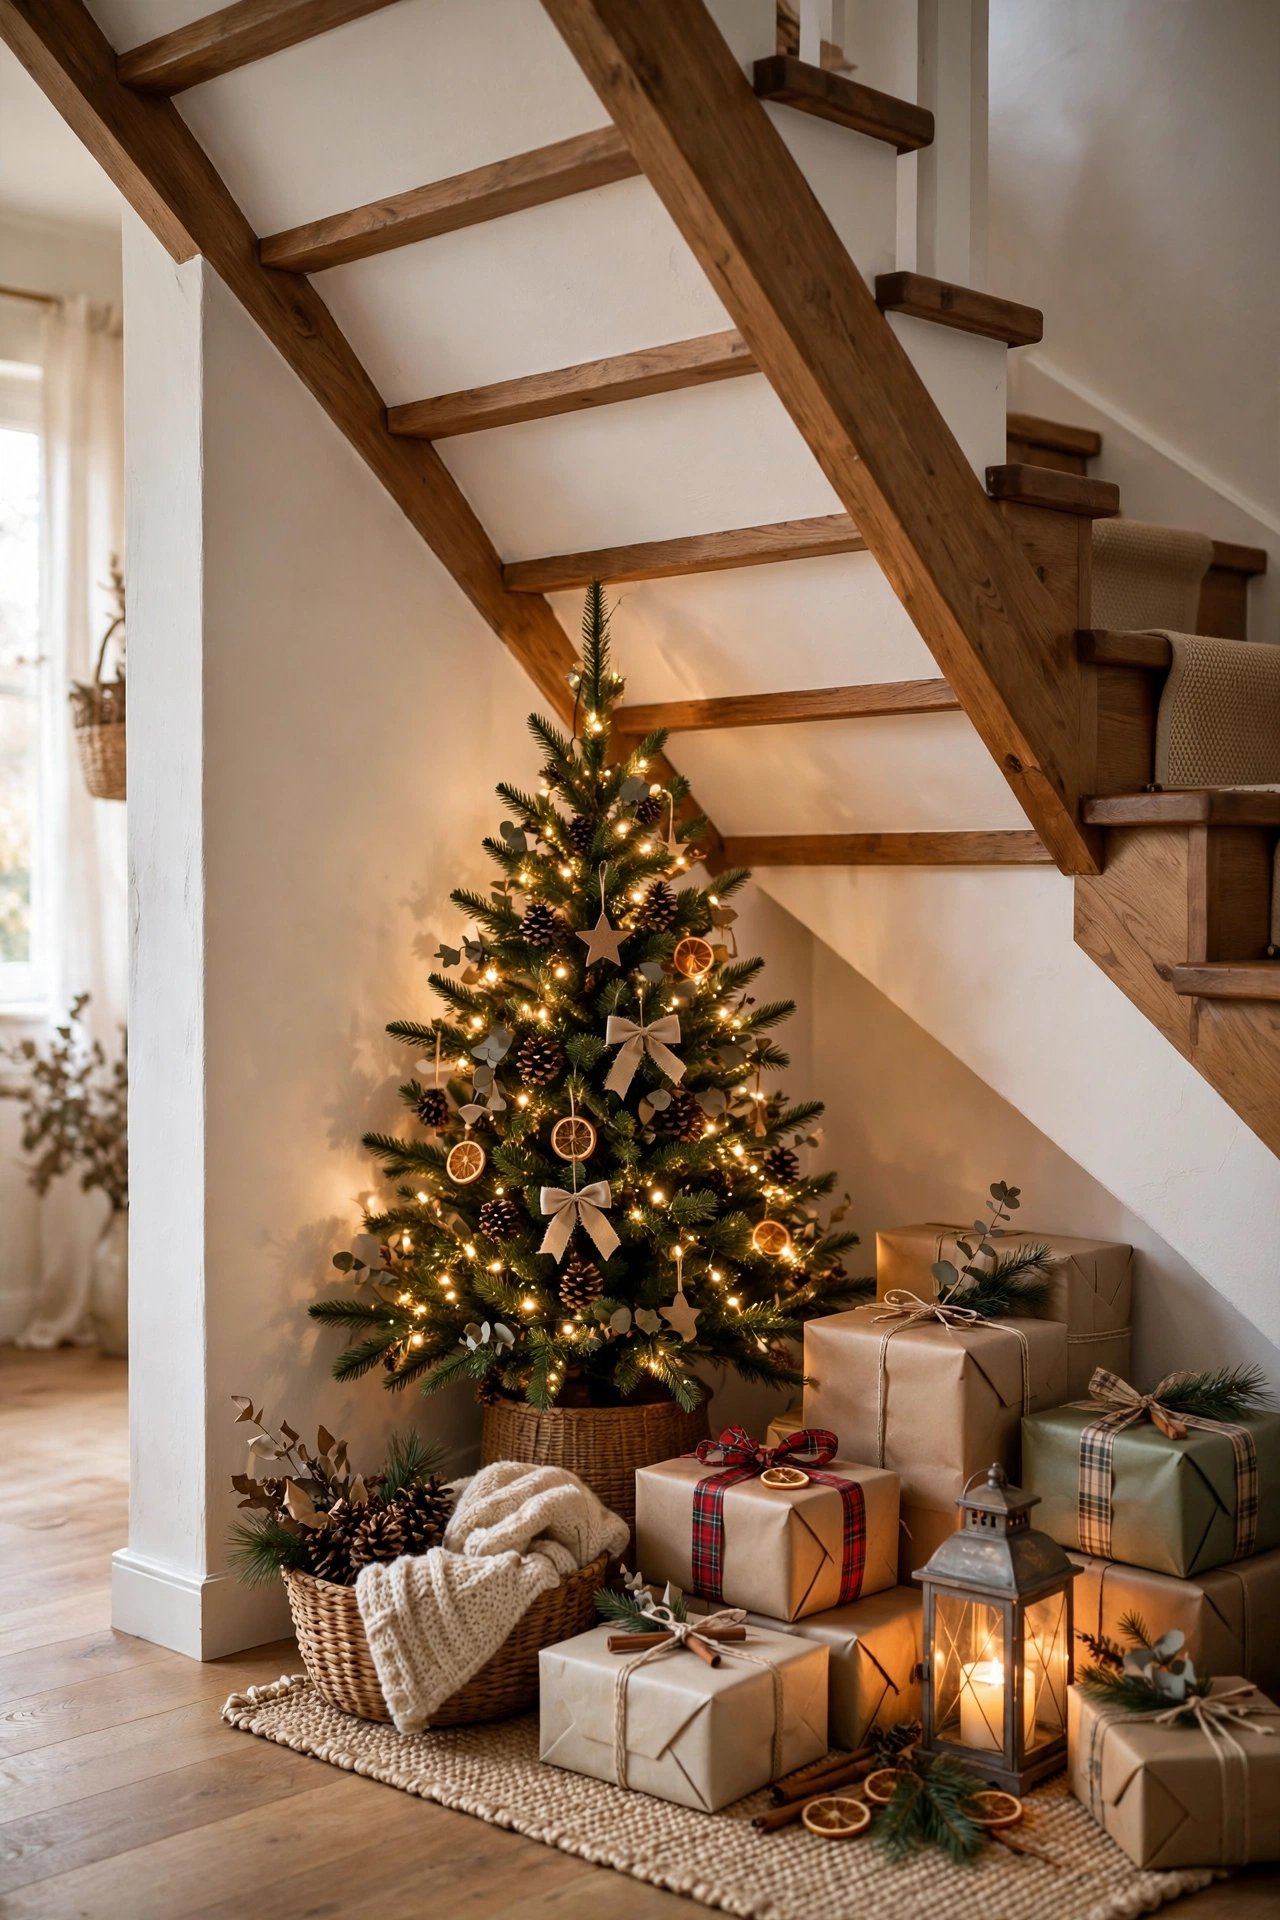
29
Claim the Under-Stairs Corner
The wedge under a staircase is a corner with a sloped ceiling, and it fits a tree the way a key fits a lock: tall at the wall, stepping down with the slope. Choose a tree whose height clears the underside by 6 inches at its position, which usually means a 4 to 6-foot tree set a little out from the lowest point. Fill the remaining wedge with wrapped gifts and a lantern.
Try it: Measure the ceiling height where the tree will actually stand, not at the wall. Under-stairs slopes fool everyone once.
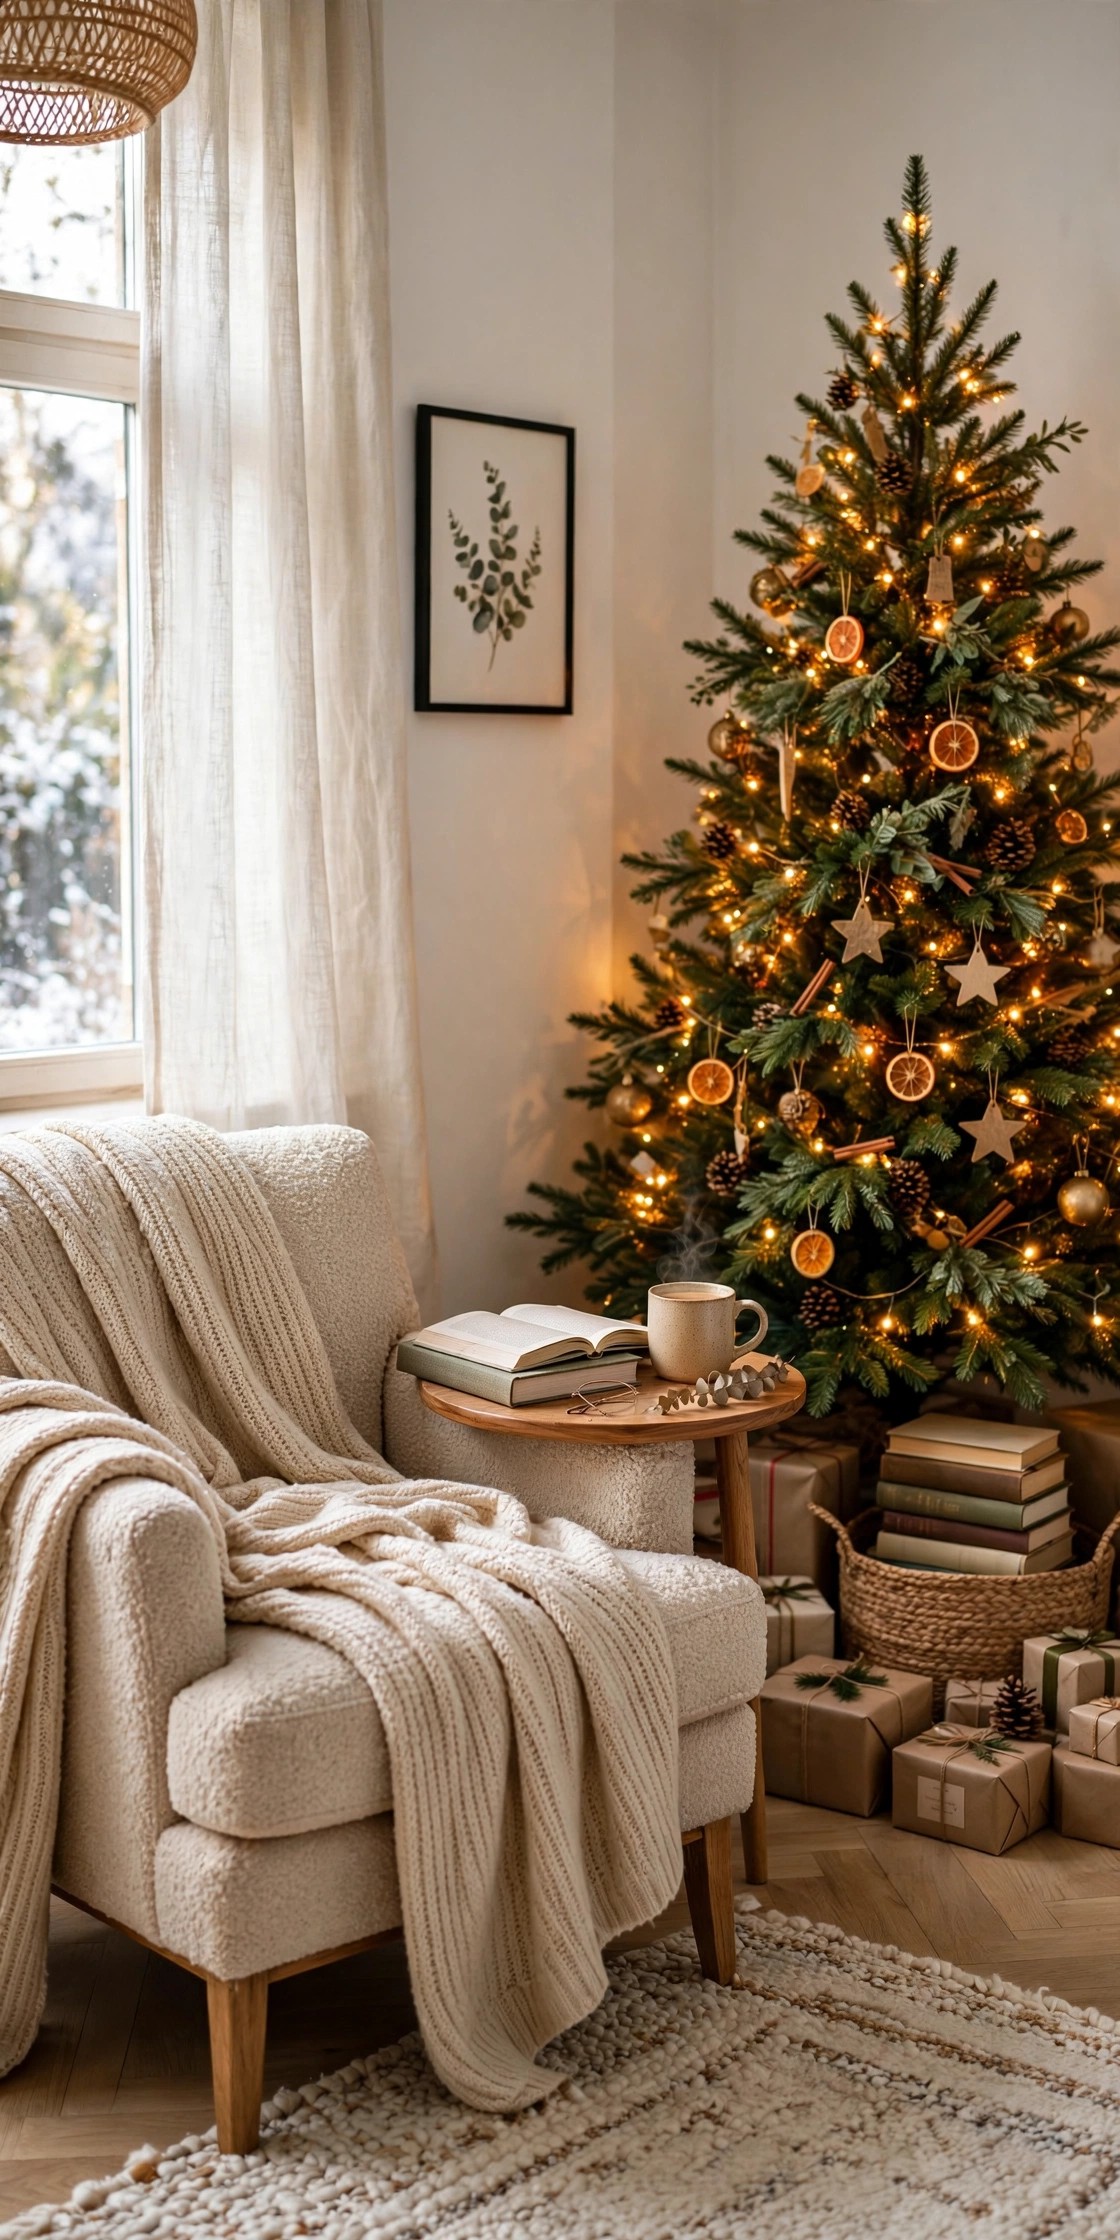
30
Build a Whole Vignette Around the Corner Tree
The final step up from a corner tree is a corner scene: the tree, one armchair angled in, a small side table, a throw, and a basket of books or gifts at the base. The corner becomes a destination instead of a backdrop, and in small rooms it replaces the furniture shuffle entirely. Keep the vignette to the corner’s triangle and it never crowds the room.
Try it: Angle the chair at 45 degrees so it faces both the tree and the room. A chair squared to the wall looks stored; angled, it looks like an invitation.
Pro tip: Do the two-seat test before you call the corner done. Sit in the room’s two most-used seats and look at the tree from each: you should see a full, lit, front-facing tree from both. If one seat sees mostly wall-side wedges and gaps, rotate the tree a quarter turn and fill the new side wedge; corners always have more viewing angles than the one you decorated from.
Three rules for corner Christmas trees
- The corner is the backdrop, not the hiding place: If your first thought is “no one will see it back there,” the tree is too small or too dark for the corner. A corner tree should be lit and styled like a focal point, because from the main seats it becomes one.
- Decorate the view, not the tree: Ornaments, ribbon, and your best pieces go on the visible two-thirds; filler goes on the side wedges; the back wedge gets lights only. Effort follows eyesight, always.
- Mind the three clearances: 6 to 12 inches below the ceiling, 3 feet from any heat source, and a clear walking lane of at least 24 inches past the gifts. A corner tree that breaks any of the three becomes a problem by mid-December, so it is worth reviewing christmas tree fire safety basics before setup day.
After Christmas: storing a corner tree
- Photograph the front before you touch it: Take straight-on and doorway photos of the finished corner. Next year you will rebuild the exact front arrangement, zones and all, in half the time.
- Pack by zone, not by type: One box for front ornaments, one for side filler and picks, one for lights and the collar. Zoned boxes match how a corner tree is decorated, so setup goes front, sides, done.
- Store quarter and half trees flat against a wall: Their flat sides are a storage gift: stand them in a bag against a closet or garage wall instead of eating a round tree’s worth of floor. Keep the wall anchor hook and fishing line in the same bag so the safety setup survives to next year.
More ideas you’ll love: slim christmas tree ideas, wall christmas tree ideas, small christmas tree ideas, tabletop christmas tree ideas, and plenty more in the Christmas Decor archive.
Questions readers ask
What exactly is a corner Christmas tree?
It is any tree styled to live in a corner, and the term covers three shapes: a quarter tree with two flat sides that meet at 90 degrees, a half or flat-back tree with one flat side, and a regular full tree rotated and decorated front-only so the corner hides its back.
How much space does a corner tree actually save?
A meaningful amount. A 7-foot full tree needs a circle of floor about 4.5 feet across; a half tree of the same height projects only about 2 feet from the wall, and a quarter tree reaches roughly 24 inches into the room, so you reclaim a third to a half of the floor the full tree would have taken.
How many ornaments do I need for a corner tree?
About a third fewer than a full tree of the same height. The usual guide is 10 ornaments per foot of height, so a 7-foot tree takes around 70 in the round but only 45 to 55 decorated front-only, with the best pieces across the front and filler on the side wedges.
Can I put a regular full Christmas tree in a corner?
Yes, and most people do. Rotate the fullest side toward the seating, push the tree in until the back branches nearly touch both walls, decorate the visible two-thirds, and anchor it with fishing line if the house has kids or pets. The corner does the hiding for free.
How far should a corner tree sit from the walls?
Close, but not crushed: back branches should just touch or sit within 2 inches of the walls. Branches flattened hard against the wall spring back unevenly and make the front look lopsided, while a big gap behind the tree wastes the corner and collects dust.
How do I stop a corner tree from looking flat?
Light and depth. Work one strand of lights close to the trunk so the tree glows from inside, tuck ribbon and large ornaments deep rather than on the surface, and add an uplight behind the tree so the walls carry a halo. Flatness is almost always a lighting problem, not an ornament problem.
Are corner trees safe around children and pets?
Yes, and corners are easier to protect than open floor: two sides are already walled. Anchor the trunk to both walls with clear fishing line, keep shatterproof ornaments on the bottom two feet, and block the front arc with a low gate or heavy gift boxes if you have a determined toddler or cat.
Which corner of the room is best for a Christmas tree?
The one diagonal from the main seating, visible from the doorway, near an outlet, and away from heat vents and door swings. If two corners qualify, pick the one you see from your favorite seat; the tree should face the people, not the room’s traffic.
People Also Ask
Do they make Christmas trees specifically for corners?
Yes. Quarter trees are molded with two flat sides at a right angle to slide into a corner, and half or flat-back trees are made for walls and shallow corners. Both are sold pre-lit in common heights like 6.5 and 7.5 feet, usually for $80 to $200.
Should I decorate the back of a corner tree?
No, unless it is on a rotating stand. On a static corner tree the back wedge faces two walls and is never seen; spend the ornaments and time on the front two-thirds instead. If the tree rotates, decorate fully but distribute ornaments evenly so no bare side swings into view.
How do I hide the stand and cords on a corner tree?
Use a collar or basket instead of a skirt so nothing puddles against the walls, then run the cord down the trunk and along the corner seam and baseboard to the outlet, covered with a paintable cable channel if it shows. The corner seam hides cords better than any other spot in the room.
loved these ideas? ✿
Save this guide for later
Pin it to your board so it’s there when you’re ready to recreate it.

Curated by
Hey! I'm Sanaullah — visual curator and content creator. I search, curate, and test the best aesthetic ideas across Pinterest so you can easily transform your living space, style daily outfits, and try simple creative DIYs without the overwhelm.