
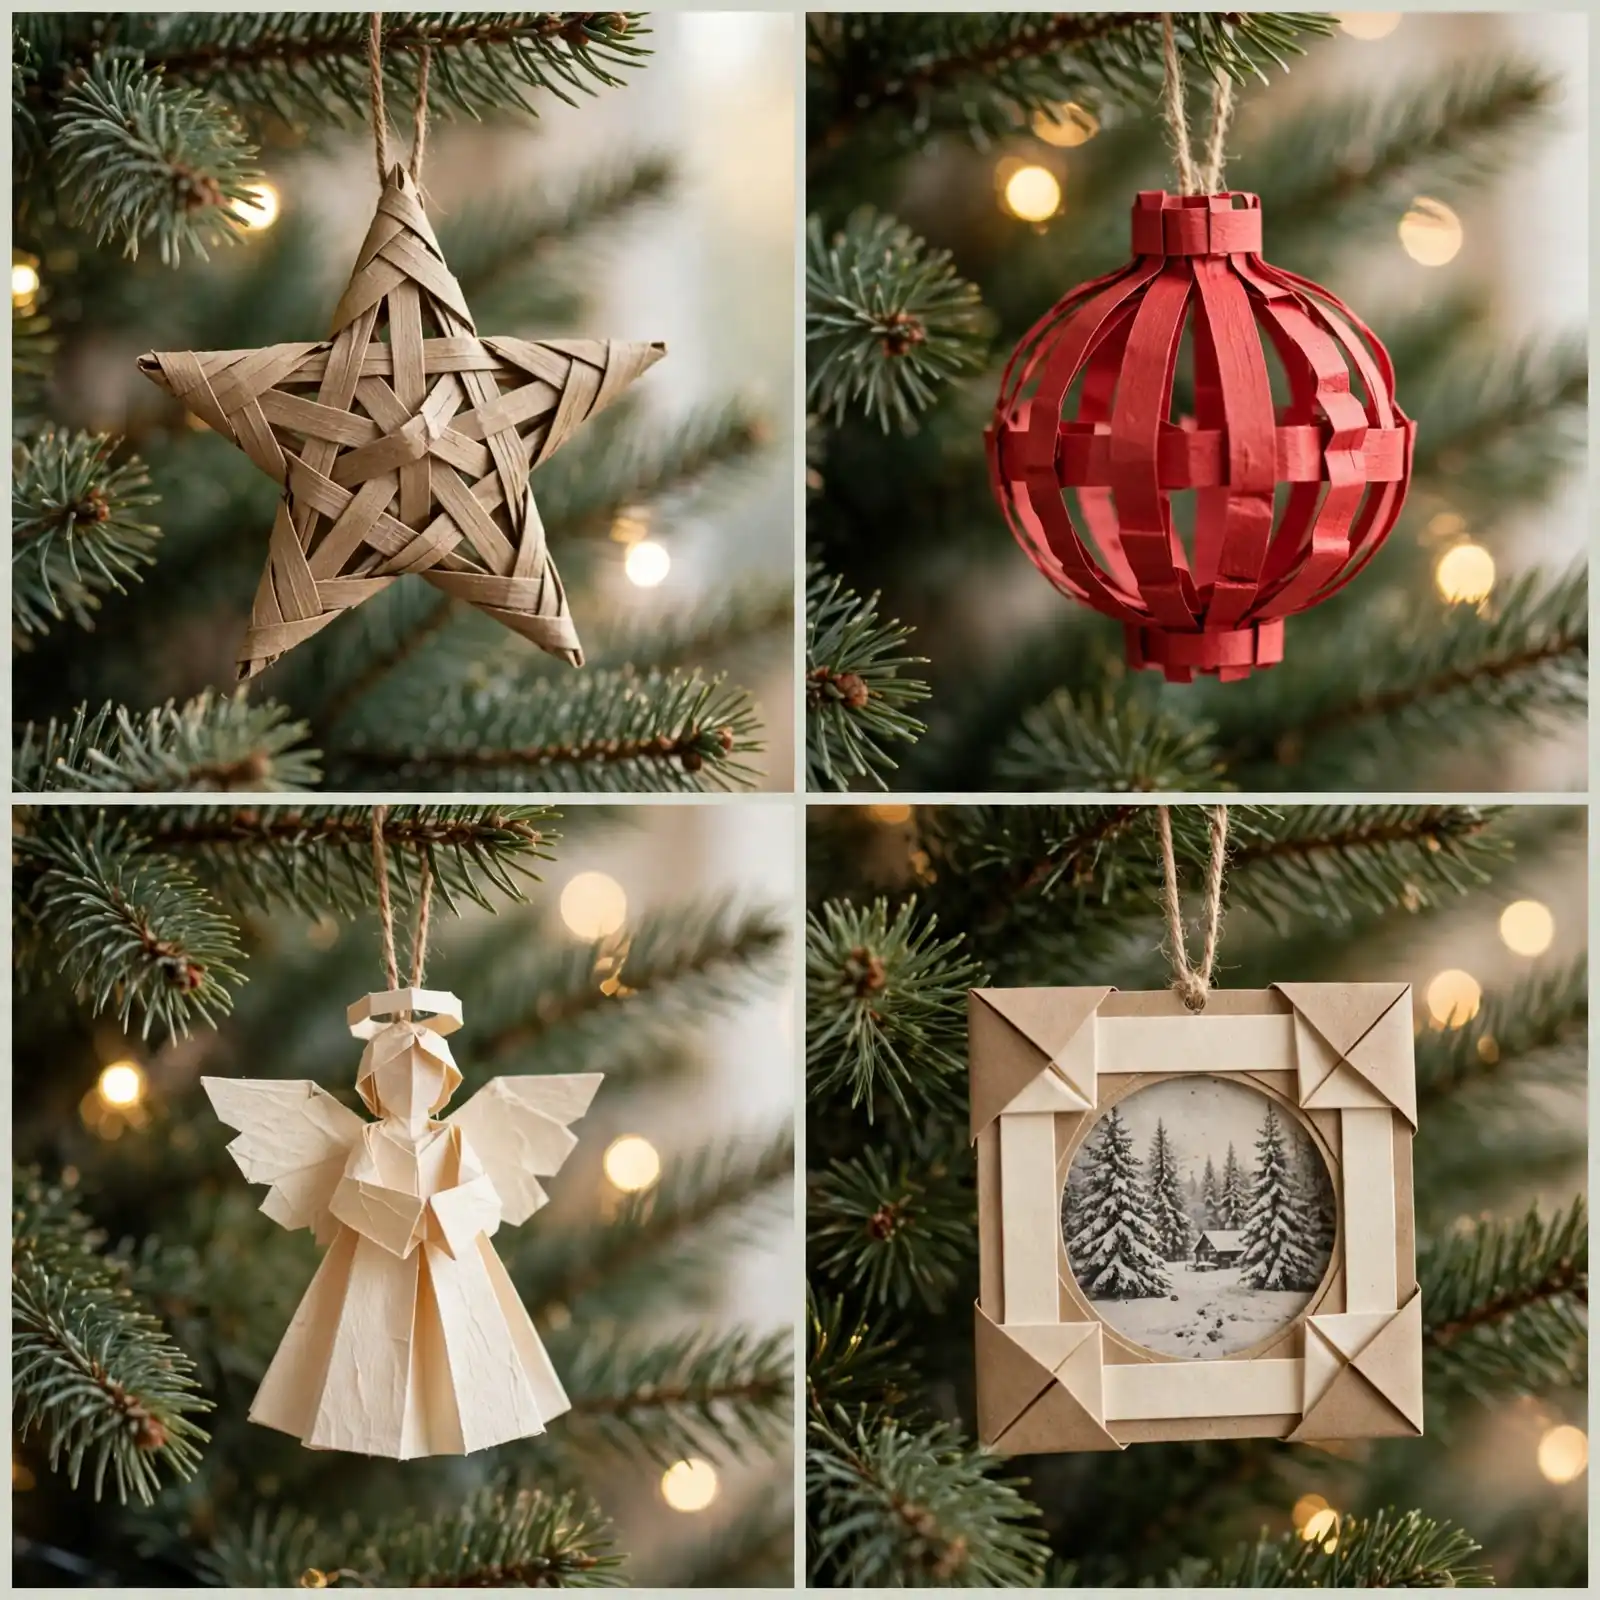
A tree dressed only in shop-bought baubles can look like a catalogue page, because every ornament on it was chosen from the same few shelves. A tree dressed in paper ornaments looks like a family, because every star, bauble, and angel carries a fold you made yourself. Most paper christmas ornament projects fail in the same way: people pick one fiddly fold, struggle halfway through, and give up with a pile of creased paper and a bare branch. This list works the other way around. These 24 paper christmas ornament ideas are grouped by form, folded stars, baubles and balls, hanging figures, woven and layered pieces, photo keepsakes, and quick kid-friendly makes, and every ornament comes with real steps and a hanging loop, so it goes straight onto the tree. If you want the fullest version of this list, start with the quickest group and work toward the stars, and for the general ornament collection these sit alongside, see Christmas Ornament Ideas. By Christmas Eve your tree will look handmade from top to bottom, not half decorated.
- The key takeaway: One ornament finished and hung beats five half-folded ones on the table. A branch holding a finished star, a finished bauble, and a finished angel looks like a plan, while a table of half-made folds looks like a mess.
- The detail most people miss: The loop matters as much as the ornament. A beautiful paper star with no loop ends up balanced on a branch and falls off, while a star with a short thread loop hangs where you put it all season.
- What it costs or how long it takes: Most of these 24 ornaments cost $1 to $10 in supplies, and each takes 10 minutes to 1 hour to make. Paper christmas ornament projects are often the cheapest decorations on the tree, because paper, scissors, and glue are already in a drawer.
At a glance
| Group | Ideas | Materials | Best for |
|---|---|---|---|
| Folded Stars | 01-04 | Paper strips, card, glue | Tree tops and outer branches |
| Baubles and Balls | 05-08 | Paper strips, card, thread | Full, round ornaments |
| Hanging Figures | 09-12 | Paper, card, string | Front branches and eye level |
| Woven and Layered | 13-16 | Coloured paper, glue | Colour pops and texture |
| Photo and Keepsake | 17-20 | Photos, card, ribbon | Memory branches and gifts |
| Quick and Kid-Friendly | 21-24 | Paper, straws, paint | Kids, classrooms, and last-minute trees |
jump to an idea ↓
- 01 German Paper Star
- 02 Woven Paper Star
- 03 3D Layered Paper Star
- 04 Paper Star Tree Topper
- 05 Paper Strip Baubles
- 06 Accordion Paper Sphere Ornaments
- 07 Paper Diamond Ornaments
- 08 Paper Rosette Baubles
- 09 Folded Paper Angel Ornaments
- 10 Paper Bird Ornaments
- 11 Paper Bell Ornaments
- 12 Paper Icicle Ornaments
- 13 Woven Paper Heart Ornaments
- 14 Paper Fan Ornaments
- 15 Paper Tassel Ornaments
- 16 Layered Paper Poinsettia Ornaments
- 17 Paper Photo Ornaments
- 18 Paper Frame Ornaments
- 19 Paper Wish Scroll Baubles
- 20 Paper Handprint Keepsake Ornaments
- 21 Paper Straw Star Ornaments
- 22 Paper Spiral Ornaments
- 23 Paper Cone Ornaments
- 24 Paper Bow Ornaments
Folded Stars
01
German Paper Star
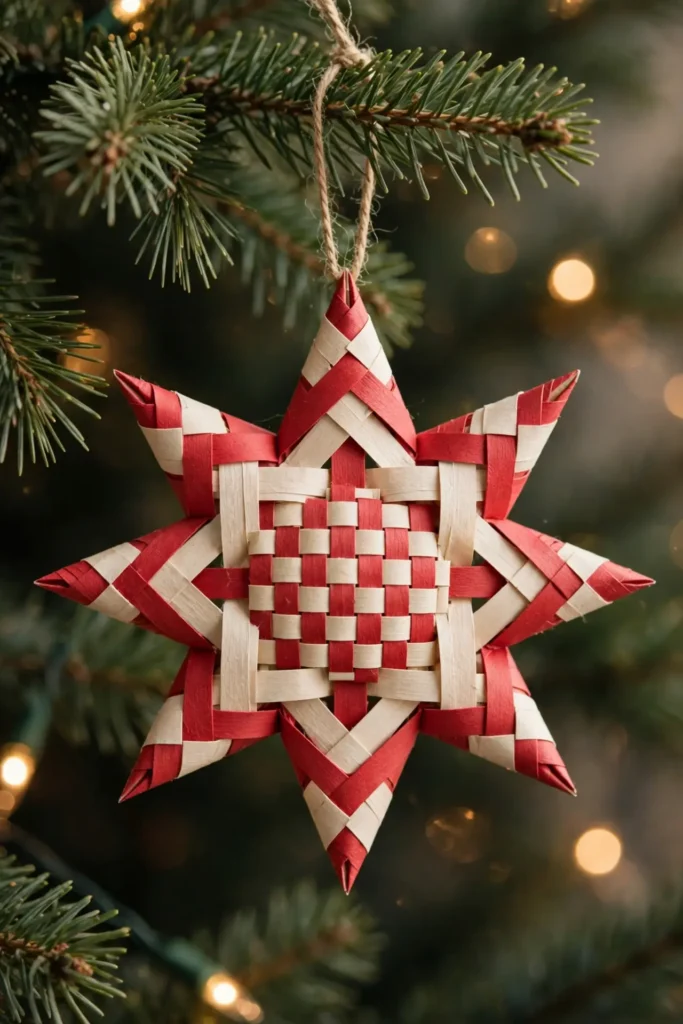
A tree top with only a shop star can look like an afterthought, because the topper is the one ornament everyone looks at first. A german paper star, woven from four paper strips into a pointed star with a woven centre, gives the tree a topper with real craft in it, because the woven middle shows the work. Steps: 1. Cut four strips of paper about 2 cm wide and 30 cm long, in two colours. 2. Weave the strips into a square mat, two across and two down, so the centre locks. 3. Fold each strip end into points around the mat, tucking the ends under, then thread a loop through one point and hang the star.
Try it: Weave the centre mat tightly before folding any points. A loose mat unravels as you fold, while a tight mat holds the star together.

02
Woven Paper Star
A branch holding only round baubles can look flat, because every ornament is the same shape. A woven paper star, strips of coloured paper woven over and under into a flat star, gives the branch points and angles, because the woven strips catch light differently from every side. Steps: 1. Cut eight strips of paper in two colours, about 2 cm wide and 20 cm long. 2. Weave four strips across and four down into a star mat, leaving the ends free. 3. Fold each free end into a point and glue it down, then add a thread loop to one point.
Try it: Use two colours that contrast sharply, red and cream or green and gold. Woven stars in similar colours blur together, while contrasting strips show the weave.
03
3D Layered Paper Star
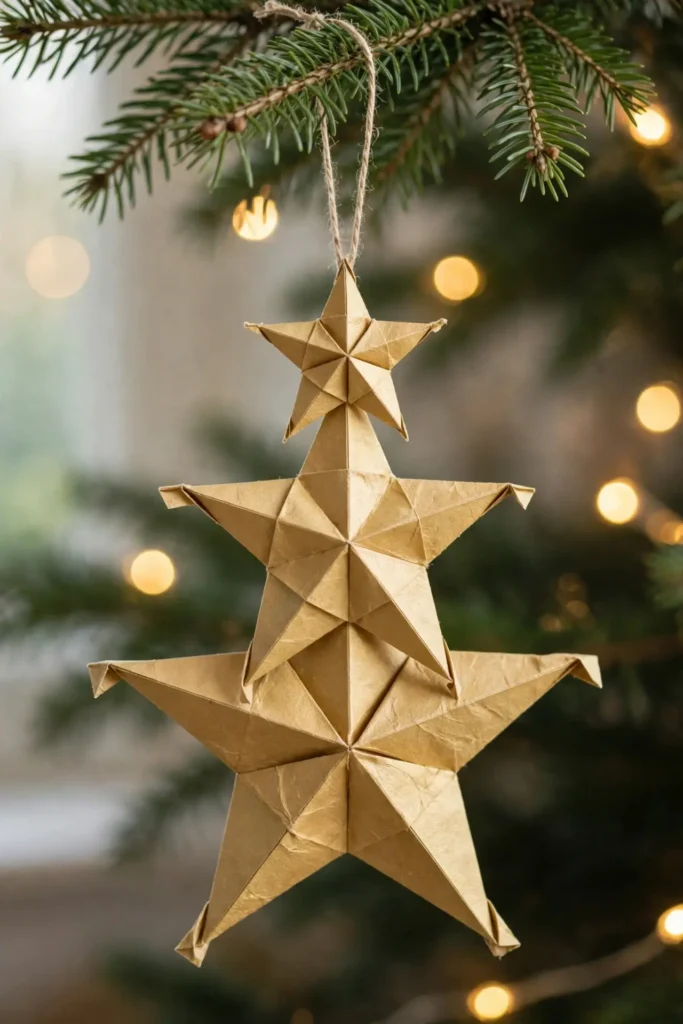
A tree dressed only in flat paper stars can look two-dimensional, because flat stars have no depth. A 3d layered paper star, three sizes of the same star glued in a stack, gives the branch a star with real depth, because the layers lift off the branch. Steps: 1. Cut three stars from card in large, medium, and small sizes. 2. Score and fold each star point gently upward so the points lift. 3. Glue the stars in a stack, largest at the back, add a loop at the top point, and hang the star on an outer branch where the layers show.
Try it: Glue only the centres of the stars together, not the points. Glued points flatten the star, while free points lift and catch the light.

04
Paper Star Tree Topper
A tree with no topper can look unfinished, because the eye travels up the branches and finds nothing at the end. A paper star tree topper, a large folded star on a cone base that sits over the top branch, finishes the tree, because the topper is the ornament the whole tree points to. Steps: 1. Fold a large star from stiff card, following the layered star steps, and glue it firmly. 2. Roll a small cone from card that fits snugly over the top branch. 3. Glue the star to the front of the cone, slide the cone over the top branch, and turn the star to face the room.
Try it: Make the topper star from stiff card, not thin paper. A topper from thin paper flops forward, while a card topper stands straight all season.
Baubles and Balls
05
Paper Strip Baubles
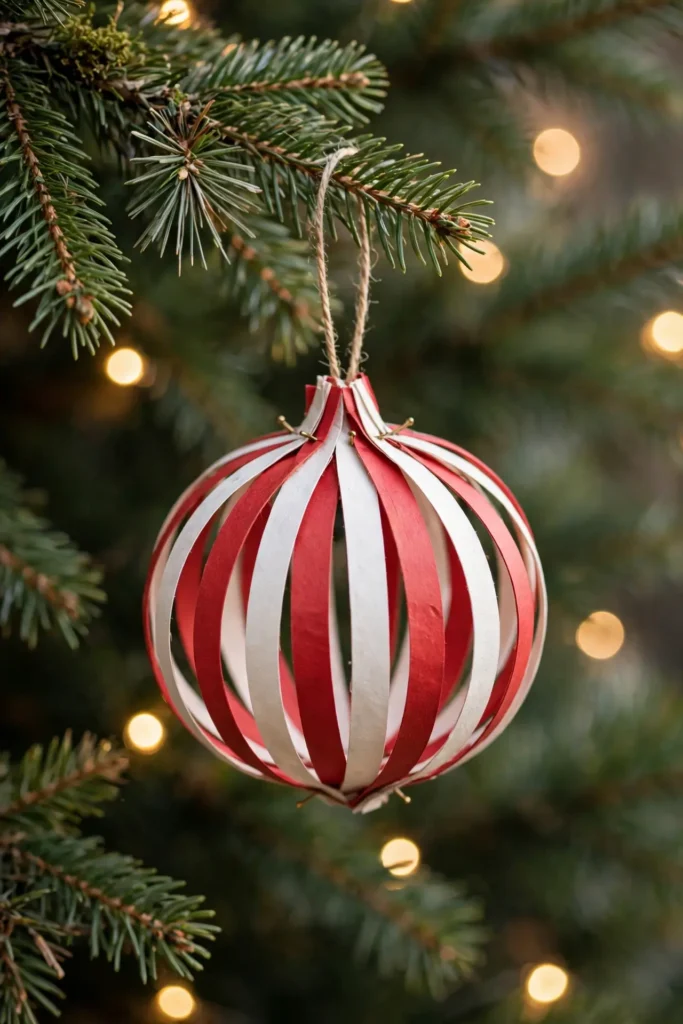
A tree covered in identical shop baubles can look like a catalogue page, because identical baubles repeat with no variation. Paper strip baubles, loops of paper strips pinned top and bottom into a round ball, give the tree baubles with handmade texture, because the strips curve differently on every bauble. Steps: 1. Cut twelve strips of coloured paper about 2 cm wide and 20 cm long. 2. Stack the strips, pin or staple one end together, and fan them into a ball shape. 3. Pin the other ends together at the bottom, add a thread loop at the top, and hang the bauble where the strips catch the light.
Try it: Vary the strip lengths slightly on purpose, one or two strips a centimetre shorter. Identical strips make a perfect sphere, while slightly varied strips make a bauble that looks organic.
06
Accordion Paper Sphere Ornaments
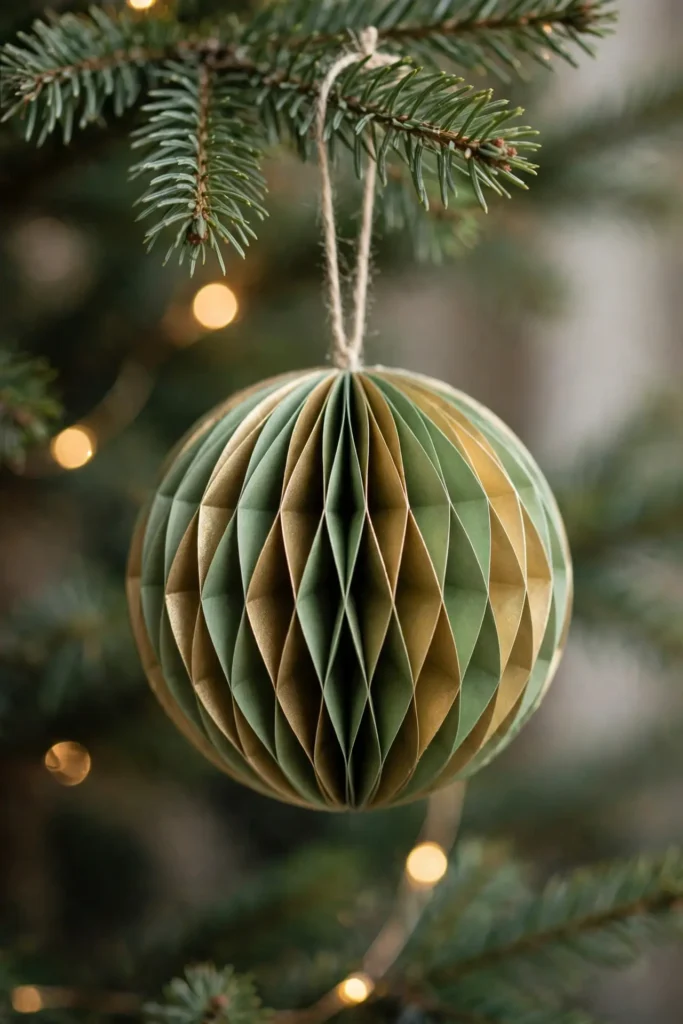
A branch holding only flat ornaments can feel two-dimensional, because flat shapes have no depth. An accordion paper sphere ornament, circles of paper folded like a fan and glued into a ball, gives the branch a full round ornament, because the folded circles open into a sphere. Steps: 1. Cut twelve identical circles from coloured paper. 2. Fold each circle accordion-style, back and forth, then glue the folded circles together in a stack. 3. Open the stack into a sphere, glue the two outer circles together, and add a loop at the top.
Try it: Open the sphere gently, a little at a time. A sphere yanked open tears along the glue lines, while a sphere opened slowly holds its shape all season.

07
Paper Diamond Ornaments
A tree dressed only in round baubles can look soft, because every ornament curves the same way. A paper diamond ornament, folded facets that meet at points top and bottom, gives the tree angles, because the diamond shape catches light on flat faces. Steps: 1. Cut six identical diamond shapes from card in one colour. 2. Score and fold each diamond down the middle, then glue the diamonds together along their folded edges. 3. Leave the last two edges open until you add a thread loop at the top, then glue the ornament closed and hang it.
Try it: Hang diamond ornaments near lights. The flat facets reflect fairy lights in a way round baubles do not, while diamonds hung in shadow look flat.
08
Paper Rosette Baubles
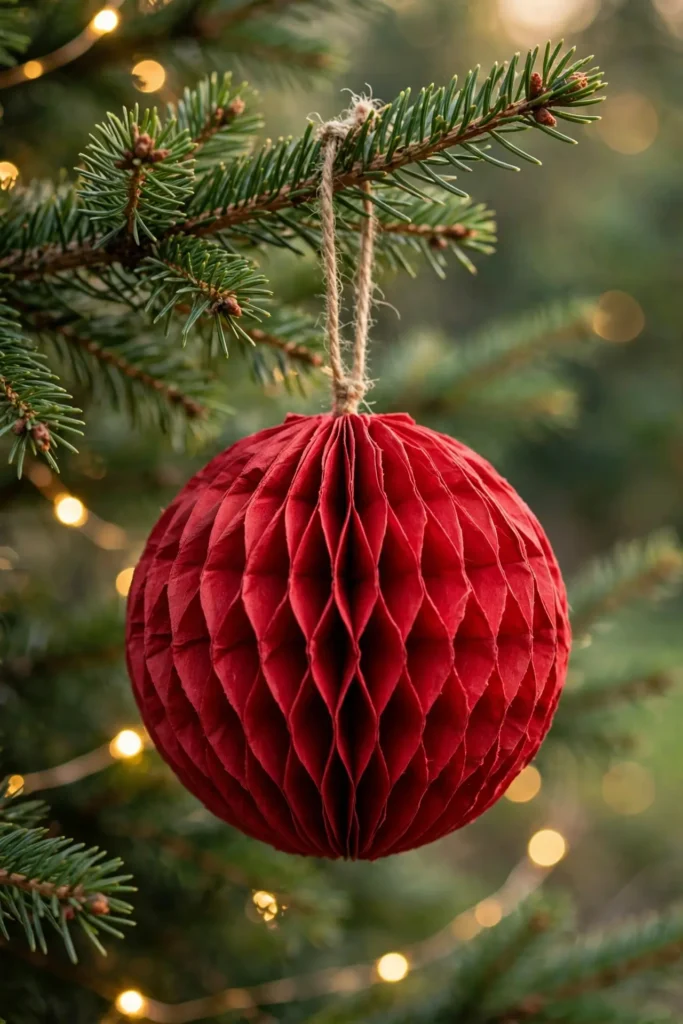
A branch with only small ornaments can look bare, because small ornaments leave gaps between branches. A paper rosette bauble, two fan-folded circles glued back to back into a full rosette ball, fills a gap with one bold ornament, because the rosette reads large from across the room. Steps: 1. Fold two strips of paper accordion-style and glue each into a circle. 2. Press each circle flat into a rosette and glue a small card disc to the back of each. 3. Glue the two rosettes back to back, add a loop, and hang the bauble in a gap between branches.
Try it: Make rosette baubles in one bold colour, red or gold. A rosette in mixed colours looks busy, while one bold colour reads as a statement.
Hanging Figures
09
Folded Paper Angel Ornaments
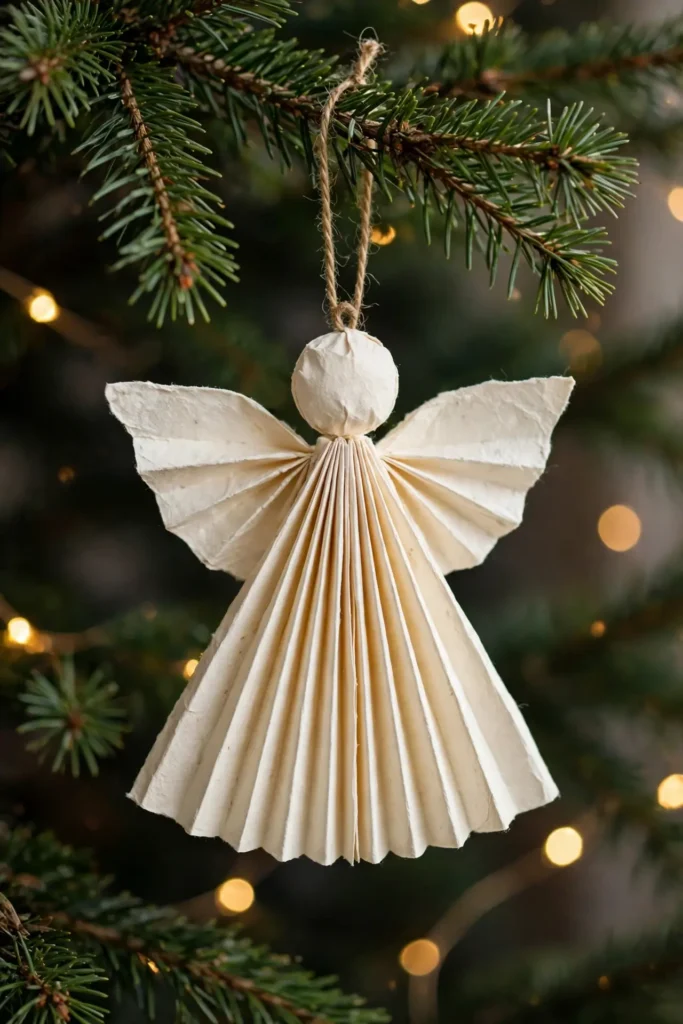
A tree topped with a star and covered in baubles can feel like it forgot the angels, because angels are the figure children look for after Santa. A folded paper angel ornament, a fan-folded dress, a round head, and two wing shapes from one sheet, hangs as a small guardian, because the folded dress reads as soft and the wings read as light. Steps: 1. Fold a sheet of white or cream paper accordion-style for the dress and pinch it at the top. 2. Cut a small circle for the head and two wing shapes from the same paper. 3. Glue the head and wings to the dress, add a loop at the top, and hang the angel on a front branch.
Try it: Hang folded angels on front branches, not hidden inside. An angel tucked inside the tree disappears, while an angel on the front reads as a guardian of the whole tree.

10
Paper Bird Ornaments
A tree dressed only in geometric shapes can feel cold, because nothing on it looks alive. A paper bird ornament, a folded body, a tail fan, and two wing shapes, gives the tree a creature, because the bird shape reads as alive from across the room. Steps: 1. Fold a sheet of coloured paper into a simple bird body shape with a pointed tail. 2. Cut two wing shapes and a small beak from contrasting paper. 3. Glue the wings and beak to the body, add a loop at the top, and hang the bird on a branch tip where it looks perched.
Try it: Hang paper birds on branch tips, not deep inside. A bird deep in the tree looks trapped, while a bird on a tip looks like it just landed.
11
Paper Bell Ornaments
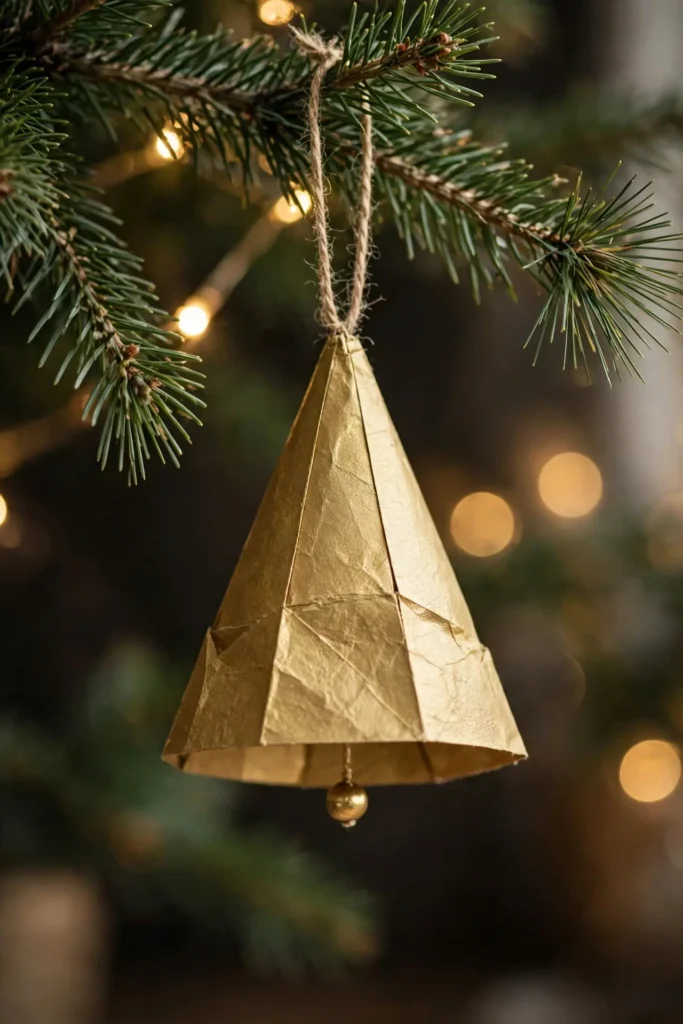
A mantel display with only candles can look quiet, because nothing on it suggests sound. A paper bell ornament, a cone or cup shape with a small bead clapper, brings the idea of ringing to the tree, because the bell shape is the sound of Christmas in one object. Steps: 1. Roll a cone from stiff coloured paper and trim the base straight. 2. Glue a small gold bead inside the cone as a clapper, on a short thread. 3. Add a loop at the top of the cone and hang the bell where it can sway gently.
Try it: Hang paper bells where air moves, near a door or a vent. A bell that never moves looks still, while a bell that sways gently looks alive.
12
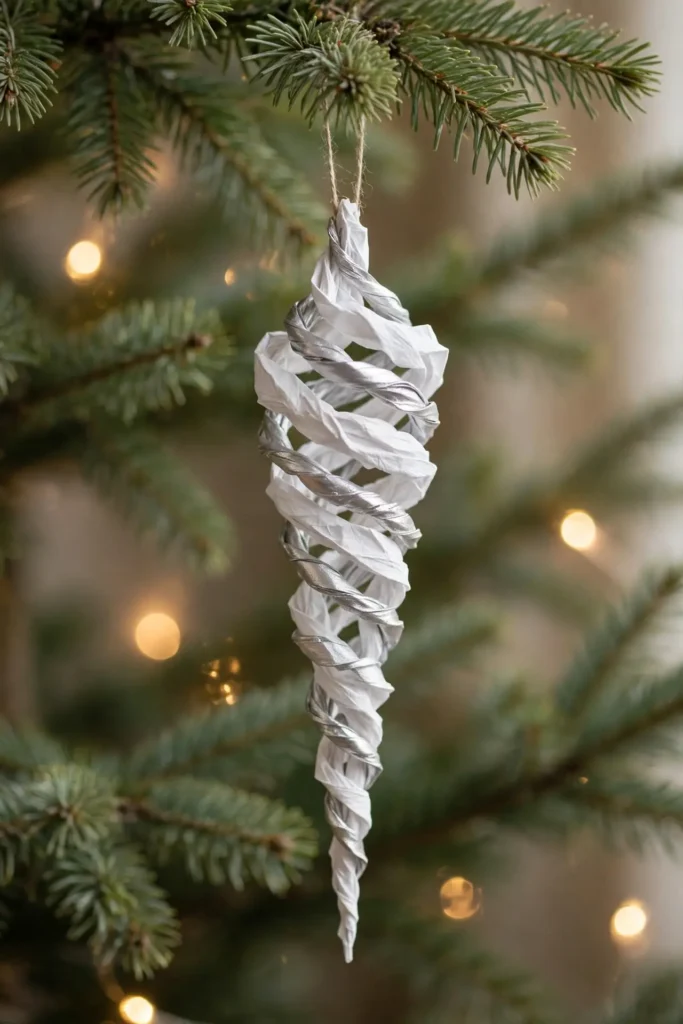
Paper Icicle Ornaments
A tree dressed only in warm colours can look heavy, because red and gold alone give no cool contrast. A paper icicle ornament, a twisted or folded spike of white and silver paper, gives the tree a cool, sharp accent, because the icicle shape reads as winter itself. Steps: 1. Cut a long triangle from white or silver paper. 2. Twist the triangle gently from the wide end to the point, or fold it accordion-style for a faceted look. 3. Add a loop at the wide end and hang the icicle pointing down from a branch tip.
Try it: Hang icicles pointing straight down from branch tips. An icicle hung sideways looks like a mistake, while a downward icicle reads as frost.
Woven and Layered
13
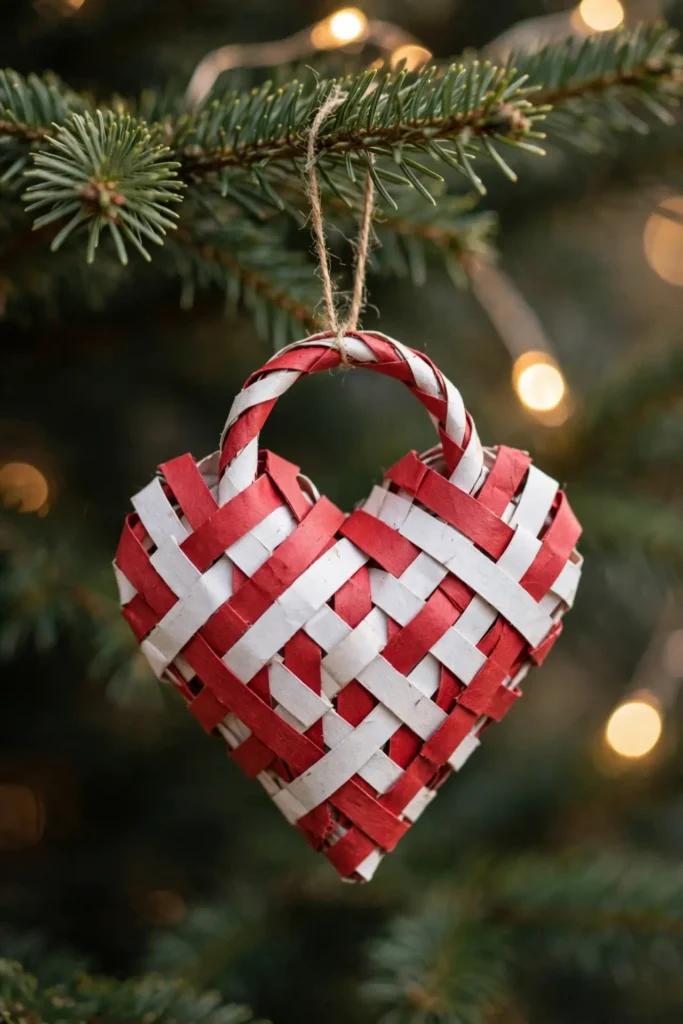
Woven Paper Heart Ornaments
A tree dressed only in stars and baubles can feel like it forgot love, because hearts are the shape children draw first. A woven paper heart ornament, two colours of paper woven together into a heart basket, gives the tree a heart that holds a tiny treat, because the woven basket opens at the top. Steps: 1. Cut two strips of coloured paper, red and white, about 5 cm wide and 12 cm long, and round one end of each. 2. Weave the strips together over and under to form a heart basket with a pocket. 3. Add a paper handle across the top, tuck a small sweet inside, and hang the heart on a low branch children can reach.
Try it: Hang woven hearts on low branches. A heart hung high is decoration only, while a heart hung low becomes a treat children can find.
14
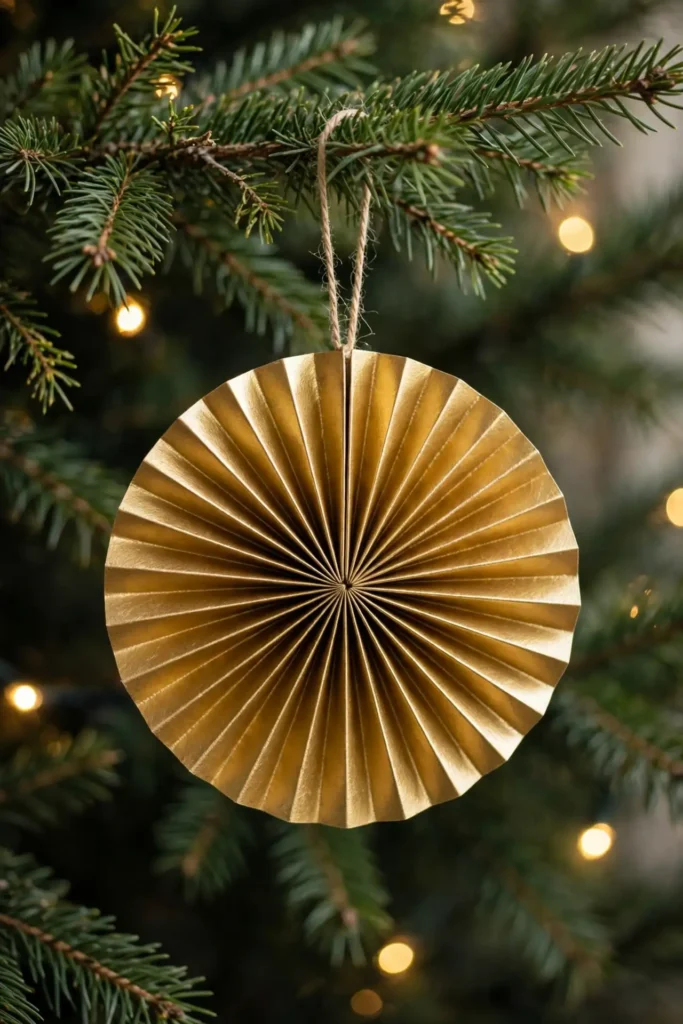
Paper Fan Ornaments
A branch with only small ornaments can look fussy, because small shapes compete with each other. A paper fan ornament, a single fan-folded circle in one bold colour, gives the branch one clean shape, because the fan reads as a single bold disc. Steps: 1. Fold a strip of paper accordion-style and glue the ends into a circle. 2. Press the circle flat into a fan disc and glue a card disc to the back. 3. Add a loop at the top edge and hang the fan on an outer branch where its colour shows.
Try it: Make fan ornaments in odd numbers, three or five, in one colour. Odd numbers read as a design, while even numbers can look like a row of plates.

15
Paper Tassel Ornaments
A tree dressed only in stiff ornaments can look rigid, because nothing on it moves. A paper tassel ornament, fringed strips of tissue paper gathered at the top, gives the tree movement, because the fringe sways with every draught. Steps: 1. Cut a sheet of tissue paper into a rectangle and cut fringes along one long edge, stopping 3 cm short of the other edge. 2. Roll the uncut edge tightly and tie it with thread. 3. Fluff the fringe downward, add a loop at the tied end, and hang the tassel on a branch tip.
Try it: Use tissue paper, not printer paper, for tassels. Printer paper fringe is stiff and sharp, while tissue fringe moves softly.
16
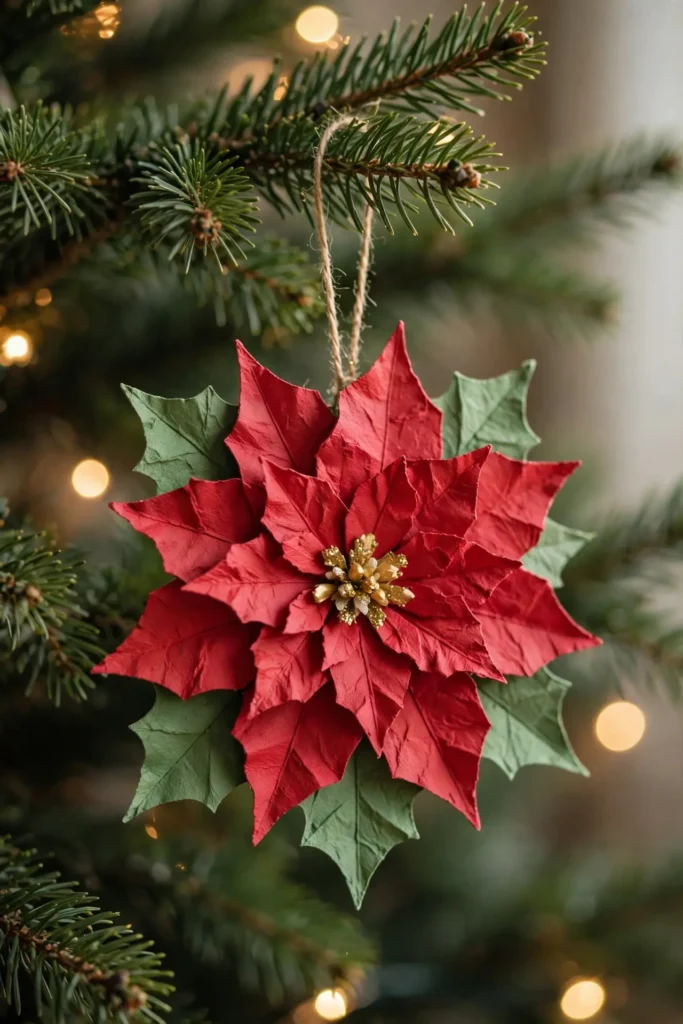
Layered Paper Poinsettia Ornaments
A tree dressed only in green and gold can look like it forgot red, because red is the colour of Christmas flowers. A layered paper poinsettia ornament, red petals layered over green leaves with a gold centre, gives the tree a flower, because the poinsettia shape reads as Christmas itself. Steps: 1. Cut eight red petal shapes and four green leaf shapes from card. 2. Layer the petals in two rings, larger at the back and smaller at the front, with a gold circle as the centre. 3. Glue the layers firmly, add a loop at the back, and hang the poinsettia on a front branch.
Try it: Layer the petals with the points slightly offset, not lined up. Aligned petals look like a flat flower, while offset petals look like a real bloom.
Photo and Keepsake
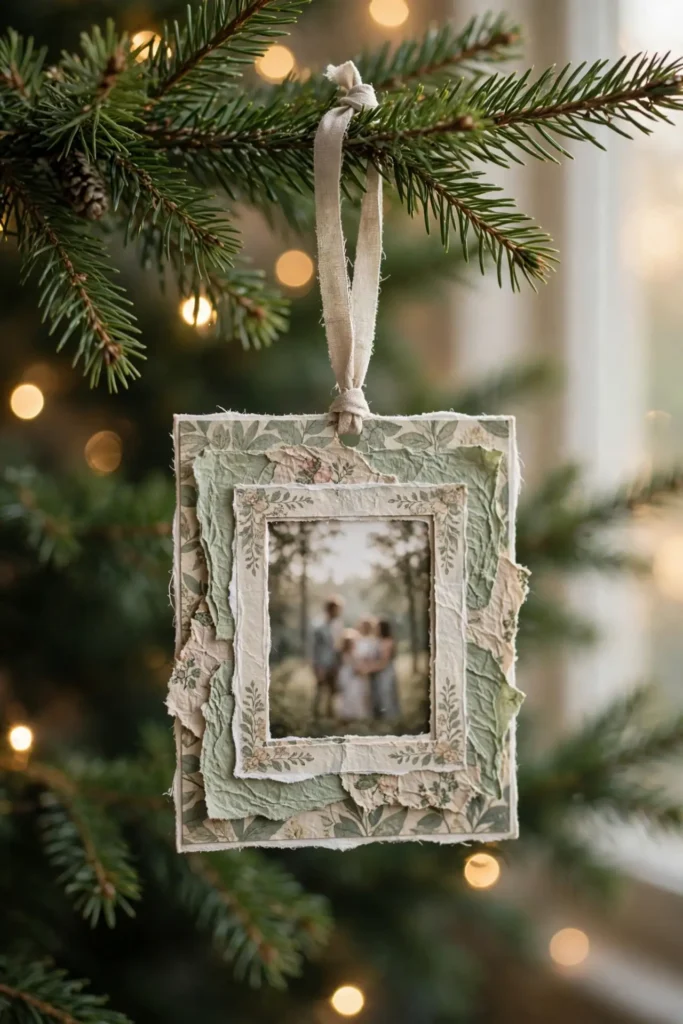
17
Paper Photo Ornaments
A tree dressed only in new ornaments can feel like it has no history, because nothing on it remembers last Christmas. A paper photo ornament, a favourite photo mounted on card and edged with paper, gives the tree a memory, because the photo is a person the family knows. Steps: 1. Print a small photo, about 7 cm across, and mount it on stiff card with a 1 cm border. 2. Edge the border with patterned paper or a thin gold line. 3. Punch a hole at the top, thread ribbon through it, and hang the photo on a branch at eye level.
Try it: Hang photo ornaments at eye level, not at the top. A photo hung high is hard to see, while a photo at eye level starts conversations.
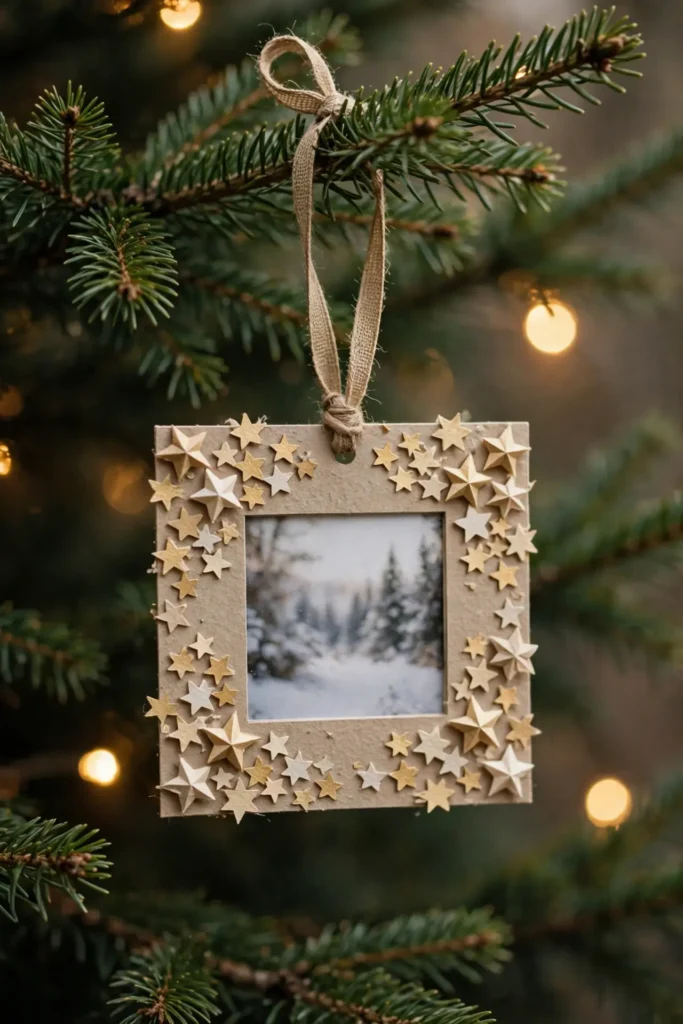
18
Paper Frame Ornaments
A photo taped to a branch can look temporary, because tape is not a frame. A paper frame ornament, a card frame decorated with paper shapes around a photo, gives the photo a proper home on the tree, because the frame says this photo matters. Steps: 1. Cut a frame from stiff card, with a window slightly smaller than the photo. 2. Glue the photo behind the window and decorate the frame with small paper stars or dots. 3. Add a ribbon loop at the top and hang the frame where light hits the photo.
Try it: Keep the frame decoration simple, dots or tiny stars only. A busy frame competes with the photo, while a simple frame lets the face show.

19
Paper Wish Scroll Baubles
A tree dressed only in ornaments can feel like decoration and nothing more, because ornaments do not carry words. A paper wish scroll bauble, a hollow paper ball holding a rolled wish for the year ahead, gives the tree a secret, because the wish stays hidden until next Christmas. Steps: 1. Make a paper strip bauble but leave one strip loose so the ball opens. 2. Write a wish for the year ahead on a small scroll of paper and roll it tightly. 3. Tuck the scroll inside the bauble, close the loose strip, and hang the bauble where you will remember it next year.
Try it: Write the wish with the year on it. A scroll without a year is a mystery, while a dated scroll becomes a tradition when it is opened next Christmas.
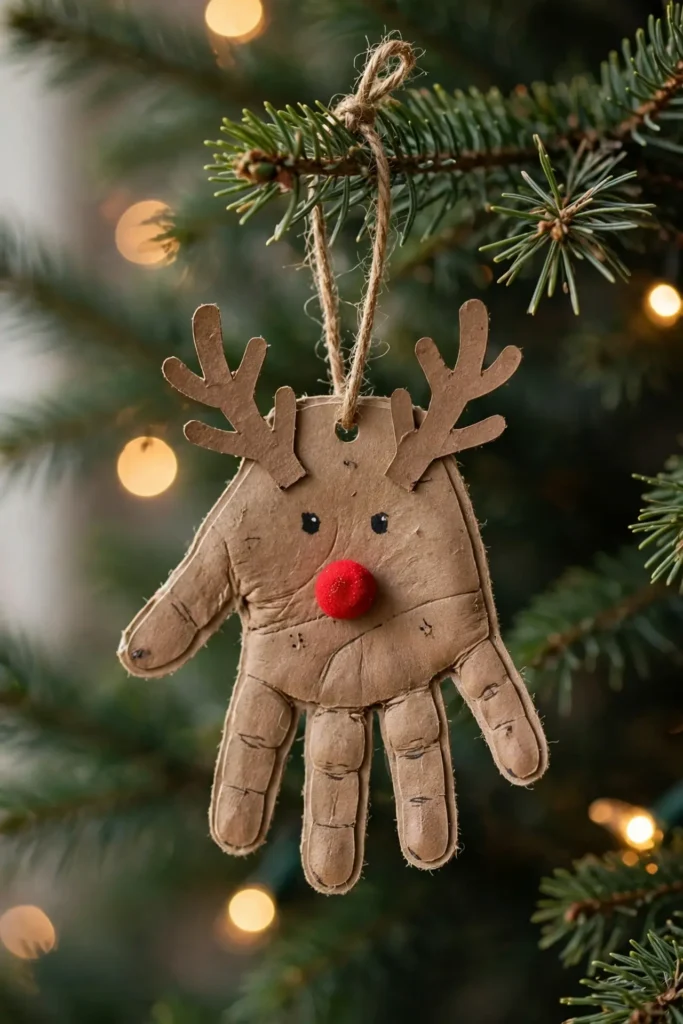
20
Paper Handprint Keepsake Ornaments
A tree dressed only in shop ornaments can feel like it forgot the children, because children grow and shop ornaments stay the same. A paper handprint keepsake ornament, a traced handprint cut from card and decorated as a reindeer or Santa, keeps a year of a child’s life on the tree, because the handprint is exactly the size their hand was. Steps: 1. Trace a child’s hand on stiff card and cut it out carefully. 2. Decorate the handprint as a reindeer, with the thumb as an antler, or as a Santa face. 3. Write the child’s name and the year on the back, add a ribbon loop, and hang the keepsake on a branch you can reach.
Try it: Write the name and year on the back before hanging. A keepsake without a date is just a shape, while a dated keepsake becomes the ornament everyone looks for first.
Quick and Kid-Friendly

21
Paper Straw Star Ornaments
A tree dressed only in heavy ornaments can look weighed down, because heavy ornaments pull branches low. A paper straw star ornament, drinking straws threaded into a star frame, gives the tree a star that weighs almost nothing, because the straws are hollow. Steps: 1. Cut paper straws into lengths, six long and six short, in one colour. 2. Thread the straws onto string in a star pattern, pulling the string tight at each point. 3. Knot the string, add a loop, and hang the star on a thin branch that could not hold a heavy ornament.
Try it: Use paper straws, not plastic ones. Paper straws take glue and paint, while plastic straws shed glue and look shiny in a way paper does not.
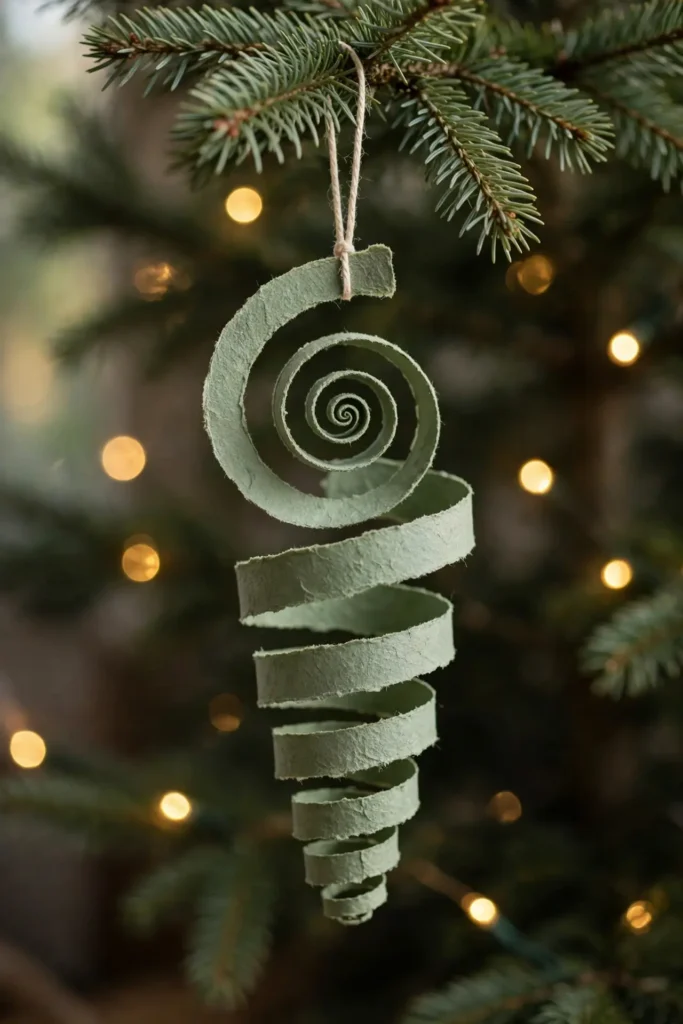
22
Paper Spiral Ornaments
A branch with only round ornaments can look static, because round shapes do not move. A paper spiral ornament, a paper circle cut in a spiral and pulled into a hanging coil, gives the branch movement, because the spiral turns gently in the air. Steps: 1. Cut a circle from coloured paper, about 15 cm across. 2. Cut the circle in a spiral from the edge to the centre, keeping the spiral strip even. 3. Pull the centre downward to open the coil, add a thread at the top, and hang the spiral where air moves.
Try it: Hang spirals where air moves, near a door or above a radiator. A spiral in still air hangs limp, while a spiral in moving air turns slowly all day.
23
Paper Cone Ornaments
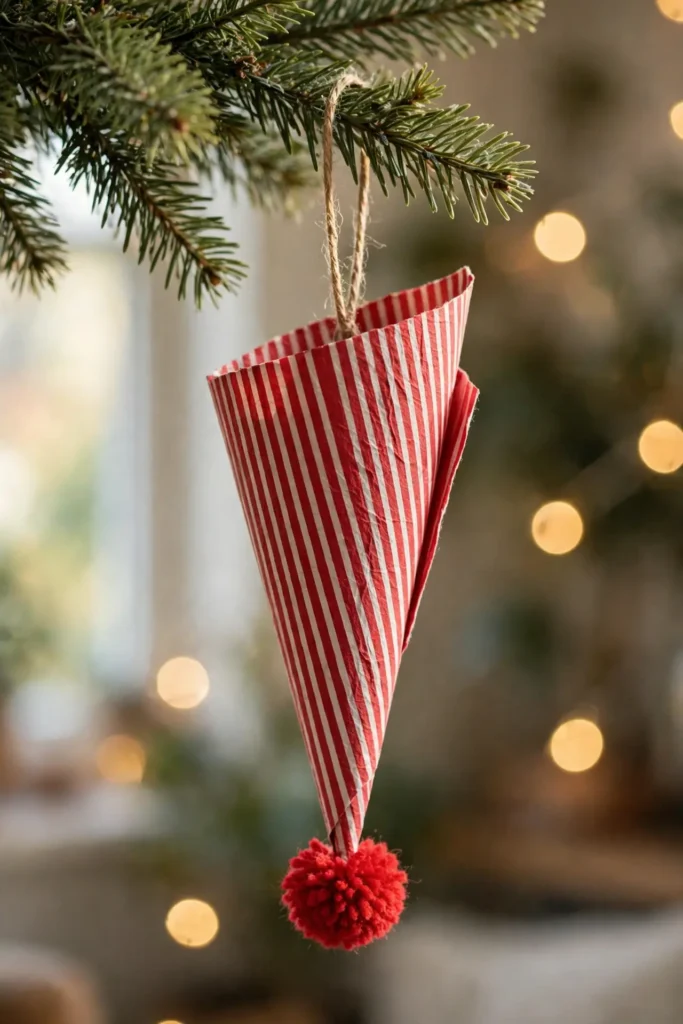
A tree with only round ornaments can look like it forgot triangles, because cones are the shape of trees themselves. A paper cone ornament, a cone of patterned paper with a loop at the point, gives the tree a mini tree shape, because the cone echoes the tree it hangs on. Steps: 1. Roll a cone from patterned paper and glue the seam. 2. Trim the base straight so the cone sits evenly. 3. Add a loop at the point and a small pom-pom at the base, then hang the cone on an outer branch.
Try it: Make cone ornaments in patterned paper, stripes or dots. A plain cone looks like a hat, while a patterned cone reads as a decoration.
24
Paper Bow Ornaments
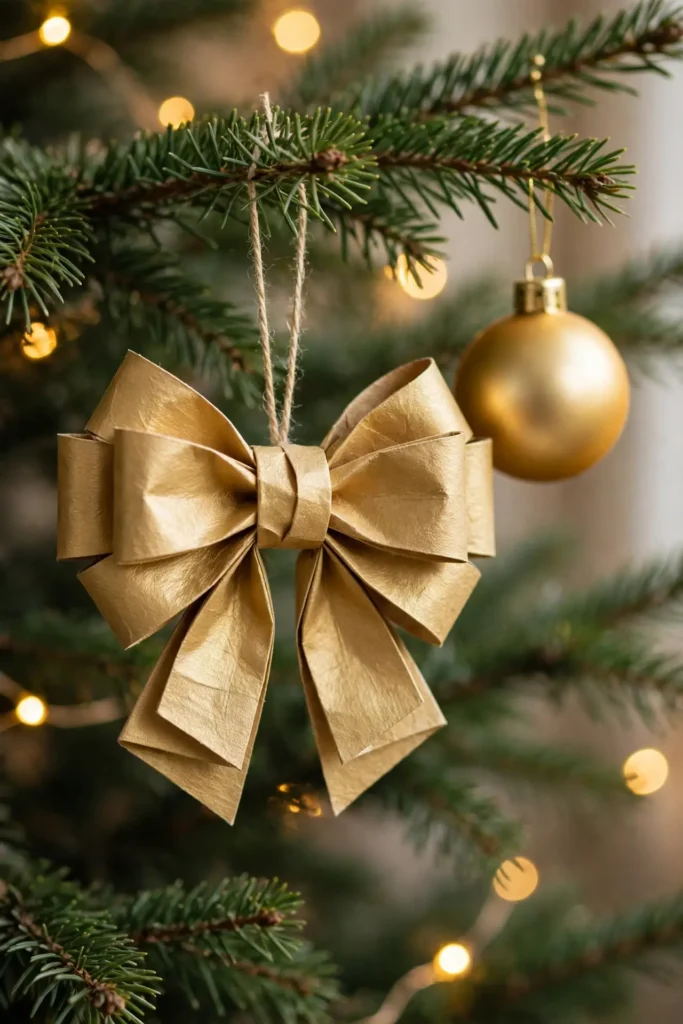
A gift without a bow can look unfinished, because the bow is the part that says this is a present. A paper bow ornament, loops of paper folded into a bow shape, brings that finished feeling to the tree, because the bow shape is celebration itself. Steps: 1. Cut three strips of paper, two long and one short, in one colour. 2. Loop each long strip into a bow loop and glue the ends at the centre. 3. Cross the loops, wrap the short strip around the centre, add a loop at the back, and hang the bow on a branch near a gift-coloured ornament.
Try it: Hang paper bows near baubles in the same colour. A bow in a random colour looks lost, while a bow matched to a bauble looks like a set.
Pro tip: Hang the heaviest paper ornaments lowest and the lightest highest. A heavy bauble on a thin top branch drags it down, while a light star on a top branch stays put, and the tree keeps its shape all season.
Three rules for paper ornaments that look intentional, not homemade
Most paper Christmas ornaments look unfinished for the same three reasons, and all three are fixable.
- First, limit the palette. One or two colours per ornament, repeated across the tree, look intentional, while an ornament in unrelated colours looks like leftovers.
- Second, finish every edge. Clean folds, glued seams, and trimmed edges are what separate a paper ornament from a pile of scrap, because the finish is what the eye reads first.
- Third, match the size to the branch. A huge rosette on a thin twig drags it down, and a tiny spiral on a thick branch disappears, so choose ornaments sized to the branch you actually have, not the branch you wish you had.
Storing and reusing your paper Christmas ornaments
Paper Christmas ornaments last for years if you store them properly, and the storage step is part of the making, not an afterthought.
- First, store flat ornaments flat. Stars, fans, and frames crease permanently when folded, so keep them flat between sheets of card in a folder.
- Second, store round ornaments in their own boxes. Strip baubles, spheres, and rosettes crush against each other, so tissue paper and a box per shape are worth the minute they take.
- Third, keep paper dry and away from damp. Paper warps, spots, and grows mould in a damp attic, so store paper ornaments in a dry cupboard, and keep them away from direct sunlight, which fades colour over time.
Questions readers ask
What are the easiest paper christmas ornaments to make?
The easiest paper christmas ornaments to make are paper strip baubles, paper fan ornaments, and paper cone ornaments, because all three need only paper, scissors, and glue, and mistakes hide easily under more strips or more colour. Start with strip baubles, since twelve strips make a finished ornament in under twenty minutes.
How do you make paper christmas ornaments that last?
You make paper christmas ornaments that last by using stiff card for the structure, gluing every seam fully, and storing them flat or in their own boxes away from damp. A paper christmas ornament made from card and kept dry will last for many seasons, while one made from thin paper and stored damp will warp within a year.
What paper is best for Christmas ornaments?
Stiff card is best for stars, frames, and toppers, coloured paper is best for strip baubles and woven pieces, and tissue paper is best for tassels and honeycomb-style ornaments, because each form needs a different weight and stiffness. Using the right paper for the ornament is the single biggest difference between an ornament that holds its shape and one that flops.
Can kids make paper Christmas ornaments?
Yes, kids can make paper Christmas ornaments, and the best projects are paper cone ornaments, paper bow ornaments, paper spiral ornaments, and paper handprint keepsakes, because all of them are safe, forgiving, and genuinely useful on the tree. Keep craft knives and hot glue for adults, and let children choose colours and placements.
How do you hang paper ornaments on a Christmas tree?
You hang paper ornaments on a Christmas tree with a short thread or ribbon loop glued firmly to the top of each ornament, then hooked over a branch. Hang heavy ornaments low on thick branches and light ornaments high on thin ones, so the tree keeps its shape and no ornament falls.
What is a German paper star?
A German paper star, also called a Froebel star, is a star woven from four paper strips into a pointed star with a woven centre. Paper star ornaments in this style are a traditional Christmas craft, and the woven centre is what makes the star hold together without a frame.
How do you make paper baubles?
You make paper baubles by cutting twelve strips of paper, pinning them together at both ends, and fanning them into a ball, or by folding circles accordion-style and gluing them into a sphere. Paper baubles in either style take under half an hour and hang well on outer branches.
How do I store paper Christmas ornaments so they last?
You store paper Christmas ornaments so they last by keeping flat pieces flat between sheets of card, storing round pieces separately in tissue-lined boxes, and keeping everything in a dry cupboard away from damp and sunlight. Stored this way, stars, baubles, and keepsakes will last for many seasons.
People Also Ask
What is the 70/30 rule for paper Christmas ornaments?
The 70/30 rule for paper Christmas ornaments means roughly 70 percent of the tree stays as it is, and 30 percent carries paper decoration. The rule is a guide, not a law, but a tree that follows it will read as festive rather than cluttered.
How do I make my paper ornaments look shop bought, not homemade?
You make your paper ornaments look shop bought, not homemade, by folding crisply, gluing seams neatly, trimming every edge, and keeping one palette across each ornament. An ornament with sharp folds, hidden glue, and a clear palette reads as designed, while soft folds and visible glue read as a school project.
What paper Christmas ornaments should beginners avoid?
Beginners should avoid German paper stars and woven hearts on a first attempt, because each of those needs precise weaving to hold together. Start with strip baubles, fan ornaments, and cone ornaments, and save the woven stars and hearts for a second session.
loved these ideas? ✿
Save this guide for later
Pin it to your board so it’s there when you’re ready to recreate it.

Curated by
Hey! I'm Sanaullah — visual curator and content creator. I search, curate, and test the best aesthetic ideas across Pinterest so you can easily transform your living space, style daily outfits, and try simple creative DIYs without the overwhelm.