
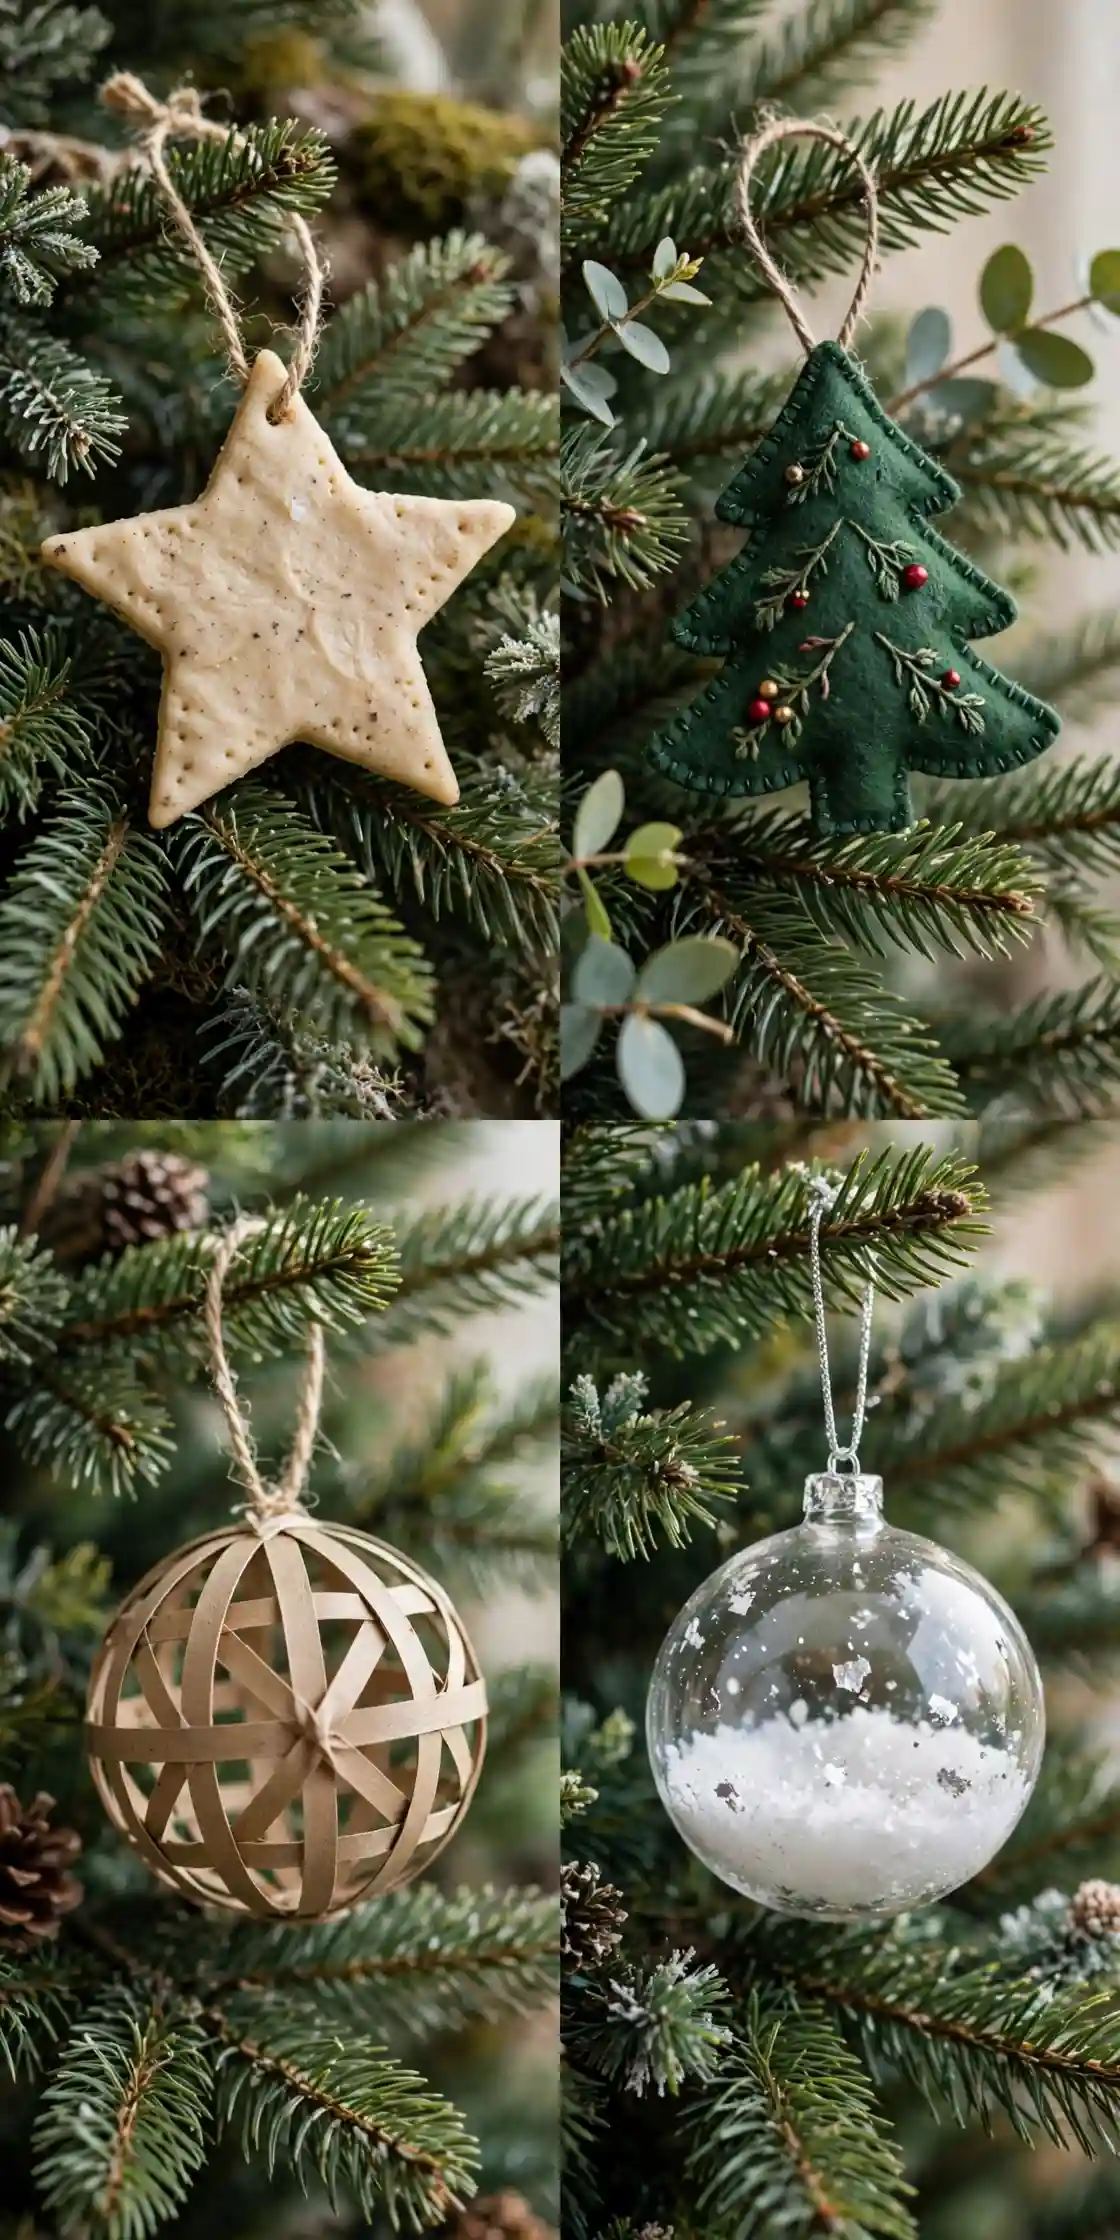
A tree dressed only in shop bought baubles can look polished and still feel like anyone’s tree, because nothing on it was made by your hands. A tree dressed with a diy christmas ornament looks like yours, because every ornament on it carries an afternoon of making, a kitchen table covered in glitter, and a decision you made yourself. Most diy christmas ornament attempts fail in the same way: people pick a technique that needs tools they do not own, skip the drying or sealing step and watch the ornament crack or smudge, or make one beautiful ornament and run out of time for the rest of the tree, and end up with a half decorated tree and a box of unfinished crafts. This list works the other way around. These 22 diy christmas ornament ideas are grouped by making technique, salt dough, felt, paper, wood, clear bauble fill, yarn, clay, and recycled materials, and every idea comes with real supplies, numbered making steps, and drying and sealing advice, so you can pick one technique, make a full set in one weekend, and hang ornaments this Christmas that no shop sells. For the wider ornament picture, including classic baubles, wooden, paper, and natural styles, see Christmas Ornament Ideas. Pick one technique here, start with a test ornament, and your tree will carry decorations that are unmistakably homemade in the best way.
- The key takeaway: Choose the technique before you buy supplies. Salt dough wants an oven, felt wants a needle, and clear baubles want filler, because the technique decides the tools, the drying time, and whether children can join in.
- The detail most people miss: Seal every ornament before it goes on the tree. An unsealed salt dough star softens in humidity, an unsealed paper ornament wilts, and unsealed paint rubs off on hands, while a clear seal coat locks the whole ornament in for years.
- What it costs or how long it takes: Most of these 22 ornaments cost $1 to $8 each in supplies, and each takes 15 minutes to 2 hours of active work, plus drying time. A paper strip bauble sits at the bottom of the range, while a hand sewn felt tree sits at the top, and every idea here beats the price of a shop ornament that means nothing.
| Group | Ideas | Technique | Best for |
|---|---|---|---|
| Salt Dough Ornaments | 01-03 | Dough, baking, painting | Kids, gifts, and scented trees |
| Felt Ornaments | 04-06 | Cutting, hand sewing, stuffing | Soft trees and family rooms |
| Paper Ornaments | 07-09 | Quilling, strips, folding | Budget trees and kids crafts |
| Wood Ornaments | 10-12 | Painting, gluing, twigs | Rustic trees and cabins |
| Clear Bauble Fill Ornaments | 13-15 | Filling clear baubles | Quick sets and matching trees |
| Yarn Ornaments | 16-18 | Wrapping, tassels, pom-poms | Cosy trees and texture |
| Clay Ornaments | 19-20 | Air-dry clay, marbling | Keepsakes and grown-up trees |
| Recycled Ornaments | 21-22 | Cardboard, pinecones, glitter | Zero-waste trees and kids |
Jump to an idea ↓
- 01 Classic Salt Dough Stars
- 02 Cinnamon Salt Dough Ornaments
- 03 Salt Dough Snowflakes
- 04 Hand-Sewn Felt Stars
- 05 Felt Christmas Tree Ornaments
- 06 Felt Gingerbread Men
- 07 Paper Quilling Snowflakes
- 08 Paper Strip Baubles
- 09 Origami Star Ornaments
- 10 Painted Wood Slice Ornaments
- 11 Popsicle Stick Snowflakes
- 12 Twig Star Ornaments
- 13 Fake Snow Filled Baubles
- 14 Dried Flower Filled Baubles
- 15 Glitter Swirl Baubles
- 16 Yarn-Wrapped Baubles
- 17 Yarn Tassel Ornaments
- 18 Pom-Pom Ornaments
- 19 Air-Dry Clay Stars
- 20 Marbled Clay Baubles
- 21 Recycled Cardboard Stars
- 22 Glitter Pinecone Ornaments
Salt Dough Ornaments
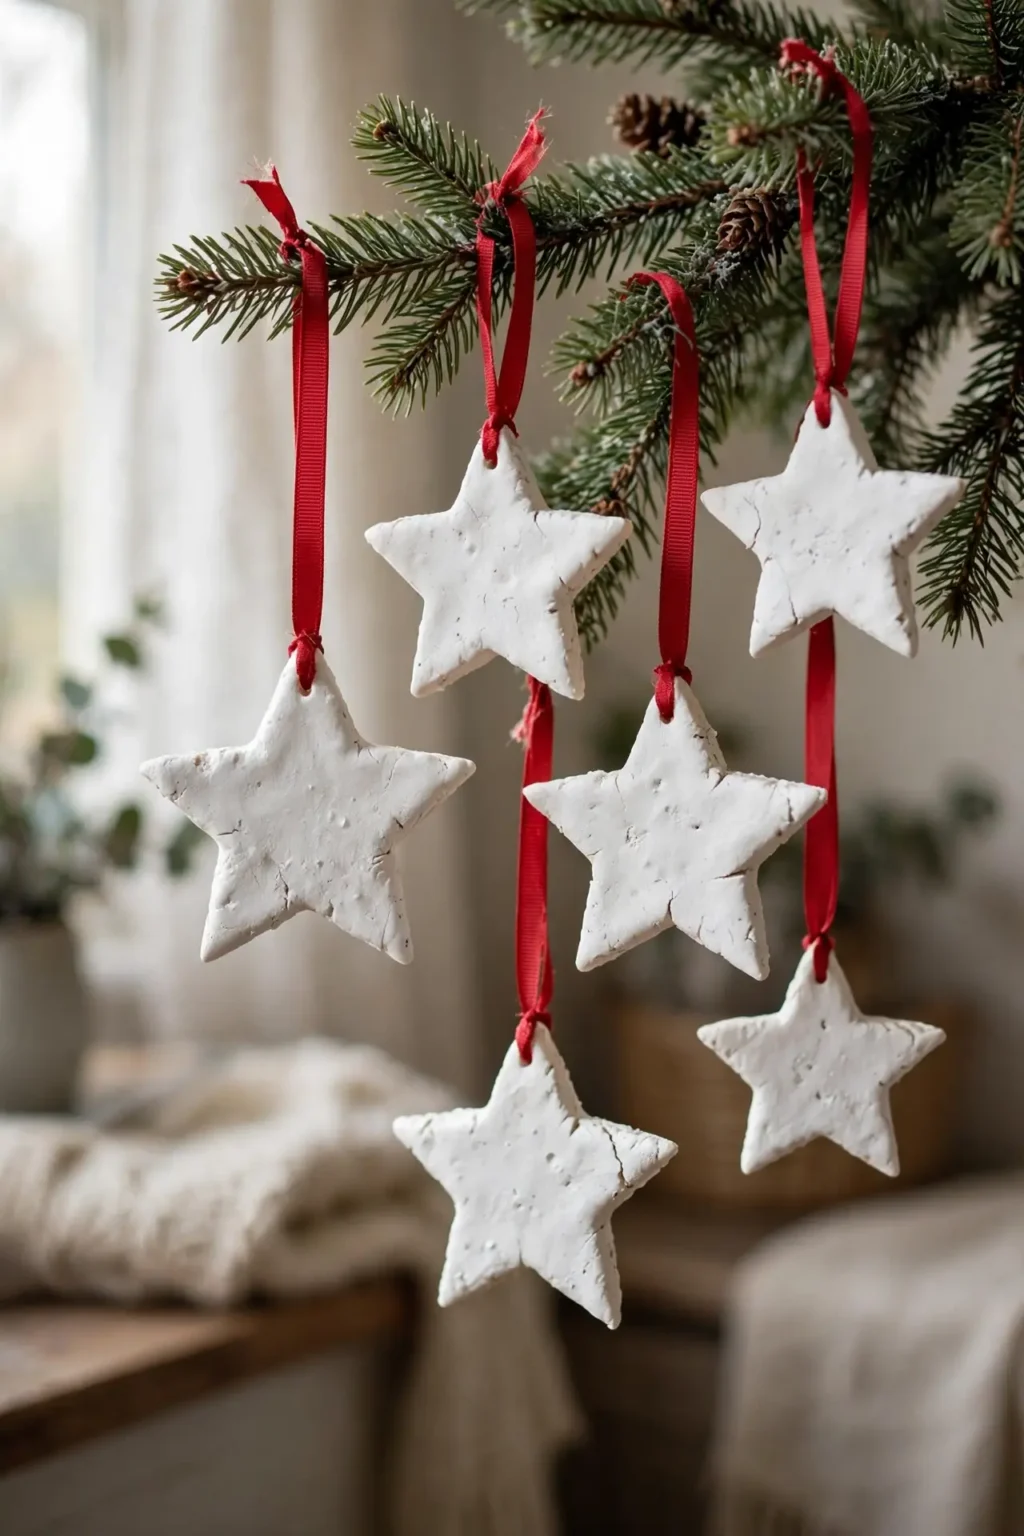
01
Classic Salt Dough Stars
A shop bought star topper or bauble can look perfect and still feel impersonal, because it arrived finished and you had no hand in it. A classic salt dough star fixes that, because the dough is mixed, cut, and painted by you, and every star carries the afternoon it was made. Steps: 1. Mix 2 cups of plain flour, 1 cup of fine salt, and 3/4 cup of water into a smooth dough, and roll it to 5 mm thick on a floured surface. 2. Cut star shapes with a cookie cutter, poke a hanging hole near one point with a straw, and bake at 120C for 2 hours, turning once, until fully hard. 3. Cool the stars completely, paint them in your tree colours, and seal with two coats of clear varnish. A diy christmas ornament in salt dough form suits a family tree best, because the stars are sturdy enough for small hands and cheap enough to make by the dozen.
Try it: Bake the stars until fully hard, not just dry on the surface. A star baked only on the outside stays soft inside and cracks later, while a fully baked star hangs for years.
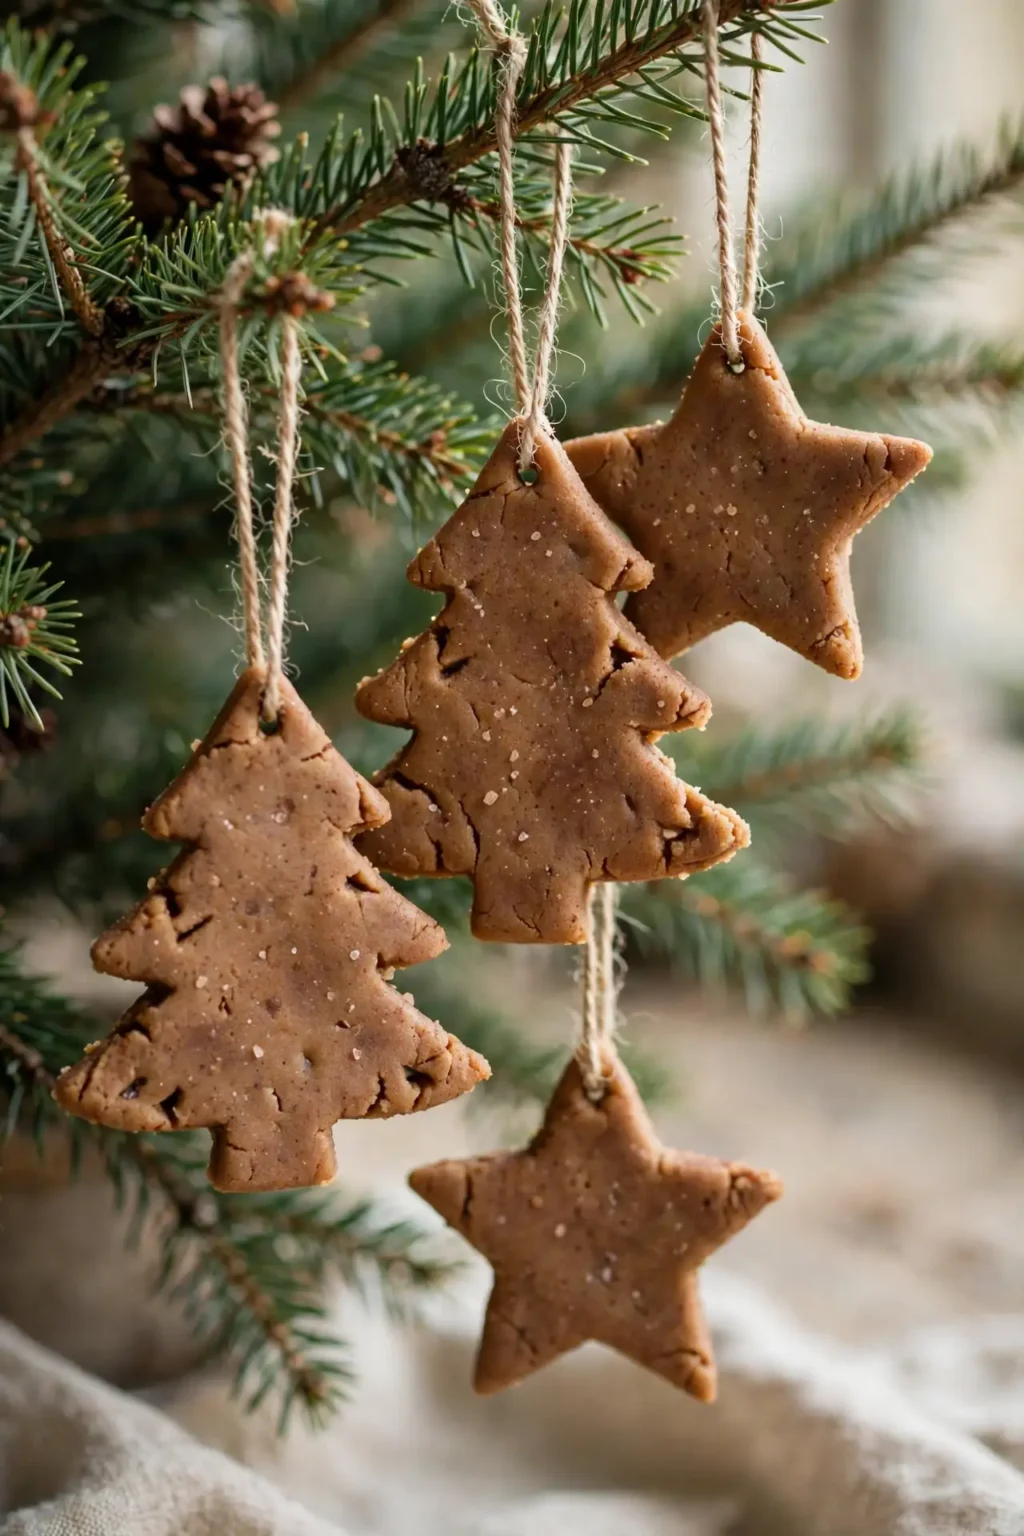
02
Cinnamon Salt Dough Ornaments
A salt dough ornament can look lovely and smell of nothing, because plain dough gives off no scent. A cinnamon salt dough ornament fixes that, because cinnamon in the dough scents the whole tree. Steps: 1. Mix 1 cup of ground cinnamon, 3/4 cup of applesauce, and 1 tablespoon of white glue into a dough, kneading until it holds together. 2. Roll the dough to 5 mm thick, cut tree, star, and heart shapes, and poke a hanging hole in each one. 3. Dry the shapes flat for 2 to 3 days, turning once a day, or bake at 100C for 2 hours, then thread ribbon through the holes. Homemade christmas ornaments in cinnamon dough form suit a kitchen tree best, because the scent belongs where the baking happens.
Try it: Dry cinnamon dough flat and slowly, not in a hot oven. A hot oven browns the edges and warps the shapes, while slow drying keeps the shapes flat and the cinnamon scent strong.
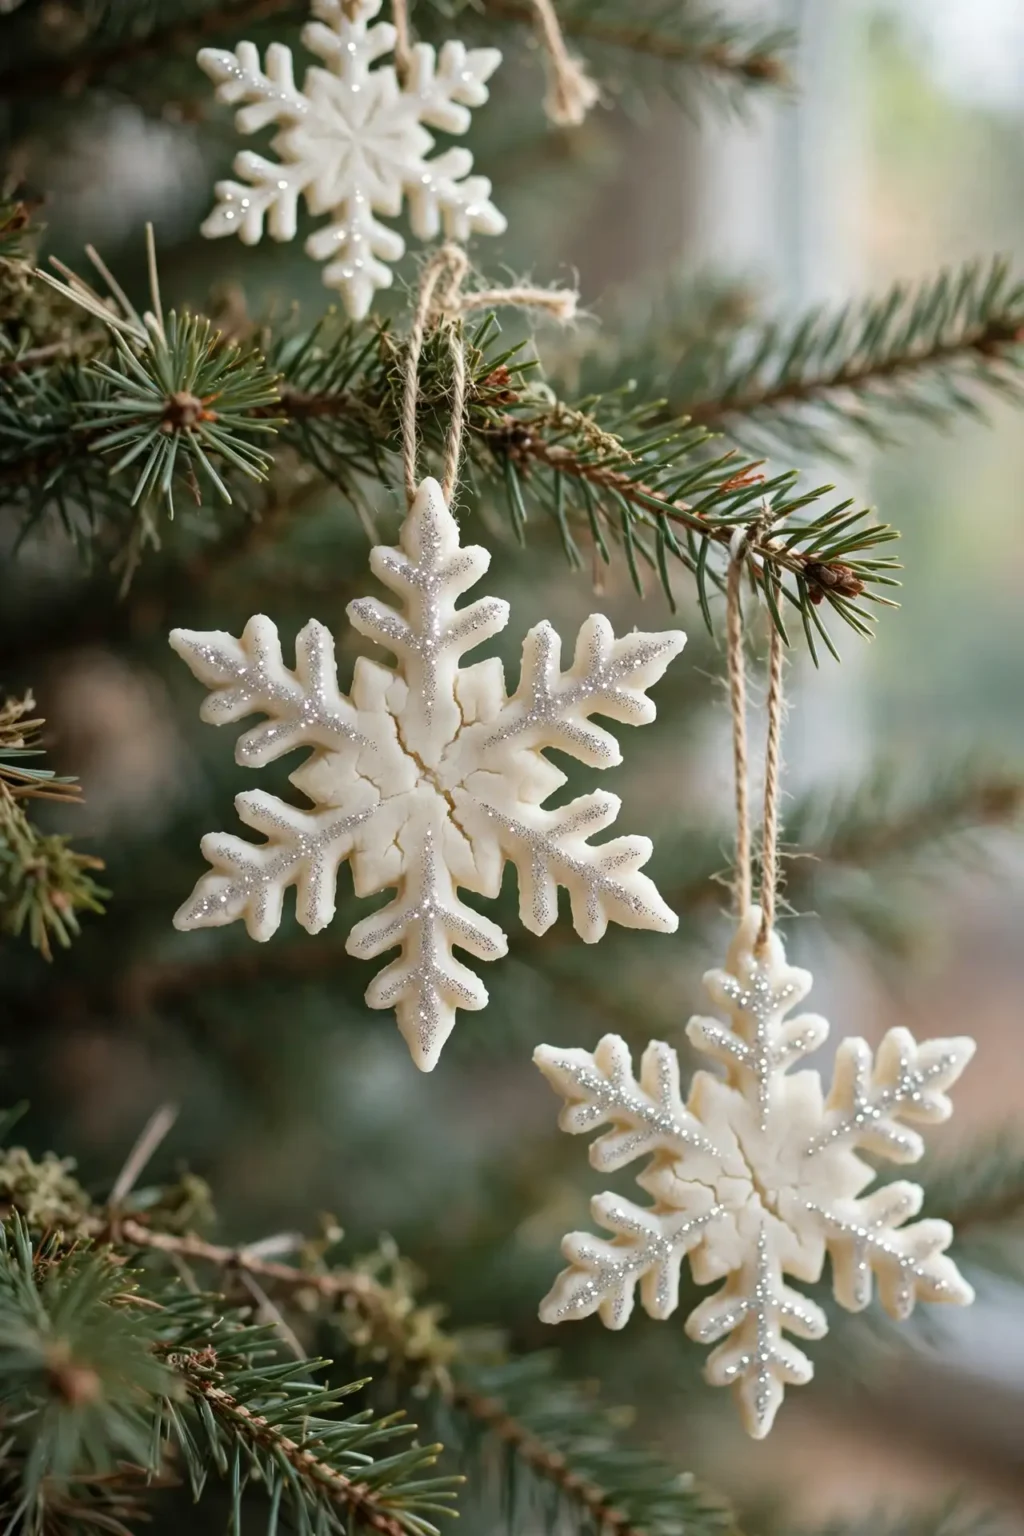
03
Salt Dough Snowflakes
A round salt dough ornament can look plain on a tree full of baubles, because round shapes give no winter detail. A salt dough snowflake gives the tree its winter, because the cutout arms read as snow at a glance. Steps: 1. Make the classic salt dough from idea 01, roll it to 5 mm thick, and cut snowflake shapes with a snowflake cutter, or cut a circle and snip the edges into points. 2. Poke a hanging hole near one point, bake at 120C for 2 hours until fully hard, and cool completely. 3. Paint the snowflakes white with a touch of silver glitter glue on the arms, and seal with clear varnish. Diy christmas tree ornaments in snowflake form suit a white or silver themed tree best, because the white shapes carry the whole colour scheme.
Try it: Roll salt dough evenly, 5 mm all over, not thick in the middle. Uneven dough bakes unevenly and the thick parts stay soft, while even dough hardens right through.
Felt Ornaments

04
Hand-Sewn Felt Stars
A printed or plastic star can look flat, because print gives no texture. A hand-sewn felt star has texture, because the star is stitched by hand in thread on wool felt. Steps: 1. Cut two identical star shapes from wool felt, slightly larger than your hand. 2. Stitch the two stars together around the edges with blanket stitch, leaving a small gap, stuff lightly with toy filling, and close the gap. 3. Sew a ribbon loop to one point, and add a small stitched motif, a snowflake or a dot, on the front. Diy felt ornaments in star form suit a family tree best, because the stars are soft, light, and safe around children and pets.
Try it: Stuff felt stars lightly, not firmly. A firmly stuffed felt star looks like a cushion, while a lightly stuffed star keeps its flat star shape.
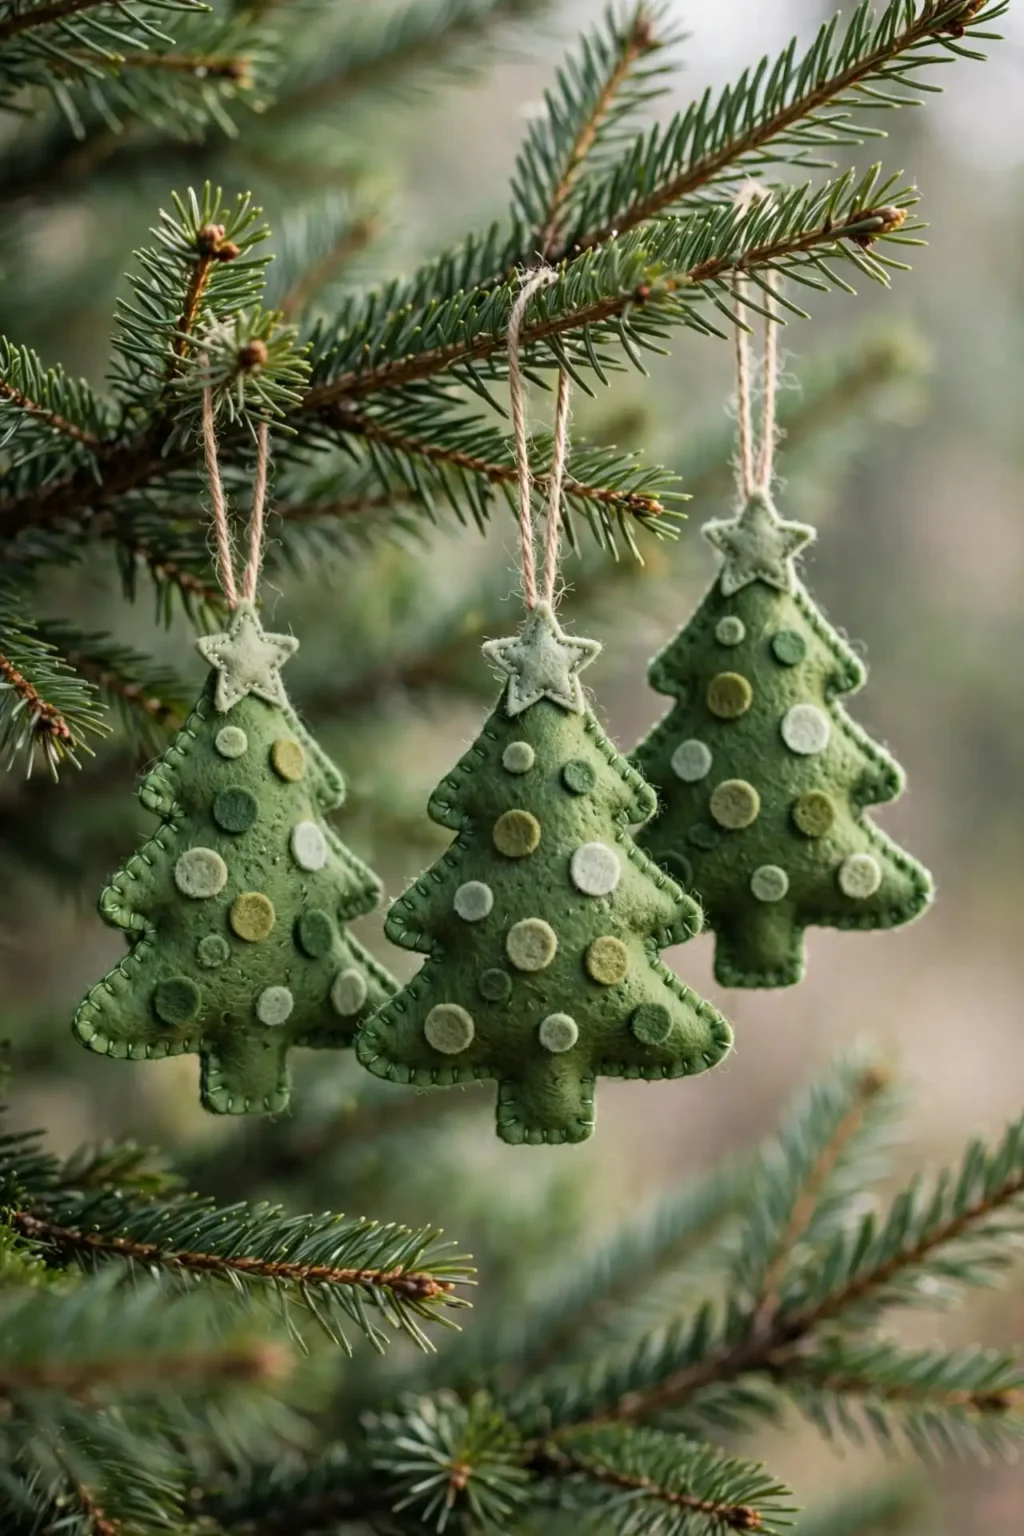
05
Felt Christmas Tree Ornaments
A felt star can look simple on a tree that needs a feature, because one shape repeated gives no story. A felt christmas tree ornament gives the tree its miniature, because a tiny tree on the tree reads as a decoration inside a decoration. Steps: 1. Cut two tree shapes from green felt, and cut tiny circles and a star from contrasting felt for decoration. 2. Sew the decorations onto one tree front with simple running stitch, then stitch the two tree shapes together, stuffing lightly. 3. Add a ribbon loop at the top and a tiny trunk of brown felt at the bottom. Diy felt christmas ornaments in tree form suit a kids bedroom tree best, because the little trees are soft enough to be handled and played with.
Try it: Sew the decorations on before you stitch the two sides together. Decorations sewn after closing are hard to place, while decorations sewn first sit exactly where you want them.
06
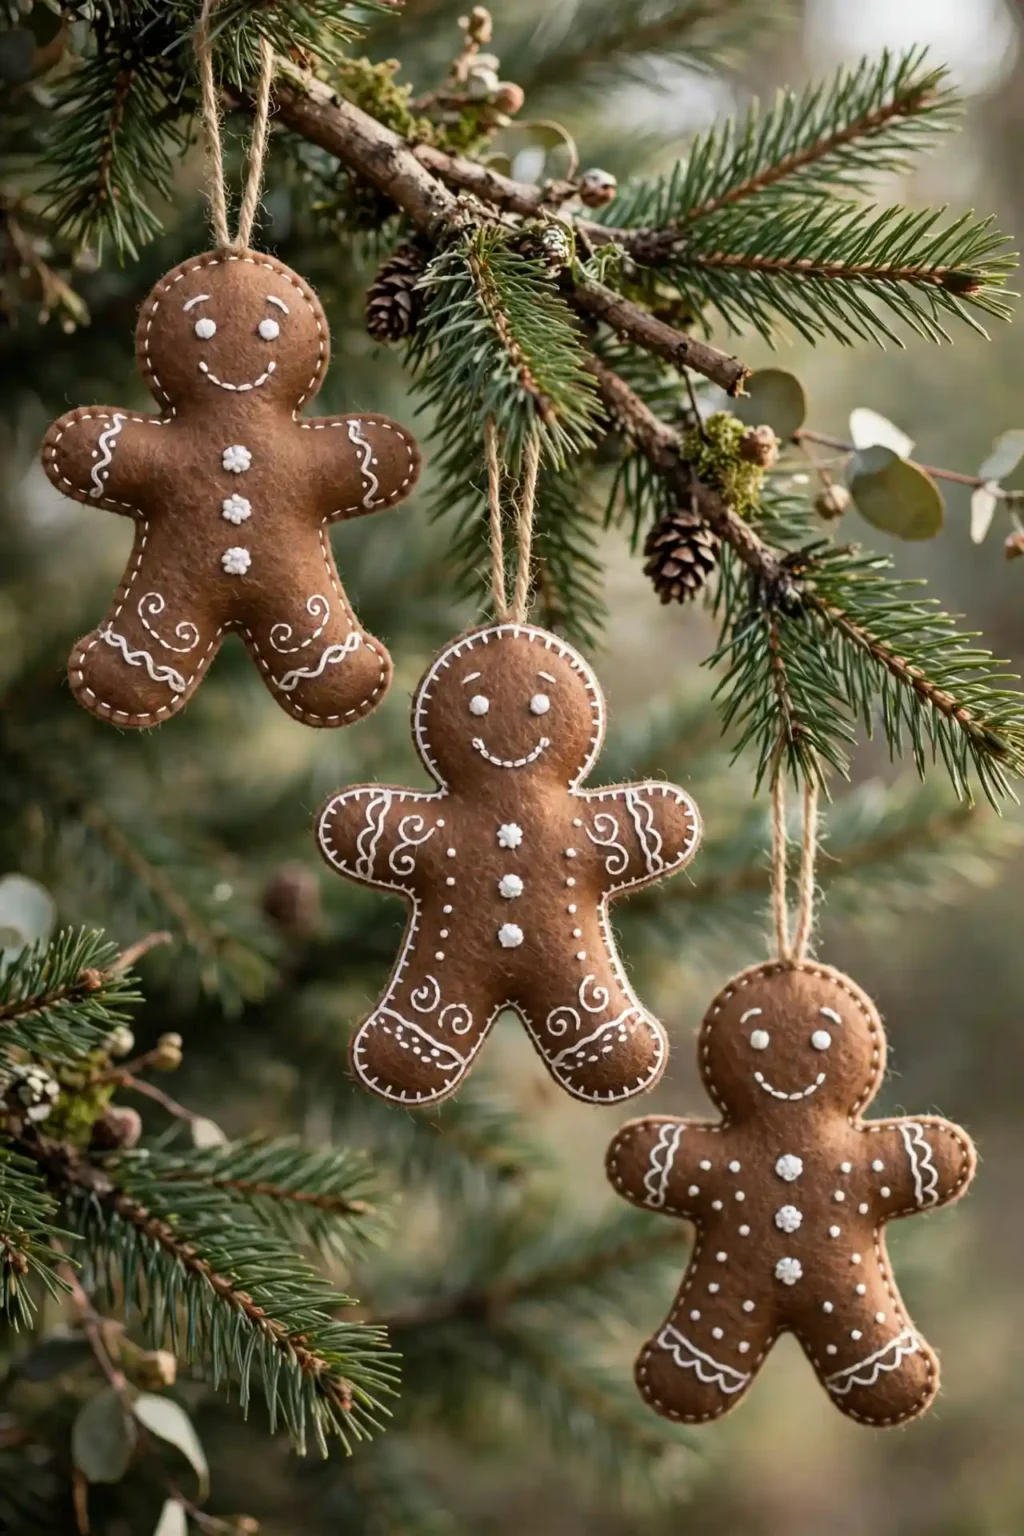
Felt Gingerbread Men
A felt tree or star can look like decoration only, because neither smells or tastes of Christmas. A felt gingerbread man hints at the baking, because the brown felt figure with white icing stitch reads as gingerbread at once. Steps: 1. Cut two gingerbread man shapes from brown felt, and cut tiny white felt dots and a smile shape for the icing. 2. Stitch the icing details onto one front piece with white thread, then stitch the two body shapes together with blanket stitch, stuffing lightly. 3. Add two tiny button eyes and a ribbon loop at the head. Handmade christmas ornaments in gingerbread form suit a kitchen tree best, because the gingerbread men echo the baking happening nearby.
Try it: Use blanket stitch around the edges, not running stitch. Running stitch gaps open under stuffing, while blanket stitch holds the edge closed and looks like icing itself.
Paper Ornaments
07
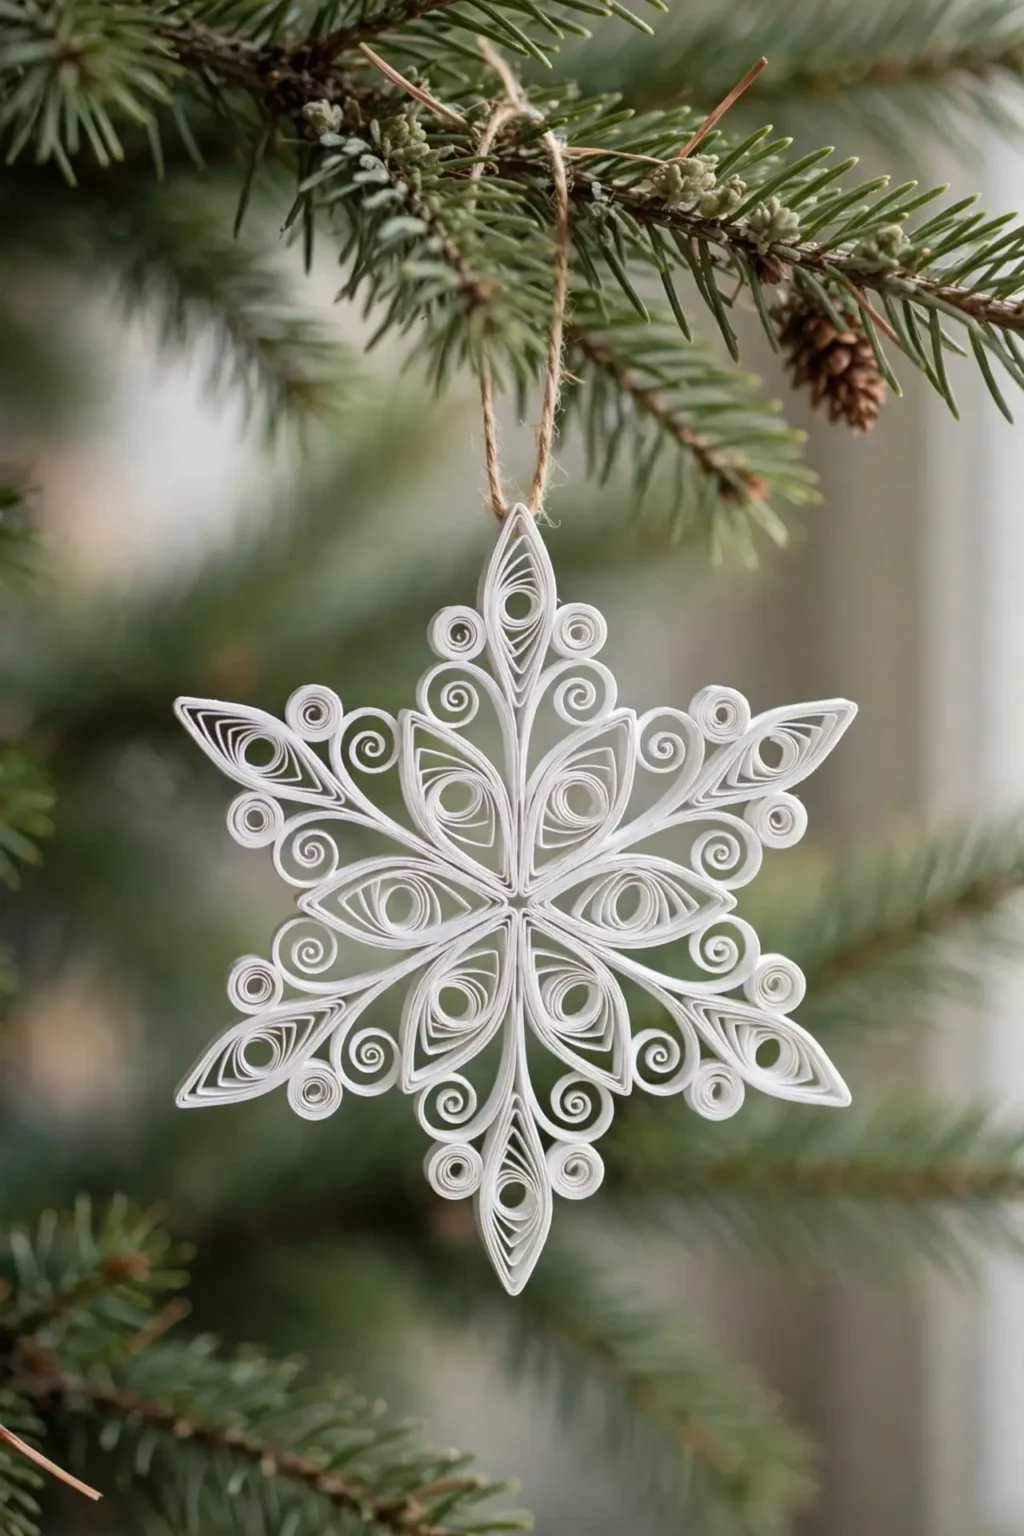
Paper Quilling Snowflakes
A flat paper snowflake can look two dimensional, because cut paper gives no depth. A paper quilling snowflake gives depth, because rolled paper coils stand out from the centre in every direction. Steps: 1. Cut paper quilling strips, or cut coloured paper into 5 mm strips, and roll each strip into a tight coil with a toothpick, letting some coils loosen into teardrops. 2. Glue the coils into a snowflake pattern on a flat surface, six arms from a centre coil, and let the glue dry fully. 3. Add a ribbon loop to one arm, and seal the finished snowflake with a light coat of clear spray so it holds its shape. A paper christmas decorations how to make project in quilling form suits a craft lover’s tree best, because the coils show real patience and skill.
Try it: Let each glued coil dry before adding the next one. Coils glued wet slide out of place, while coils glued onto a dry base stay exactly where you put them.

08
Paper Strip Baubles
A paper chain can look like a classroom craft on a grown-up tree, because flat links give no bauble shape. A paper strip bauble fixes that, because curved strips bowed into a ball read as a proper bauble. Steps: 1. Cut 12 strips of patterned paper, each about 20 cm long and 2 cm wide, and stack them in a pile. 2. Staple or glue the strips together at both ends, then fan the strips out into a ball shape, spacing them evenly around the centre. 3. Add a ribbon loop through the top staple, and a small bead or button at the bottom for weight. Diy christmas balls in paper strip form suit a budget tree best, because a whole set costs almost nothing and takes minutes per bauble.
Try it: Use the same strip length for every strip in one bauble. Strips of mixed lengths make a lopsided ball, while equal strips fan into a perfect sphere.

09
Origami Star Ornaments
A folded paper shape can collapse on the tree, because a single fold gives no strength. An origami star ornament holds its shape, because the modular folds lock together into a firm star. Steps: 1. Fold 30 identical small paper units, following a modular origami star pattern, using sturdy paper rather than thin tissue. 2. Slot the units together without glue first, checking the star shape, then add a tiny dot of glue at each join. 3. Thread a ribbon loop through one point, and hang the star where it will not be knocked, since origami stars dent if crushed. Christmas ornament crafts in origami form suit a minimalist tree best, because the crisp folds read as modern, not childish.
Try it: Fold every unit exactly the same size, and crease sharply. Units of mixed sizes will not slot together, while identical units with sharp creases lock into a clean star.
Wood Ornaments
10
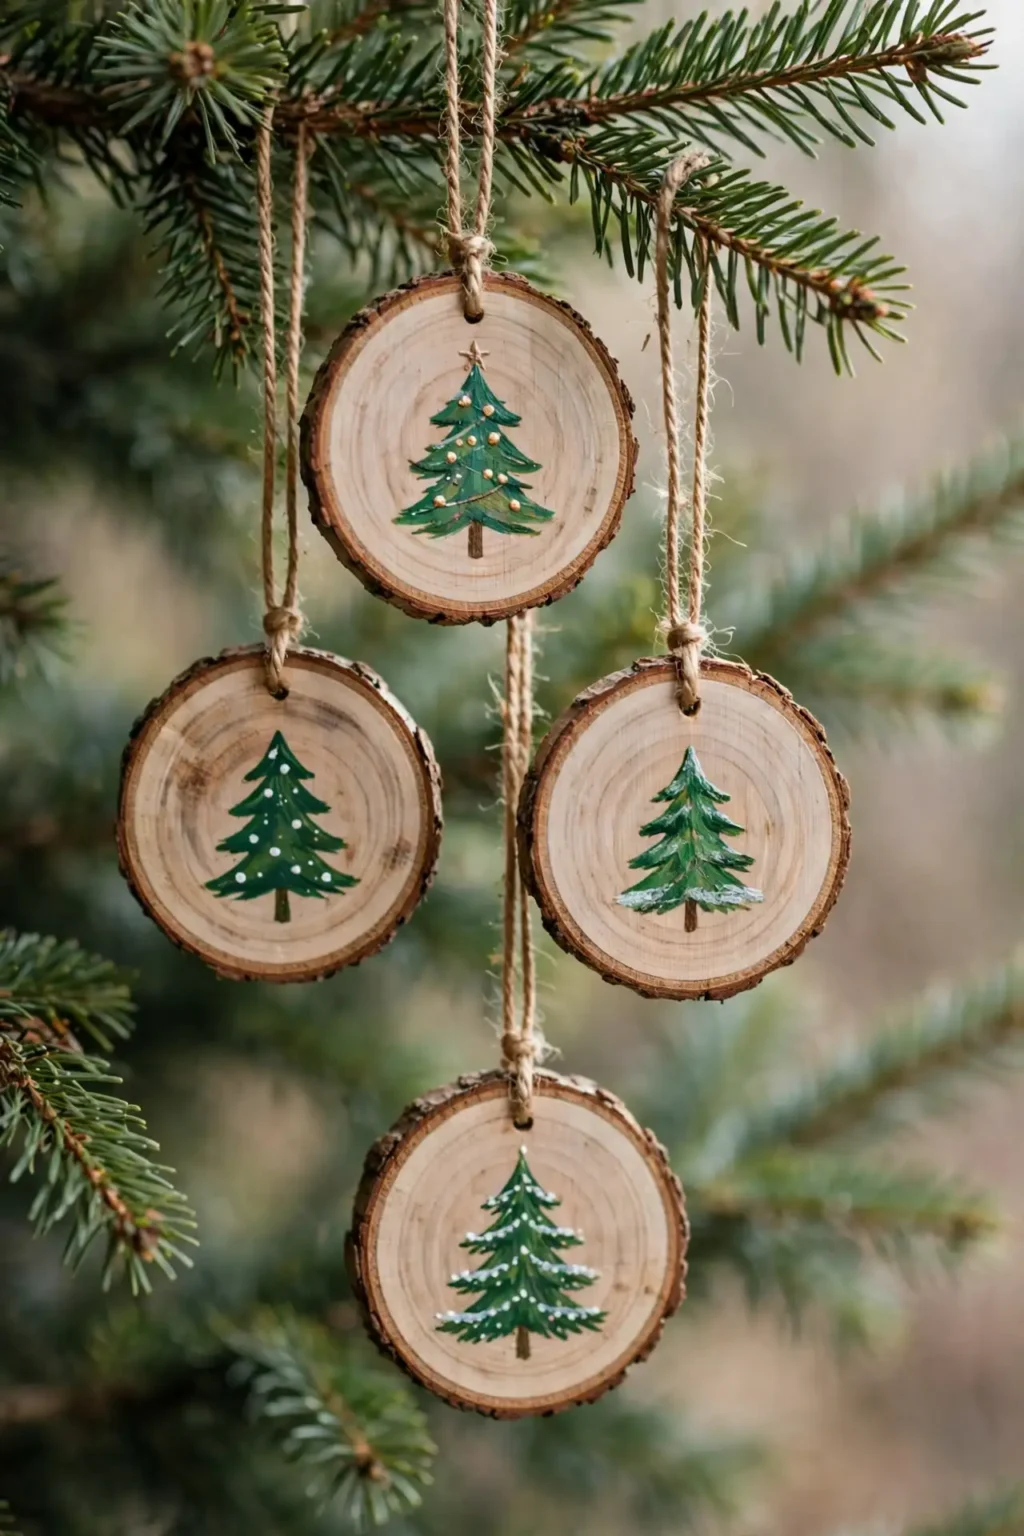
Painted Wood Slice Ornaments
A plain wood slice can look rustic and still say nothing, because bare wood carries no message. A painted wood slice ornament carries one, because a painted tree, star, or name turns the slice into a picture. Steps: 1. Choose wood slices with a flat face, large enough to paint on, and sand each face smooth. 2. Paint a simple design on the face, a tree, a star, a snowflake, or a single word, using acrylic paint. 3. Seal with clear varnish, drill a small hole near the edge or glue a ribbon loop to the back, and hang the slice where the grain shows. Wood slice christmas ornaments in painted form suit a farmhouse tree best, because the wood grain and the painting belong together.
Try it: Sand the slice smooth before painting, and seal after. Paint on rough wood soaks in unevenly, while paint on smooth, sealed wood stays bright for years.
11
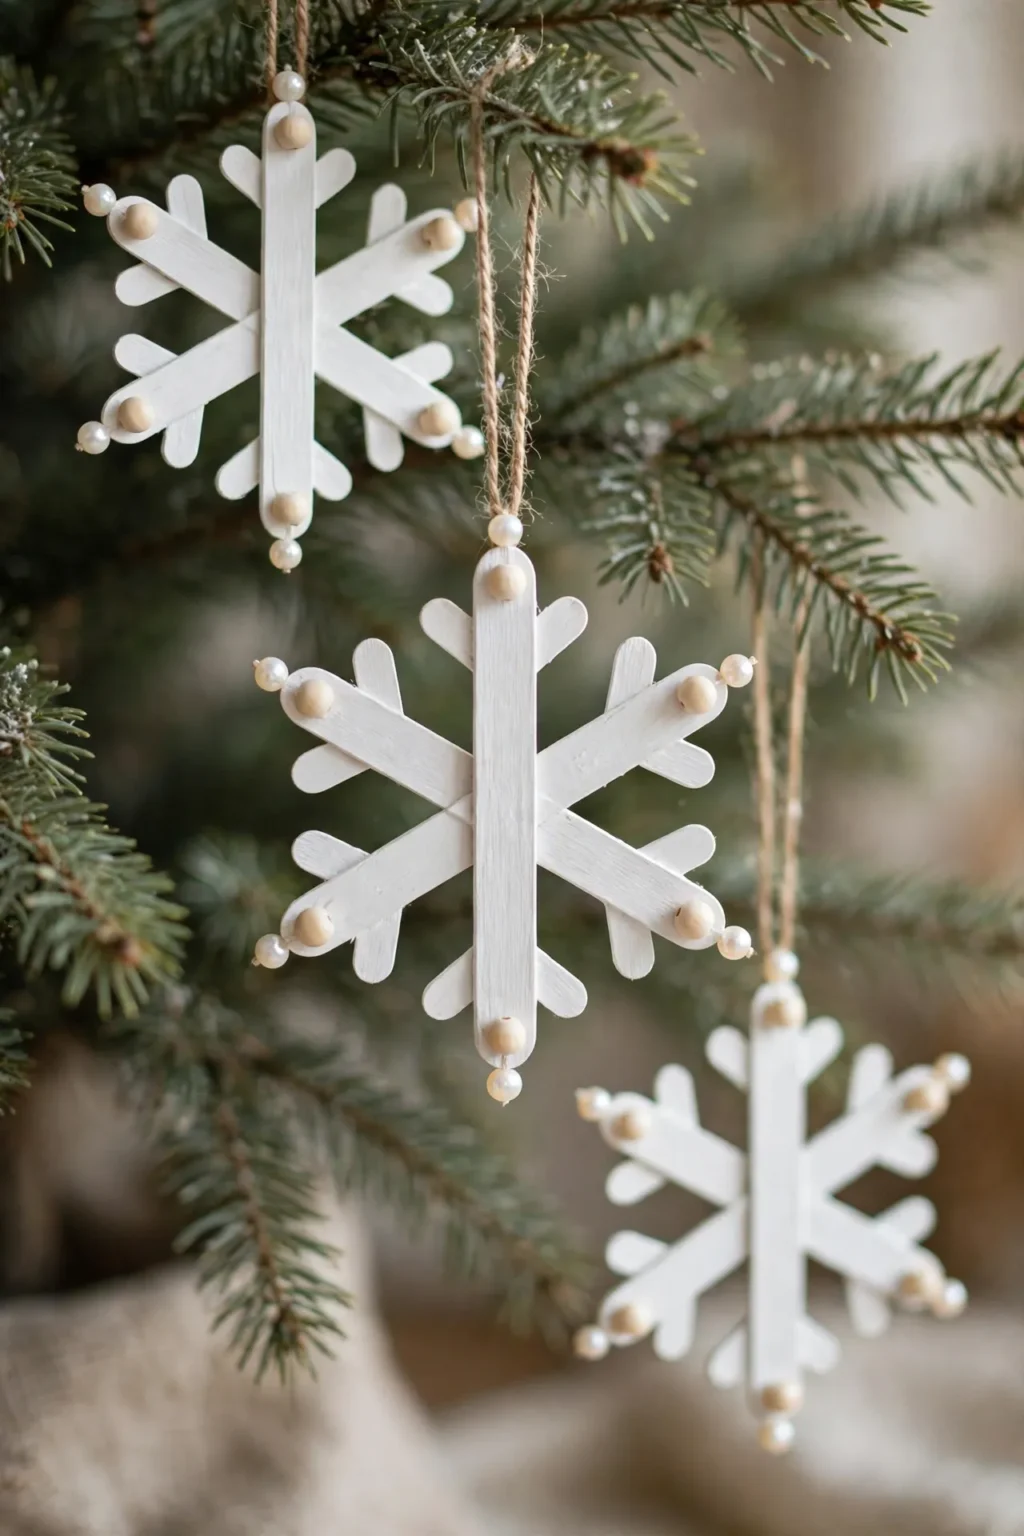
Popsicle Stick Snowflakes
A popsicle stick craft can look like a school project, because plain sticks give no finish. A popsicle stick snowflake looks finished, because painted sticks glued in a snowflake pattern read as a proper ornament. Steps: 1. Paint 6 popsicle sticks white or silver, and let them dry fully. 2. Glue the sticks into a snowflake pattern, three sticks crossing at the centre, and add small beads or buttons at the tips. 3. Glue a ribbon loop to the back of the centre, and seal the whole snowflake with clear spray. Popsicle stick ornaments in snowflake form suit a kids craft afternoon best, because the sticks are cheap, safe, and easy for small hands.
Try it: Paint the sticks before gluing, not after. Sticks glued first are hard to paint at the joins, while sticks painted first give a clean finish all over.

12
Twig Star Ornaments
A twig craft can look messy, because twigs vary in thickness and bend. A twig star ornament looks intentional, because five straight twigs tied into a star read as rustic by design. Steps: 1. Collect 5 straight twigs of similar thickness, each about 20 cm long, and trim them to equal length. 2. Lay the twigs into a five-pointed star shape, and bind each join firmly with twine or thin wire. 3. Add a small pinecone or a red berry at the centre, and tie a ribbon loop to the top point. Handmade christmas tree ornaments in twig form suit a natural themed tree best, because the twigs echo the tree itself.
Try it: Bind every join twice, not once. A single binding loosens as the twigs dry, while a double binding holds the star firm all season.
Clear Bauble Fill Ornaments
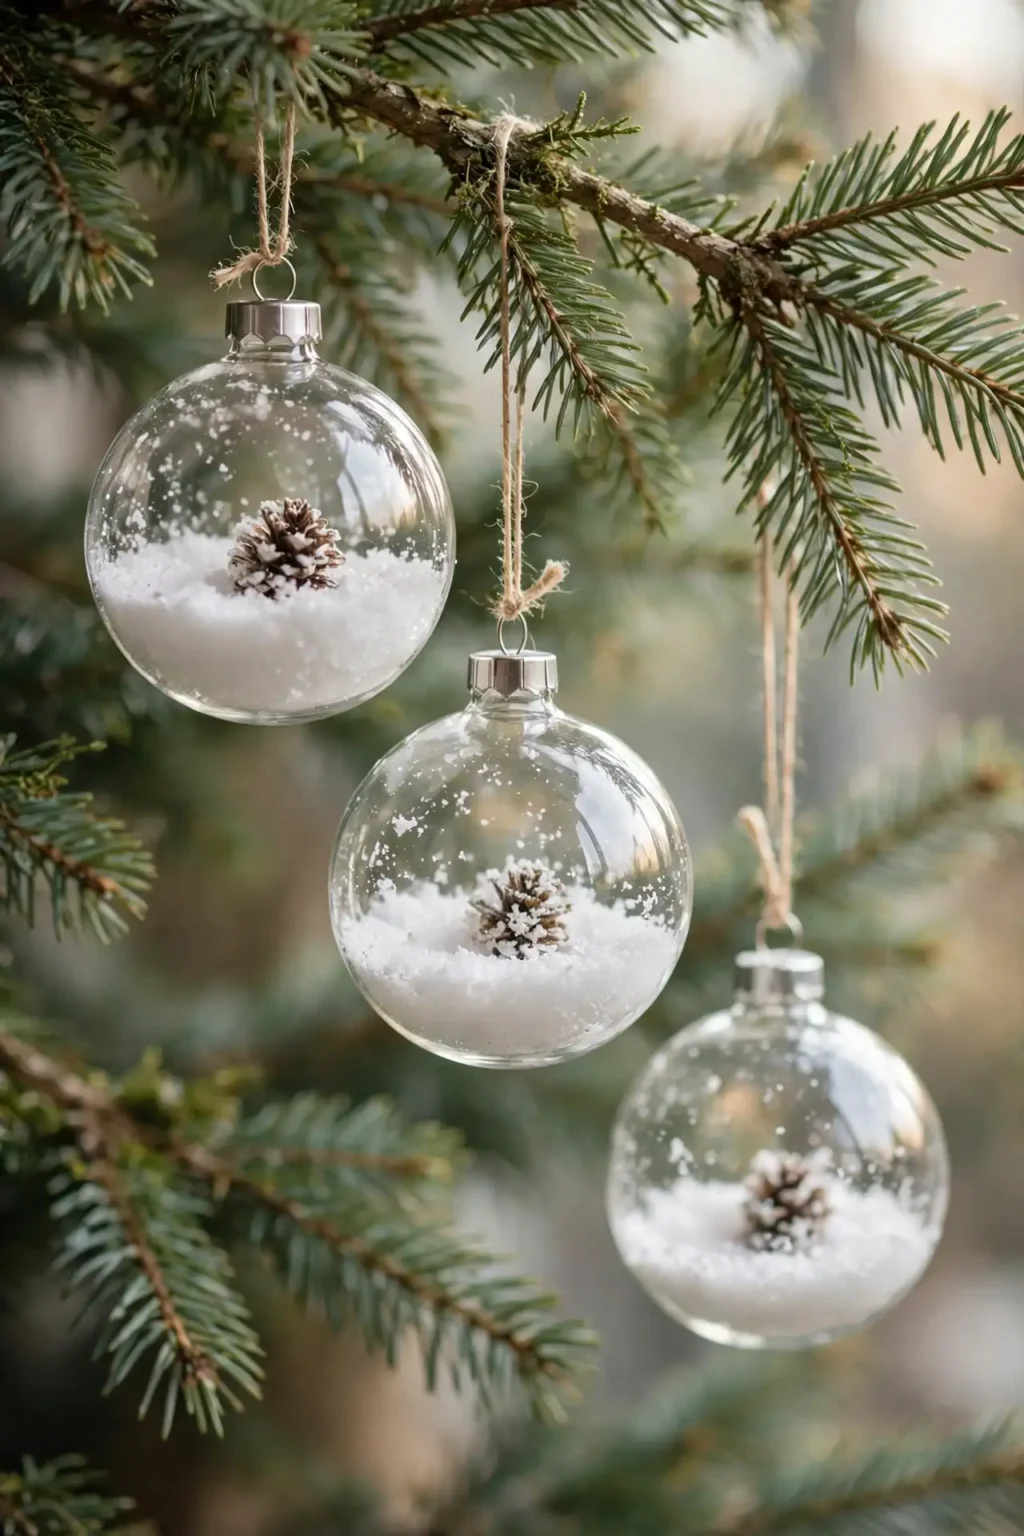
13
Fake Snow Filled Baubles
A clear bauble on its own can look empty, because clear glass shows nothing. A fake snow filled bauble fixes that, because white snow inside a clear bauble reads as winter at once. Steps: 1. Open a clear fillable bauble and spoon in fake snow until it is one third full. 2. Add a tiny pinecone, a miniature tree, or a few small beads, close the cap firmly, and shake gently to settle the snow. 3. Hang the bauble where light reaches it, since light through the snow makes it glow. Clear christmas balls for crafts in snow-filled form suit a white themed tree best, because the snow inside carries the whole colour scheme.
Try it: Fill the bauble only one third full, not to the top. A bauble filled to the top looks stuffed and hides the scene, while a third full leaves room for the snow to settle naturally.

14
Dried Flower Filled Baubles
A bauble filled with snow can look expected, because snow is what every clear bauble holds. A dried flower filled bauble breaks the pattern, because dried lavender and tiny blooms inside glass read as summer kept for winter. Steps: 1. Dry small flowers fully, hanging them upside down for two weeks, or buy them ready dried. 2. Open a clear bauble, tuck in a few dried flower heads and a sprig of lavender, and close the cap. 3. Hang the bauble on a pale tree or near a window, where the light shows the flowers. Clear ornament ideas in dried flower form suit a cottage tree best, because the flowers read as a garden remembered in December.
Try it: Dry the flowers fully before filling, not half dry. Half dried flowers go soft and mouldy inside a sealed bauble, while fully dried flowers keep their colour for years.
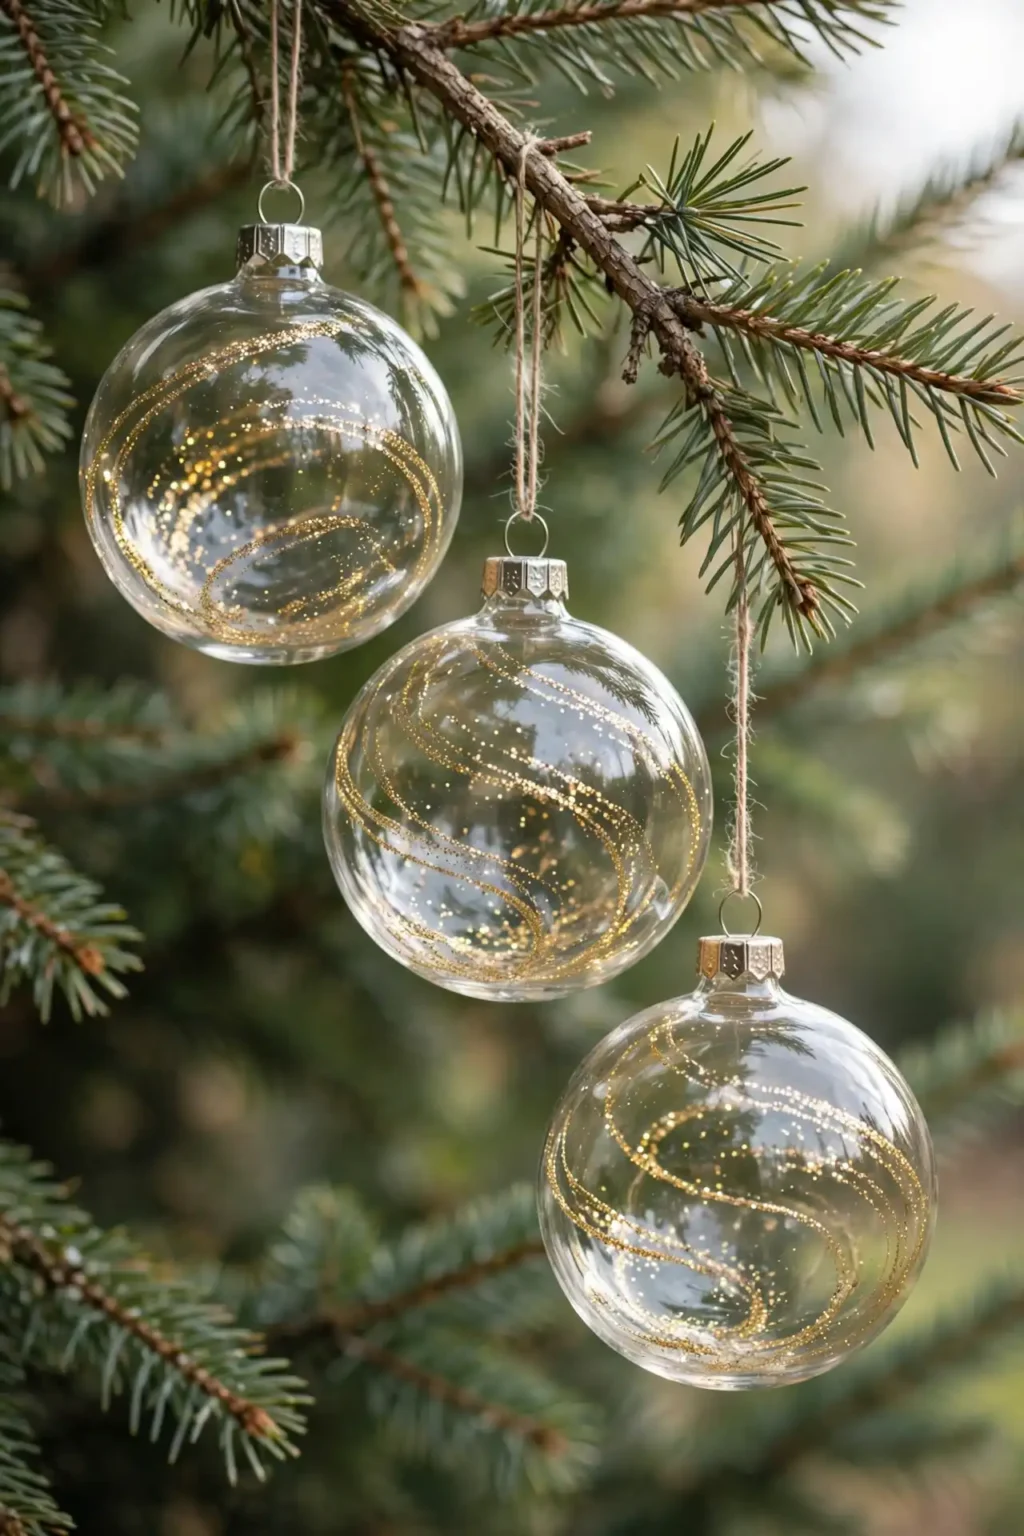
15
Glitter Swirl Baubles
A clear bauble filled with loose glitter can look messy, because loose glitter settles in a heap at the bottom. A glitter swirl bauble fixes that, because glitter stuck to the inside wall swirls around the whole bauble. Steps: 1. Pour a little clear craft glue or floor polish into a clear bauble, swirl it to coat the inside wall, and pour out the excess. 2. Spoon in fine glitter, close the cap, and shake until the whole inside wall is coated. 3. Let the bauble dry upside down overnight, then hang it where light catches the swirl. Clear christmas ornaments for crafts in glitter swirl form suit a glamorous tree best, because the glitter catches light from every angle.
Try it: Use fine glitter, not chunky glitter. Chunky glitter falls off the glue in clumps, while fine glitter coats the wall evenly and swirls cleanly.
Yarn Ornaments

16
Yarn-Wrapped Baubles
A plain foam or plastic bauble can look cheap, because bare foam shows every dent. A yarn-wrapped bauble hides that, because yarn wound tightly around the bauble reads as soft and handmade. Steps: 1. Take a foam or old plastic bauble, and glue the end of a yarn strand to the top. 2. Wind the yarn tightly around the bauble in even rows, adding a dot of glue every few rows, until no foam shows. 3. Tuck the final end under the last row with glue, and add a ribbon loop at the top. Diy ornaments in yarn-wrapped form suit a cosy tree best, because the yarn texture warms the whole display.
Try it: Wind the yarn tightly with no gaps, row against row. Gaps show the foam beneath and read as unfinished, while tight rows read as a knitted bauble.
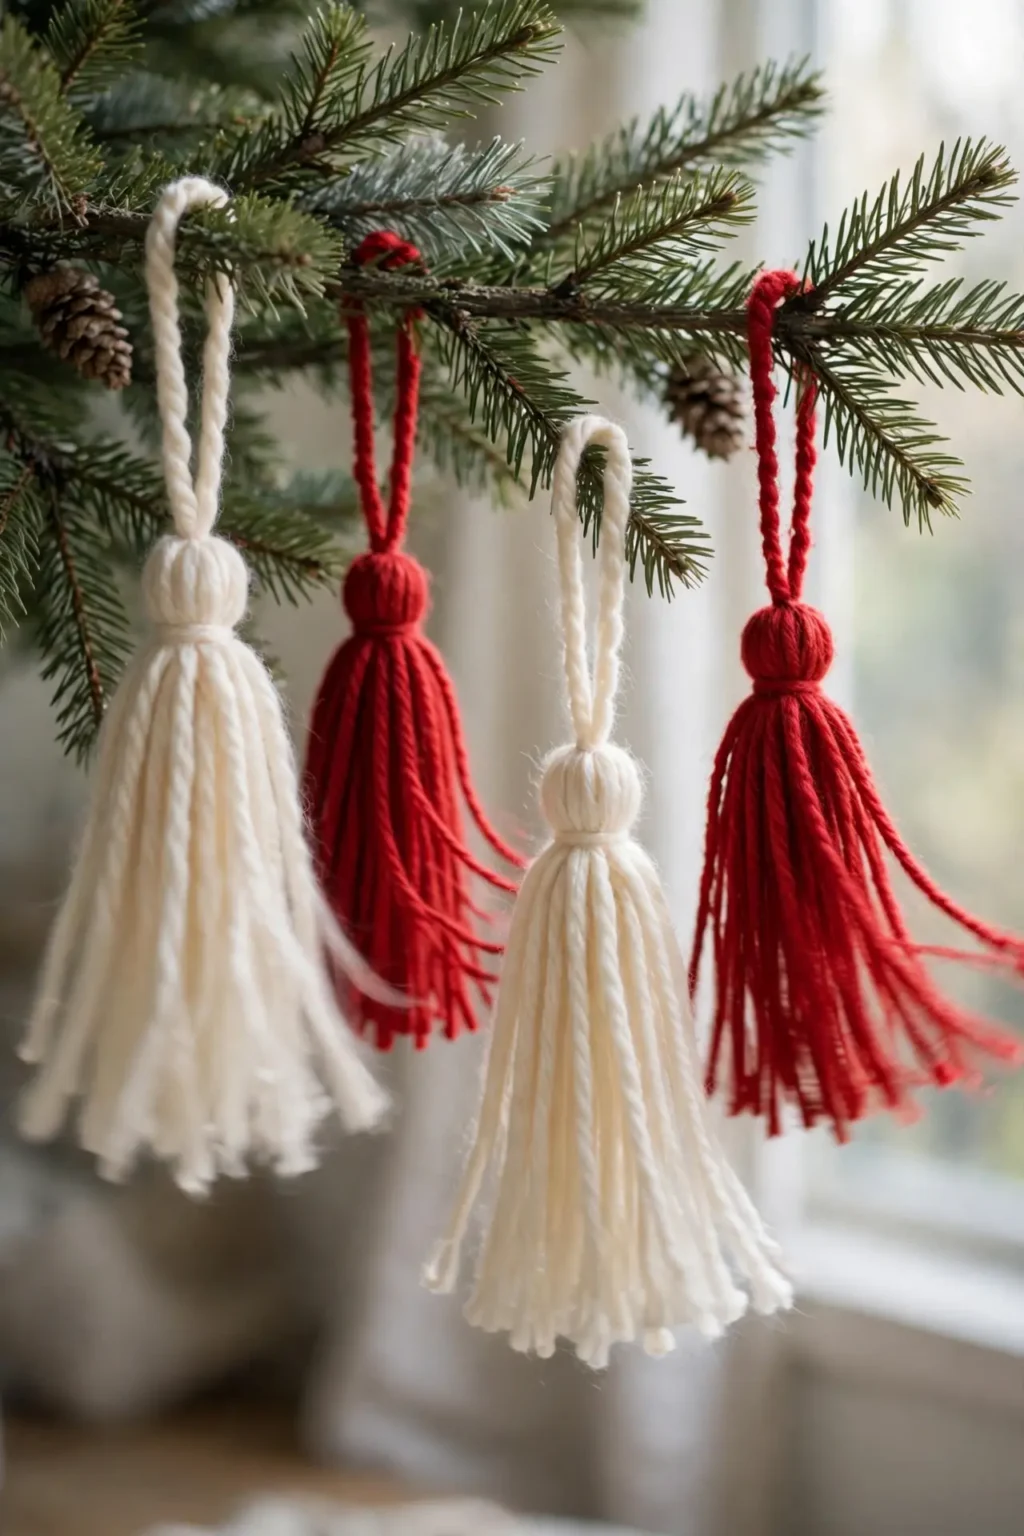
17
Yarn Tassel Ornaments
A yarn bauble can look round all over, because round shapes give no movement. A yarn tassel ornament adds movement, because hanging tassels sway when the tree is brushed. Steps: 1. Wrap yarn around a small piece of card about 20 times per tassel, tie the top of the bundle firmly, and slide it off the card. 2. Tie a second band near the top to form the tassel head, cut the bottom loops open, and trim the ends evenly. 3. Attach a ribbon loop to the top of the tassel, and hang three tassels of different lengths together as one ornament, or one tassel alone. Easy diy christmas ornaments in tassel form suit a bohemian tree best, because the tassels read as soft and relaxed.
Try it: Wrap the yarn at least 20 times per tassel, not fewer. A tassel wrapped only a few times looks thin, while a tassel wrapped 20 times reads as full.
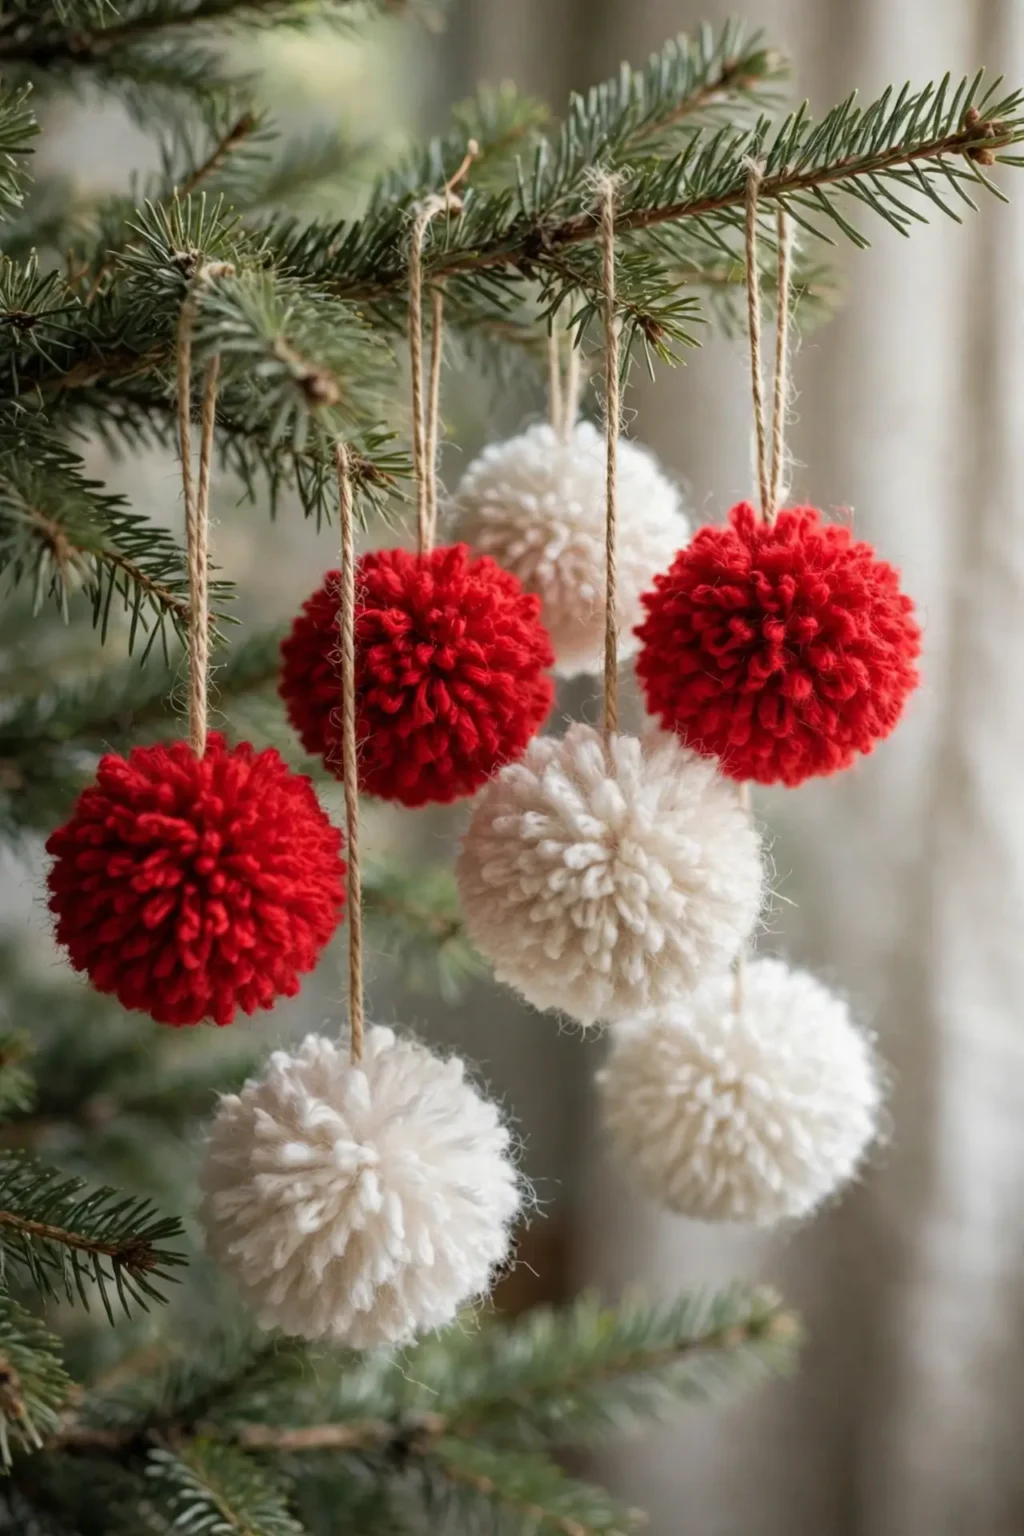
18
Pom-Pom Ornaments
A yarn tassel can look long and thin on a tree full of baubles, because tassels give no round shape. A pom-pom ornament gives the round shape back, because a fluffy pom-pom reads as a soft bauble. Steps: 1. Wrap yarn many times around a pom-pom maker or two cardboard rings, tie the bundle firmly in the middle, and cut the loops open. 2. Trim the pom-pom into a neat sphere, fluffing it out as you trim. 3. Tie a ribbon loop through the centre tie, and hang the pom-pom among the baubles. Homemade christmas tree ornaments in pom-pom form suit a kids tree best, because the pom-poms are soft, light, and safe to fall off the tree.
Try it: Trim the pom-pom in small snips, turning it as you go. One big cut makes a flat side, while small turning snips shape a true sphere.
Clay Ornaments
19
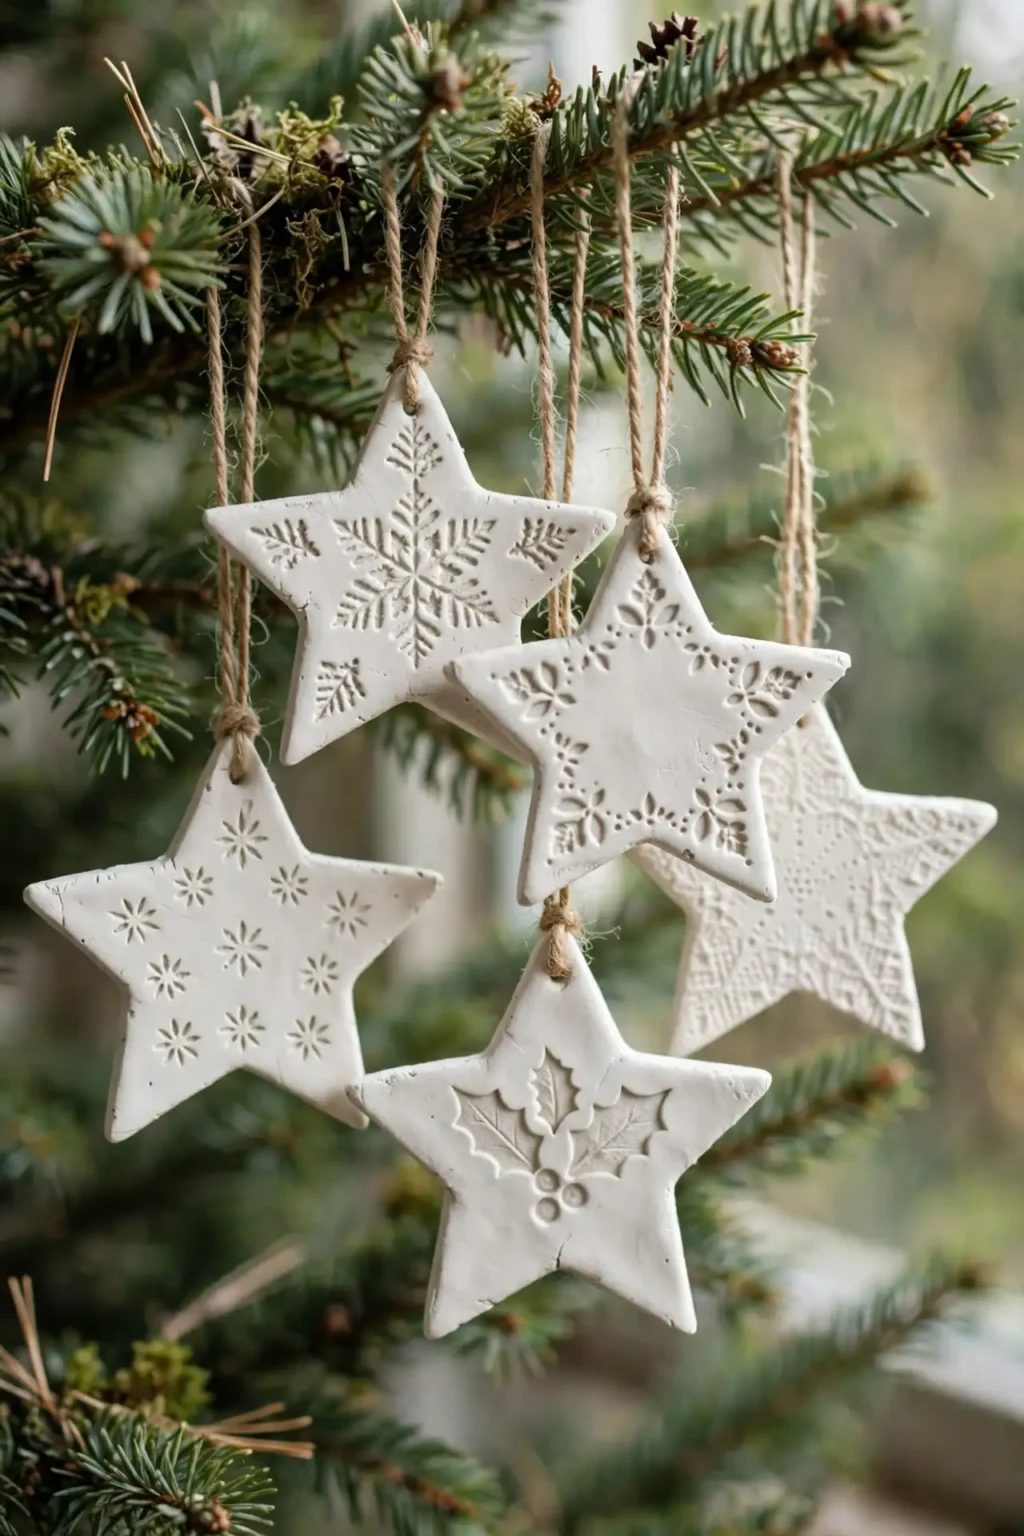
Air-Dry Clay Stars
A salt dough star can soften in humidity, because dough is food and food absorbs damp. An air-dry clay star does not, because clay hardens into a ceramic-like shape that ignores humidity. Steps: 1. Roll air-dry clay to 5 mm thick on a smooth surface, and cut star shapes with a cookie cutter. 2. Poke a hanging hole near one point, and stamp a simple pattern into the face with a fork or a button. 3. Dry the stars flat for 24 to 48 hours, turning once, then paint and seal with clear varnish. Easy christmas ornaments to make in air-dry clay form suit a grown-up tree best, because the clay stars look like bought ceramic, not dough.
Try it: Dry air-dry clay slowly, away from radiators and direct heat. Clay dried fast on heat cracks across the face, while clay dried slowly stays smooth.

20
Marbled Clay Baubles
A single-colour clay ornament can look plain, because one colour gives no pattern. A marbled clay bauble gives the pattern, because two colours kneaded together swirl into marble. Steps: 1. Take two colours of air-dry or oven-bake clay, roll each into a sausage, and twist the two sausages together. 2. Roll the twisted clay into a ball, flatten it slightly, and press it into a bauble shape, keeping the swirl visible on the surface. 3. Poke a hanging hole, dry or bake according to the clay type, and seal with clear varnish. Christmas tree ornaments to make in marbled clay form suit an elegant tree best, because the marble reads as stone, not craft clay.
Try it: Knead the two colours only a few twists, not until blended. Clay kneaded too long turns into one muddy colour, while a few twists keep the marble veins clear.
Recycled Ornaments
21
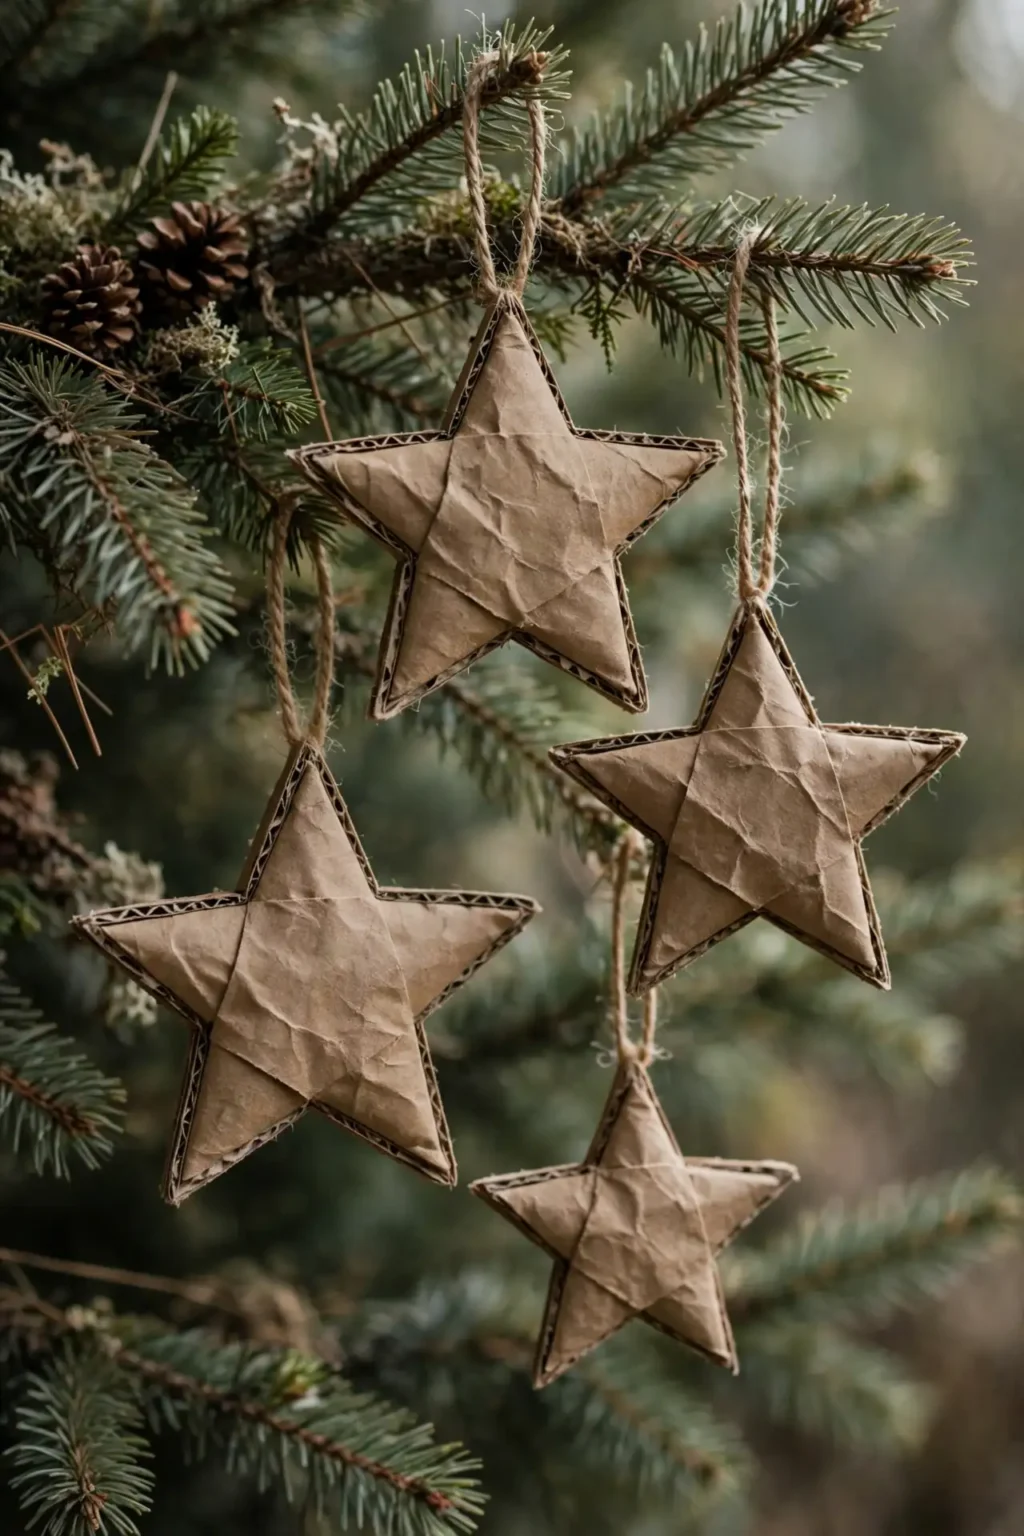
Recycled Cardboard Stars
A box of old cardboard can sit in the recycling for weeks, because nobody knows what to do with it. A recycled cardboard star turns that box into a decoration, because layered cardboard cut into stars reads as rustic and intentional. Steps: 1. Cut star shapes from clean cardboard, two per ornament, and glue them together for thickness. 2. Cover the star faces with brown paper, old sheet music, or painted newspaper, and trim the edges neat. 3. Punch a hanging hole near one point, thread twine through it, and seal the star with clear spray. Xmas ornaments to make in recycled cardboard form suit a zero-waste tree best, because the material cost is nothing and the stars look deliberately rustic.
Try it: Glue two cardboard stars together, not one alone. A single cardboard star bends and curls, while a doubled star stays flat and firm.
22
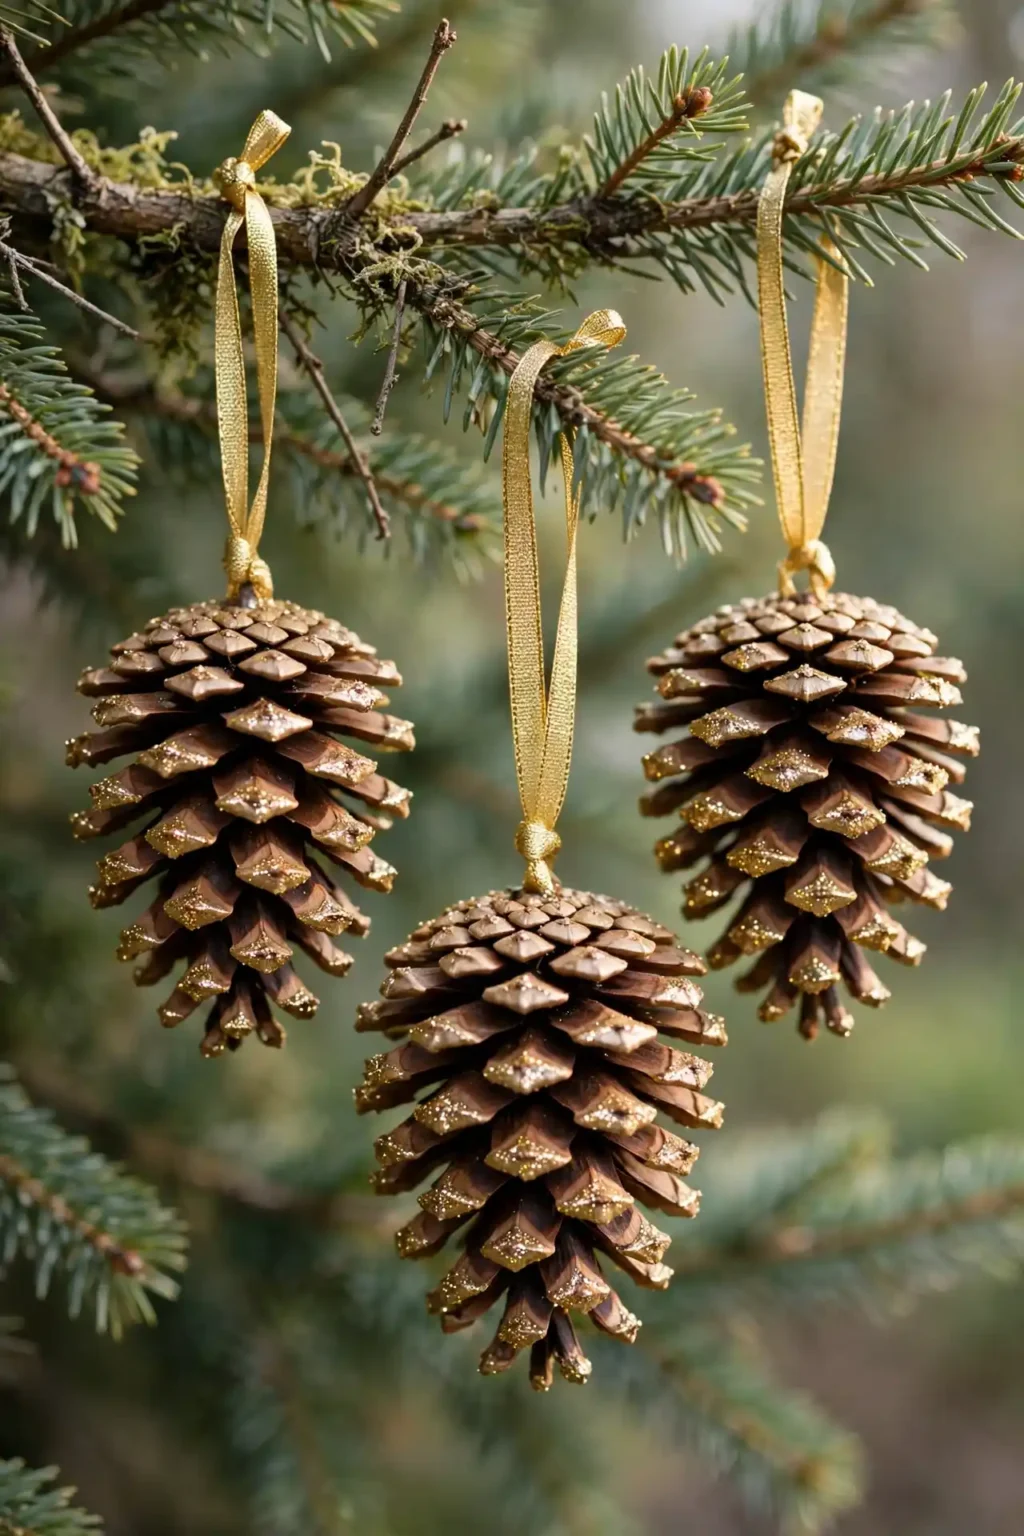
Glitter Pinecone Ornaments
A plain pinecone on a tree can look like garden debris, because a bare pinecone reads as something that fell off a tree. A glitter pinecone ornament reads as decoration, because glitter on the cone tips catches the light like frost. Steps: 1. Collect dry, open pinecones, brush off loose dirt, and let them dry fully indoors for a day. 2. Brush clear glue onto the tips of the scales only, not the whole cone, and sprinkle fine glitter over the glued tips. 3. Shake off the excess glitter, let the cones dry, and tie a ribbon loop to the top of each cone. Diy ornament ideas in glitter pinecone form suit a natural tree best, because the pinecones echo the tree itself and the glitter adds the frost.
Try it: Glitter only the scale tips, not the whole cone. A cone glittered all over looks like a glitter ball, while a cone glittered at the tips reads as frosted by snow.
Pro tip: Make one test ornament in each technique before you make the full set. A technique that looks easy in a photo can fight you in real life, and a test ornament checked in your hands is the only one you can trust before you commit to twenty.
Three rules for DIY ornaments that look intentional, not thrown together
Most diy christmas ornaments look unfinished for the same three reasons, and all three are fixable.
- First, finish every edge. A felt star with loose threads, a paper bauble with ragged strips, and a clay star with a rough rim all read as rushed, while edges trimmed, sealed, and neatened read as made with care, because the edge is what the eye checks first.
- Second, dry and seal before hanging. An ornament hung wet warps, smudges, or cracks on the tree, while an ornament dried fully and sealed with clear varnish keeps its shape and colour for years, because drying and sealing are part of the making, not an afterthought.
- Third, keep one palette per tree. A tree in one colour family, with one accent at most, reads as designed, while a tree in five mixed craft colours reads as a craft fair stall, because the eye spots the jumble at once.
Storing and reusing your DIY Christmas ornaments
DIY Christmas ornaments last for years if you store them properly, and the storage step is part of the making, not an afterthought.
- First, store each ornament separately. A homemade ornament knocked against others chips, cracks, and loses glitter, so wrap each one in tissue and box it on its own.
- Second, keep paper and felt ornaments dry. Paper quilling, origami stars, and felt ornaments warp and mould in damp, so store them in a dry cupboard with a silica packet, away from lofts that leak.
- Third, label the box with the technique inside. A box labelled with the technique and the year saves the January hunt, while an unlabelled box means opening every box to find one ornament, and a labelled box also tells you which ornaments need re-sealing next year.
Questions readers ask
How do you make diy christmas ornaments at home?
You make diy christmas ornaments at home by choosing one technique, salt dough, felt, paper, wood, clear bauble fill, yarn, clay, or recycled materials, gathering the matching supplies, and following numbered making steps through cutting, shaping, drying, and sealing. A diy christmas ornament starts with the technique, not the shape, since the technique decides the tools, the drying time, and whether children can join in.
What is the easiest diy christmas ornament for beginners?
The easiest diy christmas ornament for beginners is a paper strip bauble or a fake snow filled bauble, because both need only paper or a clear bauble and filler, and take under 30 minutes with no special tools. Start with the paper strip bauble, since cutting and stapling strips is the whole job and a mistake costs one strip.
How do you make salt dough ornaments that do not crack?
You make salt dough ornaments that do not crack by rolling the dough evenly to 5 mm, baking at a low temperature until fully hard, and sealing with clear varnish once cool. A salt dough ornament baked fast in a hot oven cracks across the face, while a slow-baked, sealed ornament hangs for years.
Can kids make diy christmas ornaments safely?
Yes, kids can make diy christmas ornaments safely, and the best techniques for children are salt dough, popsicle stick snowflakes, paper strip baubles, and pom-poms, because each uses safe materials and no sharp tools. Keep oven baking, hot glue, and glitter to adults, and let children handle the cutting, painting, and decorating steps.
How long do homemade christmas ornaments last?
Homemade christmas ornaments last for years when they are dried fully, sealed, and stored separately in tissue in a dry cupboard. A sealed salt dough or clay ornament lasts for decades, while an unsealed paper ornament in damp storage may last only one season.
What supplies do I need to start making christmas ornaments?
You need card, felt, paper, glue, ribbon, paint, and a clear sealant to start making christmas ornaments, plus the technique’s own supplies, dough ingredients for salt dough, a needle and thread for felt, or clear baubles for filled ornaments. A beginner kit of those basics covers most of the 22 ideas in this list.
How do you seal homemade ornaments so they last?
You seal homemade ornaments so they last by brushing or spraying two thin coats of clear varnish over the finished, fully dry ornament, letting each coat dry before the next. Sealed this way, painted, paper, and dough ornaments resist humidity and handling, while unsealed ornaments soften, smudge, and fade within a season.
How do I store diy ornaments so they do not break?
You store diy ornaments so they do not break by wrapping each one separately in tissue, boxing it on its own, and keeping the box in a dry cupboard away from sunlight and weight. Stored this way, felt, paper, clay, and bauble ornaments last for many seasons, while ornaments stored loose in a shared box chip and crush within a year.
People Also Ask
What is the most popular diy christmas ornament?
The most popular diy christmas ornament is the salt dough ornament, followed closely by the felt ornament and the clear filled bauble, because salt dough suits every family, felt suits every soft tree, and a filled bauble suits every budget. Handmade christmas ornaments in dough, felt, and fill form dominate the craft lists, since all three methods work for children, beginners, and experienced makers alike.
How much do diy christmas ornaments cost to make?
Diy christmas ornaments cost $1 to $8 each in most cases, with paper strip baubles and recycled cardboard stars at the lower end and hand-sewn felt trees at the higher end. Making a full set of one technique usually lowers the per-ornament price, since supplies like felt, yarn, and glitter stretch across many ornaments.
What diy christmas ornaments should beginners avoid?
Beginners should avoid origami star ornaments and marbled clay baubles on a first attempt, because each of those needs precise folding or careful colour control to look clean. Start with a paper strip bauble, a fake snow filled bauble, and a salt dough star, and save origami and marbling for a second season.
loved these ideas? ✿
Save this guide for later
Pin it to your board so it’s there when you’re ready to recreate it.

Curated by
Hey! I'm Sanaullah — visual curator and content creator. I search, curate, and test the best aesthetic ideas across Pinterest so you can easily transform your living space, style daily outfits, and try simple creative DIYs without the overwhelm.