

Your mailbox is the first thing guests, neighbors, and the mail carrier see, and most of us leave it bare all December. These christmas mailbox decor ideas fix that in an afternoon: swags and garlands for the box, wraps for the post, and styling for the base that turns a plain curb stop into a proper welcome. Most of these mailbox christmas decoration ideas cost under $25, use weatherproof materials, and keep the door, flag, and house numbers completely clear.
Quick Idea Summary
- The key takeaway: Decorate in three zones, the box, the post, and the base. One greenery swag on top, one wrap or accent on the post, and one anchor at the ground reads as a finished display from the street; any single zone alone looks like an afterthought.
- The detail most people miss: The door has to open fully and the flag has to move freely. The best looking christmas mailbox decor is worthless if the carrier cannot deliver, so test both before you admire your work.
- What it costs or how long it takes: Most ideas cost $0 to $30 and take 10 to 40 minutes. A full three-zone display built from one faux swag, a spool of outdoor ribbon, and a battery light strand lands around $35 total.
At a glance
| ZONE | IDEAS | BUDGET |
|---|---|---|
| On the box itself | 01–07 | $8–$30 |
| Down the post | 08–13 | $0–$22 |
| At the base and the curb | 14–19 | $10–$35 |
| Wall-mounted and porch mailboxes | 20–22 | $10–$28 |
| Full themes | 23–25 | $12–$30 |
The ideas

01
The Classic Evergreen Swag on Top
The swag is the signature christmas mailbox decor move: a teardrop of faux pine, cedar, and fir laid along the top of the box, finished with a bow at the front. A pre-made 24 to 30 inch swag costs $12 to $20 and attaches with two zip ties in five minutes. It reads clearly from a moving car, which is the whole test.
Try it: Buy the swag with wired branches. You can bend a wired swag to hug the curve of the box; an unwired one slides off in the first wind.

02
Garland Draped Over the Whole Box
If a swag feels too small for a large rural box, drape a 6-foot garland over the top instead, letting the ends fall 12 inches down each side. Tuck red berry picks into it every 8 inches so the green has punctuation. This is one of the most forgiving mailbox christmas decoration ideas because the garland hides its own mechanics.
Try it: Secure the garland at three points, both ends and the center, with green zip ties through the branches. Three anchors survive storms that one anchor does not.

03
A Mini Wreath on the Door
Hang a 10 to 12 inch wreath on the front of the door with a magnetic hook or an over-the-door hanger and the box instantly looks dressed, even with nothing else on it. Keep the wreath above the handle line so the door still swings. Mini wreaths run $8 to $14 at craft stores and store flat in January.
Try it: Use a magnetic hook rated for 5 pounds or more. A wreath that lands on the lawn twice gets left there, and the look dies with it.

04
A Big Bow With Long Streamers
A single oversized bow, 10 to 12 inches wide with streamers that trail down the sides, can carry an entire mailbox by itself. Use outdoor ribbon with wired edges in red, plaid, or burlap. This is the five-minute version of christmas mailbox decor, and it photographs beautifully against a plain black box.
Try it: Cut streamer tails in a dovetail and let them hang at uneven lengths, one 14 inches, one 10. Perfectly even tails look printed; slight unevenness looks hand-tied.

05
A Mini Tree Standing on Top
Searches for mailbox christmas tree spike every year because the look is irresistible: a 12 to 18 inch mini tree mounted on top of the box like a tiny sentinel. Anchor it in a small weighted pot or a foam block wired to the box top, and decorate it with mini ornaments under 1.5 inches. Battery fairy lights finish it after dark.
Try it: Keep the total height modest. A top-heavy tree catches wind like a sail, so wider base, shorter tree is the combination that survives December.

06
A Magnetic Mailbox Cover
If your box is a standard steel roadside model, a magnetic christmas cover wraps it in a full holiday scene for about $10 and zero skill. Covers come sized for standard and large boxes, so measure yours first: standard is roughly 6.5 by 19 inches. It is the fastest of all christmas mailbox ideas for renters and last-minute decorators.
Try it: Smooth the cover on from the center outward. Trapped air bubbles wrinkle in the cold and make the whole scene look warped.

07
Battery Lights Woven Through the Swag
Mailbox christmas lights turn a daytime decoration into a dusk display, and the battery strand is the only sane way to do it at the curb. Weave one 10-foot warm white strand through your swag or garland and set the built-in 6-hour timer once. No extension cord crosses the lawn, and the lights run about 2 weeks per set of batteries.
Try it: Put the battery pack inside a small zip bag tucked under the swag. Rain on the pack is what kills strands early, not the cold.

08
Garland Spiraled Down the Post
Most people decorate the box and forget the post is half the display. Spiral a slim garland around the post from top to ground, one wrap every 10 inches, and the whole structure becomes one piece. A 9-foot slim garland costs about $9 and takes ten minutes to wind and tie.
Try it: Finish the spiral with the bow at the top, where the post meets the box. The eye travels down the green and lands on the bow like a period at the end of a sentence.

09
Dress the Flag With a Small Bow
The red flag is already Christmas colored, so dress it: one small 4-inch bow tied at the flag’s pivot or wired to its top edge. It is a two-minute, two-dollar detail, and it signals that the whole mailbox was decorated on purpose. Keep the bow flat enough that the flag still raises and lowers cleanly.
Try it: Test the flag three times after tying. If the bow snags even slightly, move it to the post just under the flag instead.
10
A Plaid Scarf Wrapped Around the Post
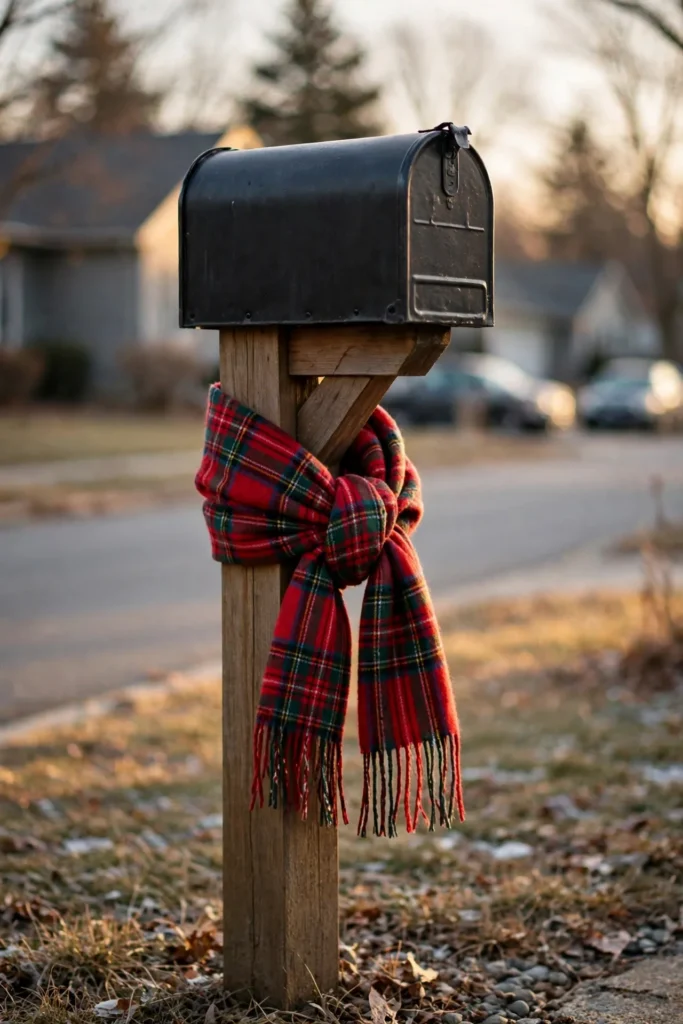
Wrap a real plaid scarf, or a yard of plaid flannel, around the post like the mailbox is cold. It is a beloved folk trick because it adds pattern and softness that greenery cannot, and it costs nothing if the scarf comes from your closet. Knot it at the front and let the fringe hang.
Try it: Choose an old scarf, not a good one. A month of weather will fade even outdoor fabric, and January-you will thank December-you.
11
A Pinecone and Berry Cluster
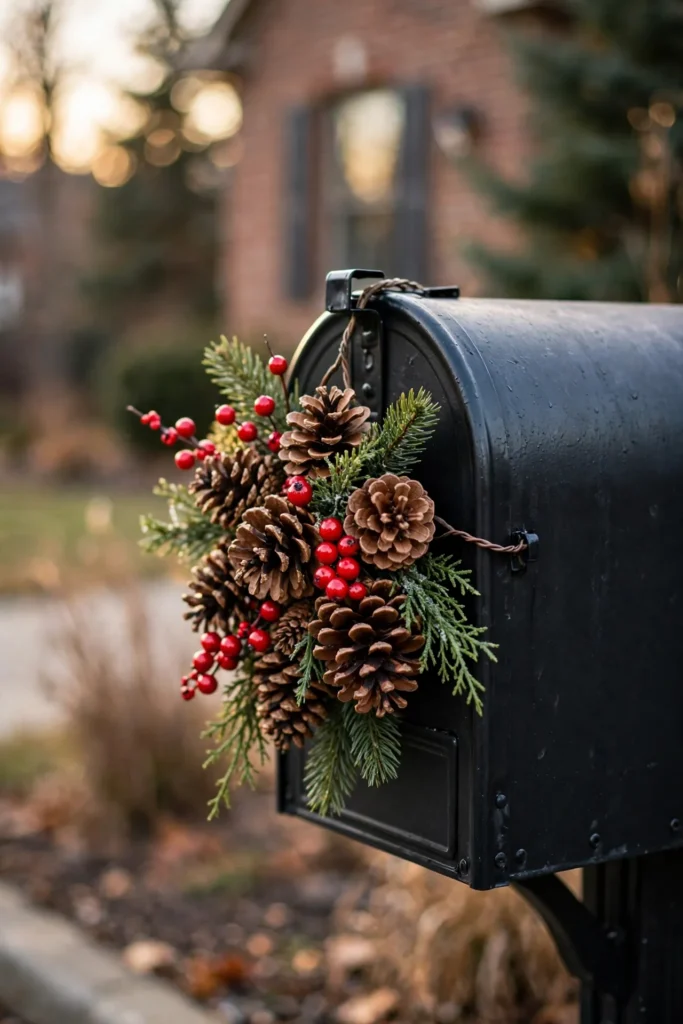
Wire three large pinecones and two red berry picks into a cluster and fasten it at the front corner of the box or the top of the post. It is the natural, no-bow option, and it suits brick and stone houses where ribbon reads too sweet. Baked yard pinecones are free; berry picks are $3 to $5.
Try it: Bake gathered pinecones at 200 degrees for 30 minutes before wiring. It opens them fully and removes the sap and any hitchhiking insects.

12
A DIY Swag Cut From Your Own Garden
The most satisfying diy christmas mailbox project costs nothing: cut cedar, pine, juniper, and holly from your own yard, layer the stems into a bundle, wire the stems together, and tie on a bow. Fresh greenery cut in December lasts 3 to 4 weeks outdoors in the cold. Hardware stores also give away Christmas tree trimmings for exactly this.
Try it: Build the swag on a base of the stiffest stems you have, usually cedar. Soft pine alone flops by week two; a stiff spine holds the shape.
13
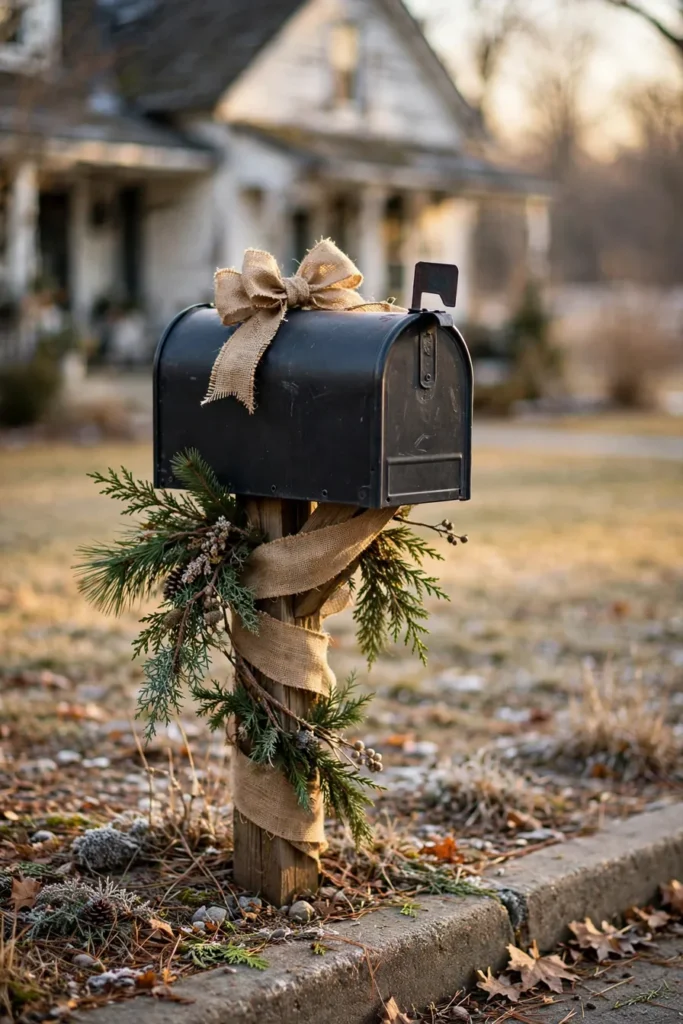
The Rustic Burlap Treatment
For farmhouse and country homes, swap the shiny ribbon for burlap: a burlap bow on top, a burlap wrap on the post, and greenery left loose and slightly wild. Burlap is cheap at about $4 a yard, shrugs off weather, and pairs with galvanized and wood accents at the base. The look is forgiving, which makes it a good first attempt.
Try it: Use burlap ribbon with wired edges, not raw burlap fabric. Raw edges fray into strings within a week of wind.

14
An Urn or Planter at the Base
A planted urn at the base grounds the whole display and hides a plain post bottom. Fill it with evergreen cuttings stuck into soil or foam, red twig dogwood for height, and one bow on the rim. A pair of matching planters flanking the post doubles the formality for about $30 in thrifted urns.
Try it: Water fresh cuttings once when you plant them. Frozen soil holds the moisture for weeks, so base arrangements are nearly maintenance free.
15
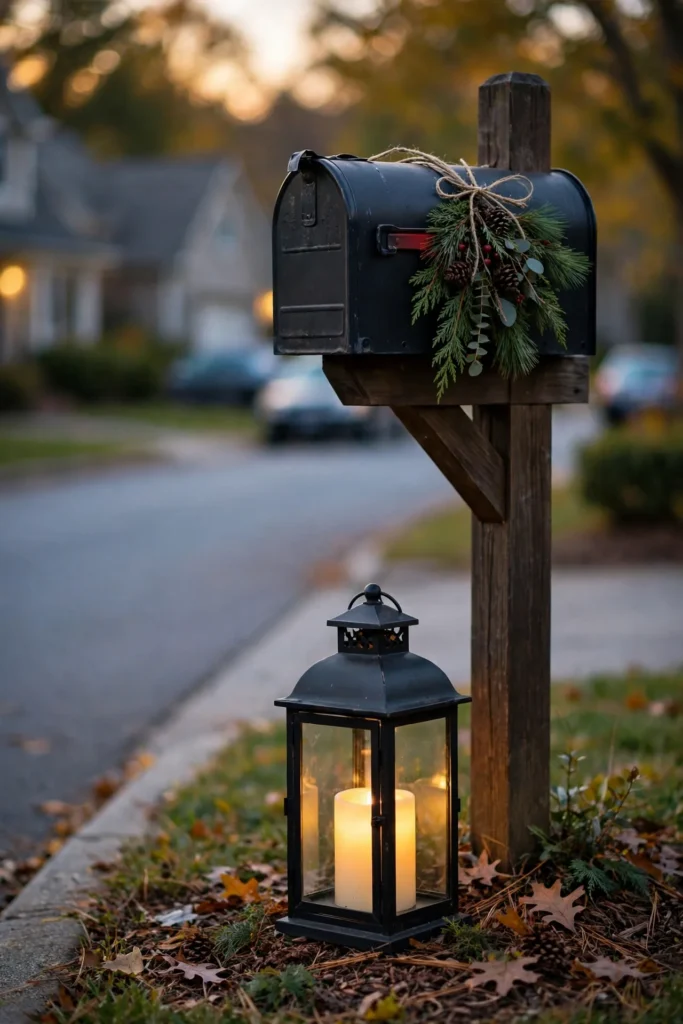
A Lantern Beside the Post
Set a black metal lantern with a flameless candle at the base of the post and your mailbox gains an evening presence that greenery alone cannot give. Choose a lantern at least 12 inches tall so it reads from the street, and put the candle on a timer for dusk. Weatherproof lanterns run $15 to $25.
Try it: Weight the lantern base with a few stones inside. A light lantern walks away in the first nor’easter.
16
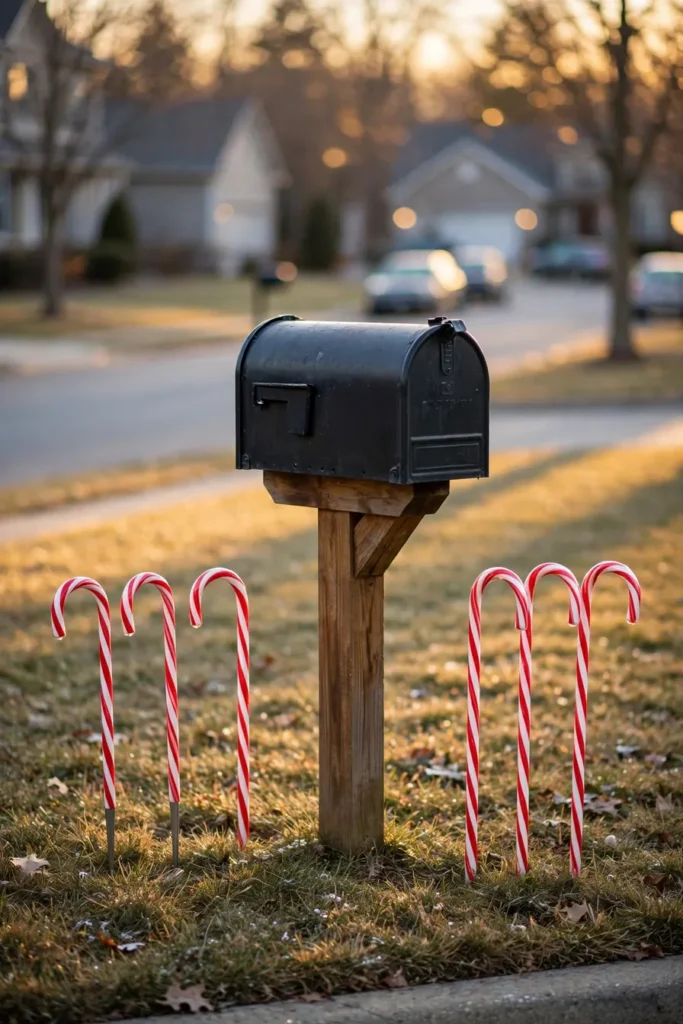
Candy Cane Stakes Flanking the Post
Two candy cane stakes, one on each side of the post, frame the mailbox like parentheses. Solar versions light themselves at dusk for about $12 a pair, and kids read the display instantly. Keep them 6 inches clear of the post so the carrier’s door swing is never blocked.
Try it: Push stakes in before the ground freezes hard, or drill pilot holes with a screwdriver in frozen soil. Snapped stakes are the December tax on leaving it late.

17
A Small Letters-to-Santa Sign
Hang a small wooden sign reading Letters to Santa from the post or stake it at the base, and your mailbox becomes a neighborhood moment, not just a decoration. Signs cost $8 to $15, or paint one on scrap wood in 20 minutes. Families with young kids will slow down to look, which is precisely the point.
Try it: Add an outgoing touch: tie a few blank stamped envelopes in a weatherproof pouch below the sign so neighbor kids can actually post a letter.
18
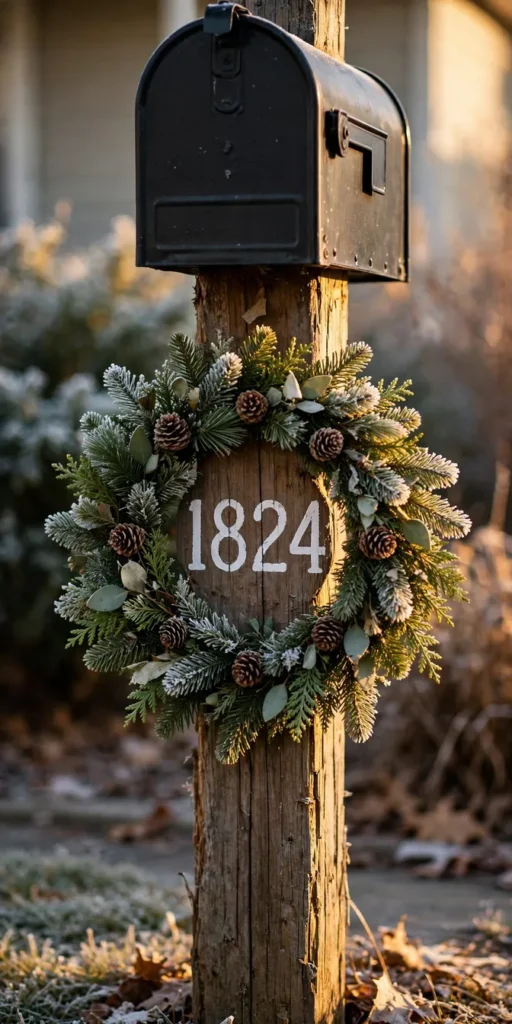
A Wreath Around the House Numbers
Frame the address numbers on the post with a small 8-inch wreath or a ring of greenery, and you decorate the one element that must stay visible. It turns a rule into a feature: the numbers sit inside the wreath, readable at a glance, and the post looks intentional. Use flat greenery here, nothing fluffy that creeps over the digits.
Try it: Check readability from a car at the curb, in daylight and at dusk. If you have to squint, thin the greenery until you do not.
19
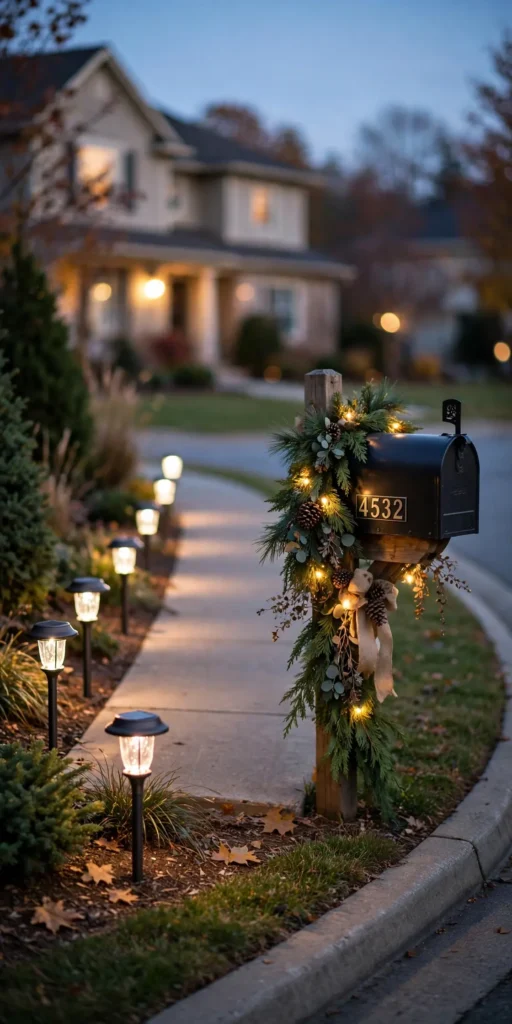
Solar Path Lights Leading to the Box
Line the walk or drive edge toward the mailbox with 4 to 6 solar path lights and the mailbox becomes the destination of a small light procession. Warm white stakes cost about $3 each and need no wiring. The trick works best when the mailbox itself carries one lit element, like idea 07, so the path leads somewhere.
Try it: Space the lights evenly at 3 to 4 feet apart. Even spacing reads as design; random spacing reads as leftovers.

20
A Garland Frame for a Wall-Mounted Mailbox
Wall mounted boxes get forgotten because the roadside tricks do not fit, but a garland frame does: run a slim garland around the box’s mounting board or in an arch above it, fixed with removable outdoor hooks. It takes 4 feet of garland and ten minutes, and it ties the box into the porch decor instead of leaving it floating.
Try it: Keep the garland off the lid hinge line. A wall box lid opens upward, and garland tucked behind it gets crushed daily.

21
Mini Wreath and Bow on the Wall Box Front
The flat front of a wall-mounted mailbox is a small billboard: hang a 10-inch wreath centered on it with a magnetic or adhesive hook, and add one bow at the wreath’s base. On a porch, this reads as part of the door styling, especially if the bow matches the door wreath’s ribbon.
Try it: Match one element to your front door wreath, the same ribbon or the same berries. The porch then reads as one scheme from the sidewalk.
22
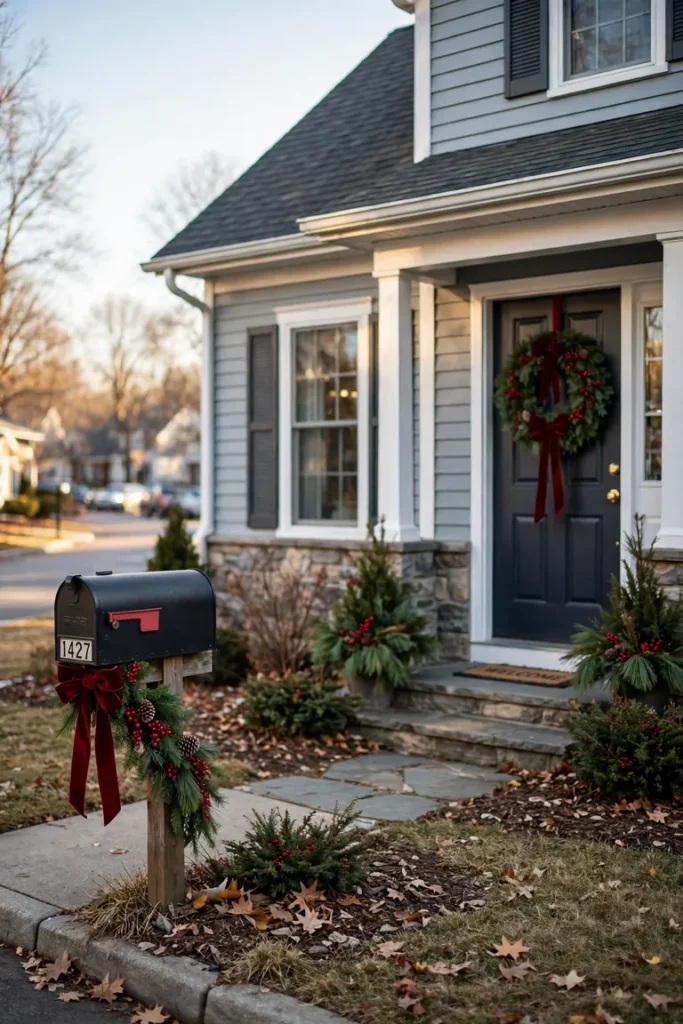
Match the Mailbox to the Front Door
The most designed-looking curb trick is coordination: use the same greenery, the same ribbon, and the same accent on the mailbox and the front door wreath. Guests register the match subconsciously and the whole facade feels planned. It also simplifies shopping, since one set of materials covers both spots.
Try it: Build the door wreath first, then make the mailbox swag from the leftovers. The match is automatic and the second piece is nearly free.
23
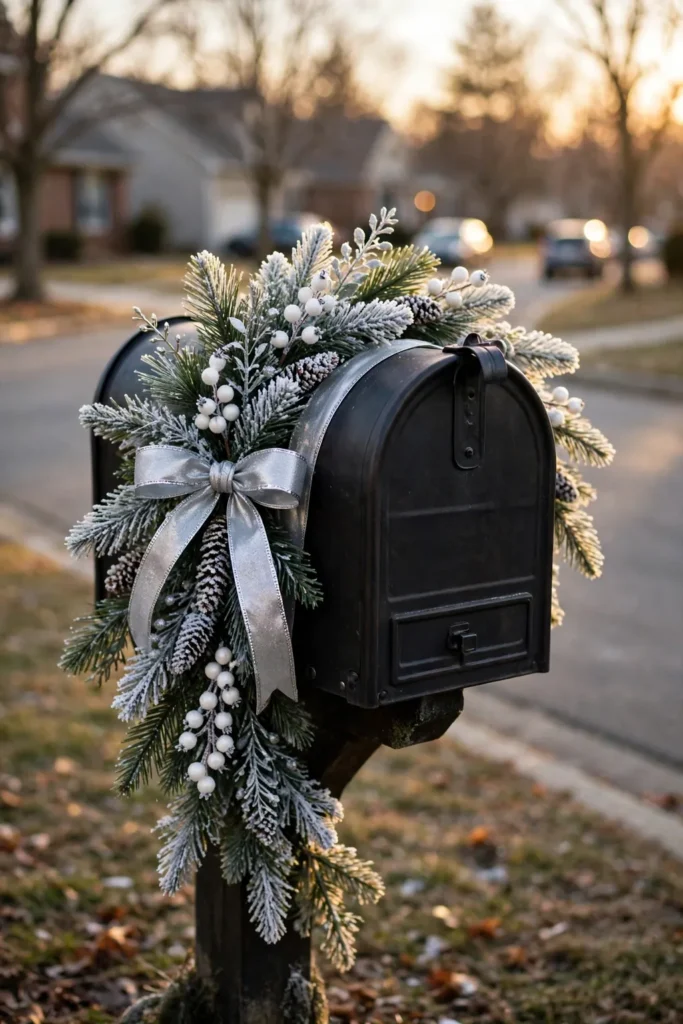
The Winter Wonderland Theme
Go frosty: a flocked swag, silver ribbon, white berry picks, and a dusting of faux snow spray on the box top. The white and silver palette glows against dark mailboxes and evergreen hedges, and it is the most elegant of the christmas mailbox ideas here. Flocked faux swags run $16 to $24 and store well.
Try it: Skip the snow spray if your box is white. Frost on white disappears; on a white box, use silver and ice-blue accents for contrast instead.

24
The Woodland Natural Theme
Magnolia leaves, twiggy branches, feathers, and unadorned pinecones make a mailbox that looks gathered rather than bought. The palette is brown, bronze, and deep green, so it suits stone and wood-sided houses beautifully. Everything in it can come from the yard and the craft store’s natural aisle for under $10.
Try it: Add one small brass or copper bell at the front. Woodland schemes need a single glint of metal or they go flat in flat winter light.
25
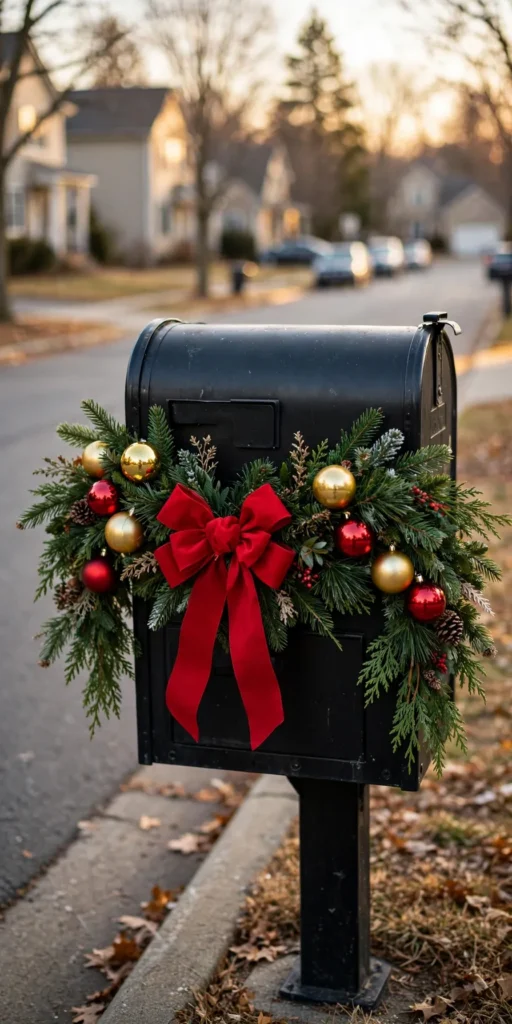
Classic Red, Green, and Gold With Ornaments
The timeless version: a deep green swag, a red bow, and shatterproof gold and red ornaments wired into the greenery at the front where headlights catch them. Use only outdoor rated shatterproof balls, 6 to 9 of them, clustered in two groups rather than spread thin. This is the display that makes the whole street feel like December.
Try it: Wire every ornament on individually. Ornaments hung by their caps alone pop off in wind and end up as glitter in the gutter.
Pro tip: Photograph your finished mailbox from the street, from a car window height, not from the sidewalk beside it. Decorations read differently at 20 feet and 25 miles per hour: if the bow and one bright accent do not register in the photo, scale them up before you add anything else.
Three rules for mailbox decor that survives December
A mailbox display lives outdoors for five weeks of weather, so these christmas mailbox decorating ideas only count if they last. Follow three rules and yours will still look good on Christmas morning.
- Weatherproof every material: Outdoor rated ribbon, UV stable faux greenery, and shatterproof ornaments only. Indoor ribbon fades and runs in the first rain, and glass balls at the curb are a hazard, not a decoration.
- Keep the carrier’s job easy: The door must open fully, the flag must move freely, and the house numbers must stay readable. Decorate around all three, and test each one the day you hang everything.
- Anchor like you mean it: Floral wire and zip ties, never glue or tape alone. Wind works on a mailbox display 24 hours a day, and a firm anchor checked after every storm is the difference between a display and a scavenger hunt.
After Christmas: mailbox takedown and storage
January takedown takes 15 minutes if you do it in the right order, and the storage choices decide whether next December starts with decorating or with untangling.
- Dry everything before it goes in the bin: Faux greenery and ribbon stored damp grow mildew in a sealed box. A sunny January afternoon on the porch dries a whole display in two hours.
- One labeled bin for the whole mailbox: Swag, post garland, bow, and lights coil into a single medium bin kept together. Label it with the zone order, box, post, base, so next year you rebuild in minutes.
- Photograph before you pack: Take one street view photo of the finished display and store a print of it in the bin. Next December you recreate the exact layout instead of redesigning under time pressure.
More ideas you’ll love: Christmas Walkway Decorating Ideas, Christmas Yard Decor Ideas, Christmas Decor Ideas, and More in Christmas Decor.
Questions readers ask
How do I decorate a mailbox for Christmas?
Start with a greenery swag or garland on top of the box, add one bow, then wrap or accent the post and anchor the base with a planter or lantern. Keep the door, flag, and numbers clear, and use only outdoor rated materials. The three-zone formula works on any mailbox style.
What is the easiest DIY Christmas mailbox decoration?
A DIY swag from garden cuttings is the easiest and costs nothing: bundle cedar and pine stems, wire them together, and tie on an outdoor bow. A magnetic mailbox cover is the easiest store-bought option at about $10 and two minutes.
Can I put Christmas lights on my mailbox?
Yes, use a battery powered strand with a timer and weave it through the swag or garland. Battery mailbox christmas lights avoid extension cords across the yard, last about 2 weeks per battery set, and keep cords away from the carrier’s path entirely.
How do I attach garland to a mailbox without damaging it?
Use zip ties around the post, floral wire tucked into the greenery, and magnetic or removable adhesive hooks on metal boxes. Never use screws, nails, or hot glue on the box itself. Everything should come off in January leaving the mailbox exactly as it was.
Will decorating my mailbox block mail delivery?
Not if you follow the clearance rule: the door opens fully, the flag moves freely, and the numbers stay readable. Decorations sit on top of the box, around the post, and at the base, never across the door. Carriers leave decorated mailboxes alone when their job stays easy.
How long does fresh greenery last on a mailbox?
Fresh cedar and pine cut in December last 3 to 4 weeks outdoors in cold weather, and longer with a water soaked foam base where the design allows one. Faux greenery lasts for years and is the better choice in mild climates where fresh cuttings dry out in two weeks.
What can I do if I have a wall mounted mailbox?
Frame it with a slim garland arch, hang a mini wreath on its flat front, and match the ribbon to your front door wreath. Wall boxes sit on the porch, so they need less weatherproofing and can carry more delicate accents than a roadside box.
How much does it cost to decorate a mailbox for Christmas?
Most single ideas cost $0 to $30. A complete three-zone display built from a faux swag, one spool of outdoor ribbon, a battery light strand, and a thrifted planter lands around $35 to $50, and most of it is reusable for years.
People Also Ask
What do you put on a mailbox for Christmas?
Greenery first: a swag, garland, or mini wreath. Then one bow, one bright accent like berries or shatterproof ornaments, and one lit element, usually battery fairy lights. Those four pieces, placed on the box, post, and base, make up nearly every good looking mailbox display.
How do I make a mailbox swag?
Layer 5 to 7 evergreen stems with the longest in the middle, wire the stems together at the center, flare the ends, and add a bow over the wire. Attach the finished swag along the top of the box with two zip ties, and test that the door clears it before you walk away.
Can I decorate my mailbox if I rent my home?
Yes. Magnetic covers, zip tied swags, and removable hooks decorate a mailbox without a single permanent change, and everything comes off in minutes. If your lease or local rules restrict exterior changes, these no damage methods keep you inside them while the curb still looks festive.
loved these ideas? ✿
Save this guide for later
Pin it to your board so it’s there when you’re ready to recreate it.

Curated by
Hey! I'm Sanaullah — visual curator and content creator. I search, curate, and test the best aesthetic ideas across Pinterest so you can easily transform your living space, style daily outfits, and try simple creative DIYs without the overwhelm.