

You want your wedding to look like it belongs in a magazine, but you are working with a real budget, a real venue, and real planning time. The secret is that stunning wedding decor is rarely about spending more. It is about choosing a few strong visual moments, repeating them with intention, and letting everything else stay simple. These 30 wedding decor ideas will help you style every zone of your day, from the first glimpse of your aisle to the last photo of the night, so guests walk in and say wow before anyone sits down.
Quick Idea Summary
- The key takeaway: spend 80 percent of your decor budget on five visual anchors (the arch, the head table, lighting, signage, and one photo spot) and keep everything else simple and repeated.
- The detail most people miss: decor photographed from the doorway, the guest’s eye level, and the camera lens can look completely different, so always test one centerpiece at standing height and one from a seated position before you commit.
- What it costs or how long it takes: a fully styled 120-guest wedding typically runs $800 to $2,500 in DIY decor and about 10 to 14 hours of setup across two days; moving ceremony pieces to the reception (arch to the bar, aisle flowers to the head table) cuts the bill by nearly a third.
At a glance
| Zone | Ideas | Budget |
|---|---|---|
| Ceremony and Aisle | 01–06 | $60–$300 |
| Altar and Arch | 07–12 | $100–$600 |
| Table Centerpieces | 13–18 | $10–$45 per table |
| Table Settings and Details | 19–24 | $1–$8 per guest |
| Lighting and Photo Spots | 25–30 | $40–$400 |
The wedding decor ideas

01
Scatter a petal border down your aisle
A bare aisle reads empty in photos, but a full floral aisle runner costs a fortune. The fix is a scattered petal border: silk or real petals swept in a two-foot-wide trail down the center of the aisle. A 120-guest ceremony uses roughly 10 to 15 liters of petals and costs $25 to $60, and the effect photographs like a luxury runner.
Try it: sweep petals just before guests arrive so edges stay crisp, and save real petals for close to the arch where cameras get close.

02
Tie floral posies to the aisle seats
Plain folding chairs are a missed branding opportunity. Small posies of greenery and one or two blooms tied with ribbon to every third seat turn the aisle into a designed path. Making them takes under an hour for a 60-seat aisle if you batch the ribbons first.
Try it: use shepherd’s hooks for outdoor venues and chair sashes for indoor ones so nothing slips or damages venue property.
03
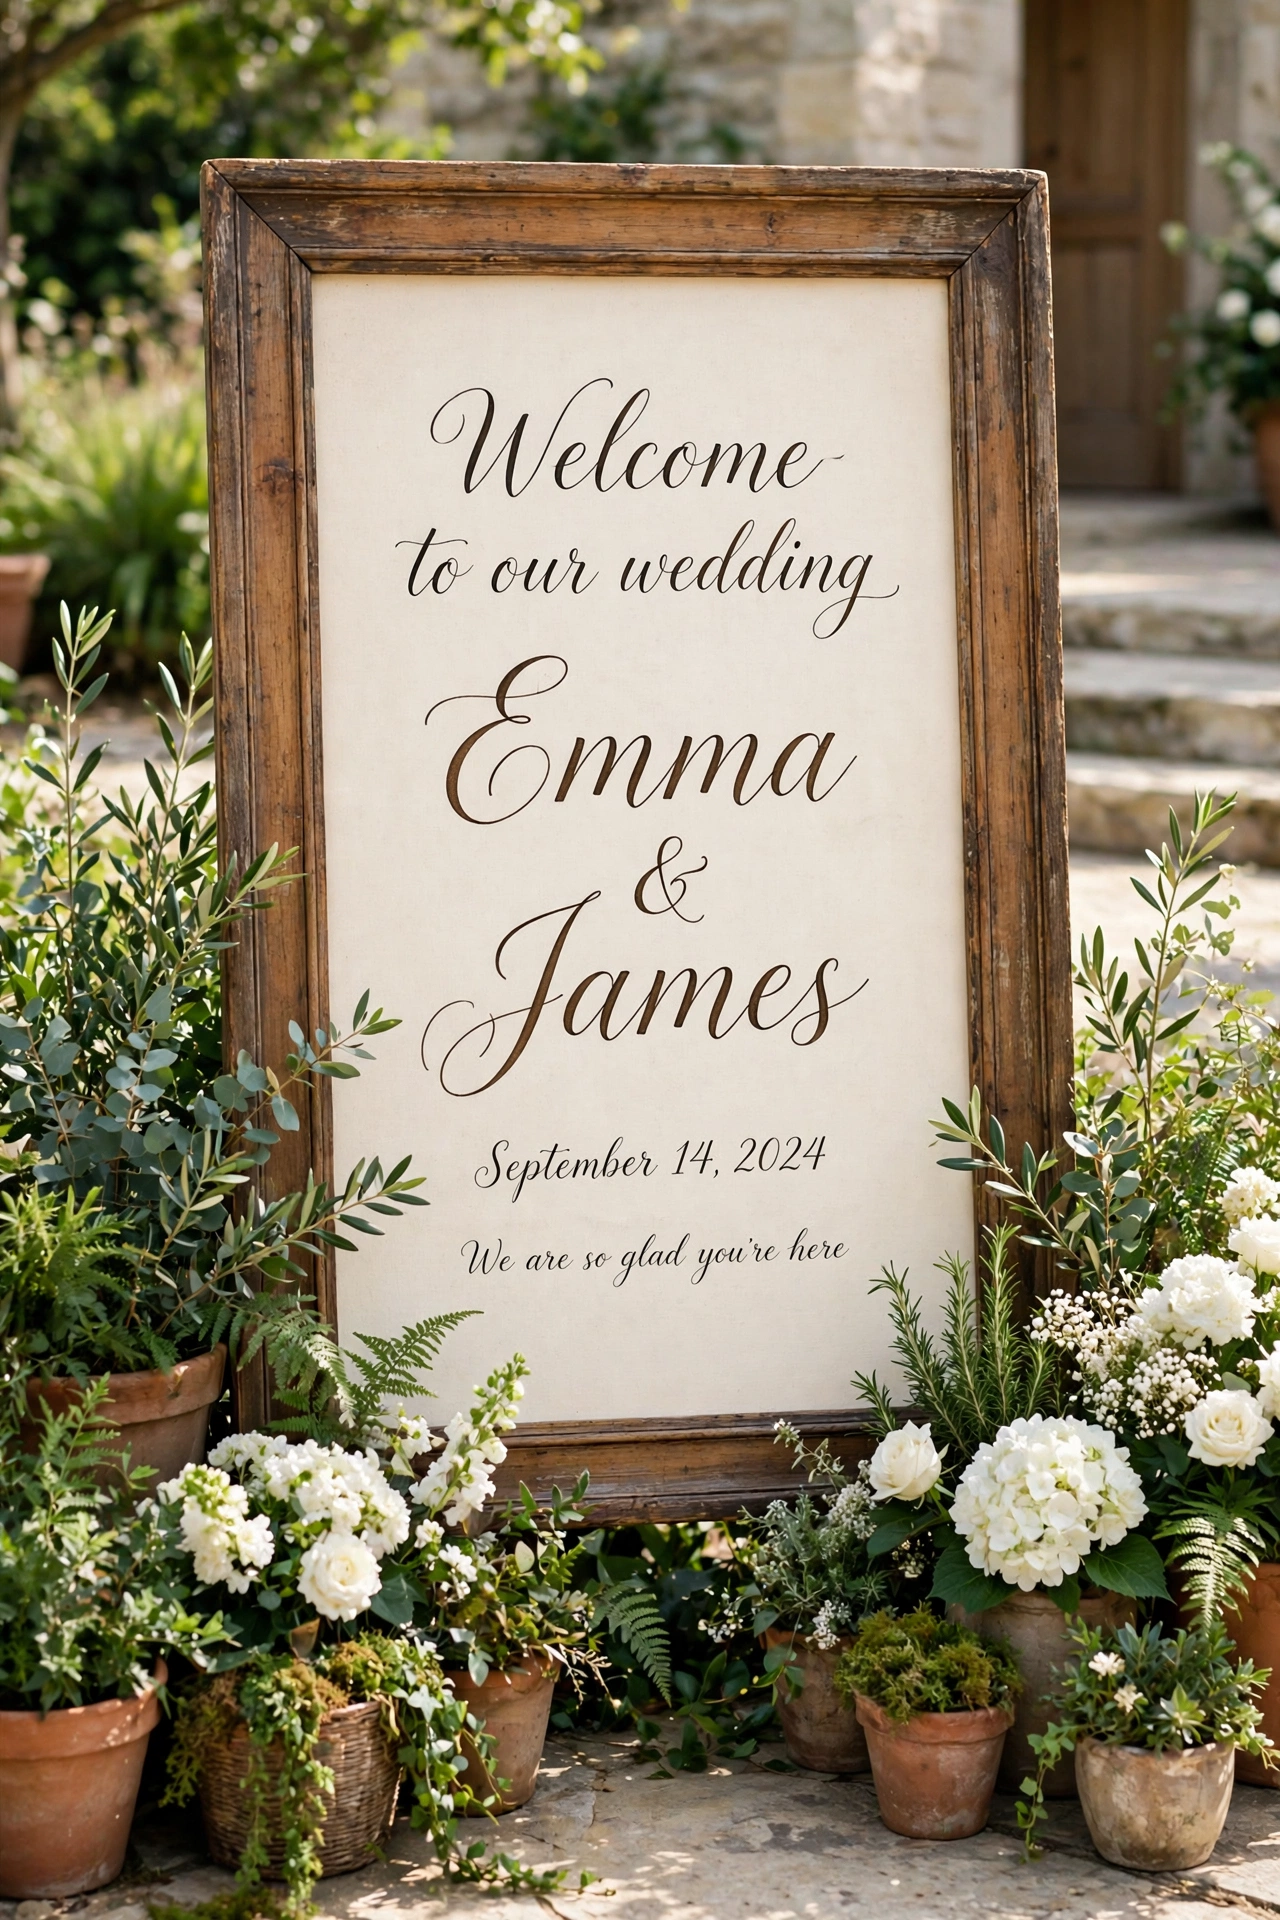
Greet guests with a statement welcome sign
The welcome sign sets the visual tone before the ceremony even starts. A large wooden frame, a leaning mirror, or a fabric banner with your names and date tells guests they are in the right place and gives arriving guests something beautiful to photograph. Mirror signs photograph best in morning light.
Try it: match the sign’s wood tone or font to your invitation suite so the whole day feels like one continuous brand.

04
Set out confetti toss cones at the exit
Confetti exit photos are some of the happiest shots of any album, but loose confetti means litter. Pre-filled paper cones displayed in a basket or crate keep the moment organized and photogenic. Plan one cone per guest plus 10 percent extra for children grabbing seconds.
Try it: use dried petals or biodegradable confetti and check your venue’s cleanup rules before ordering anything plastic.
05
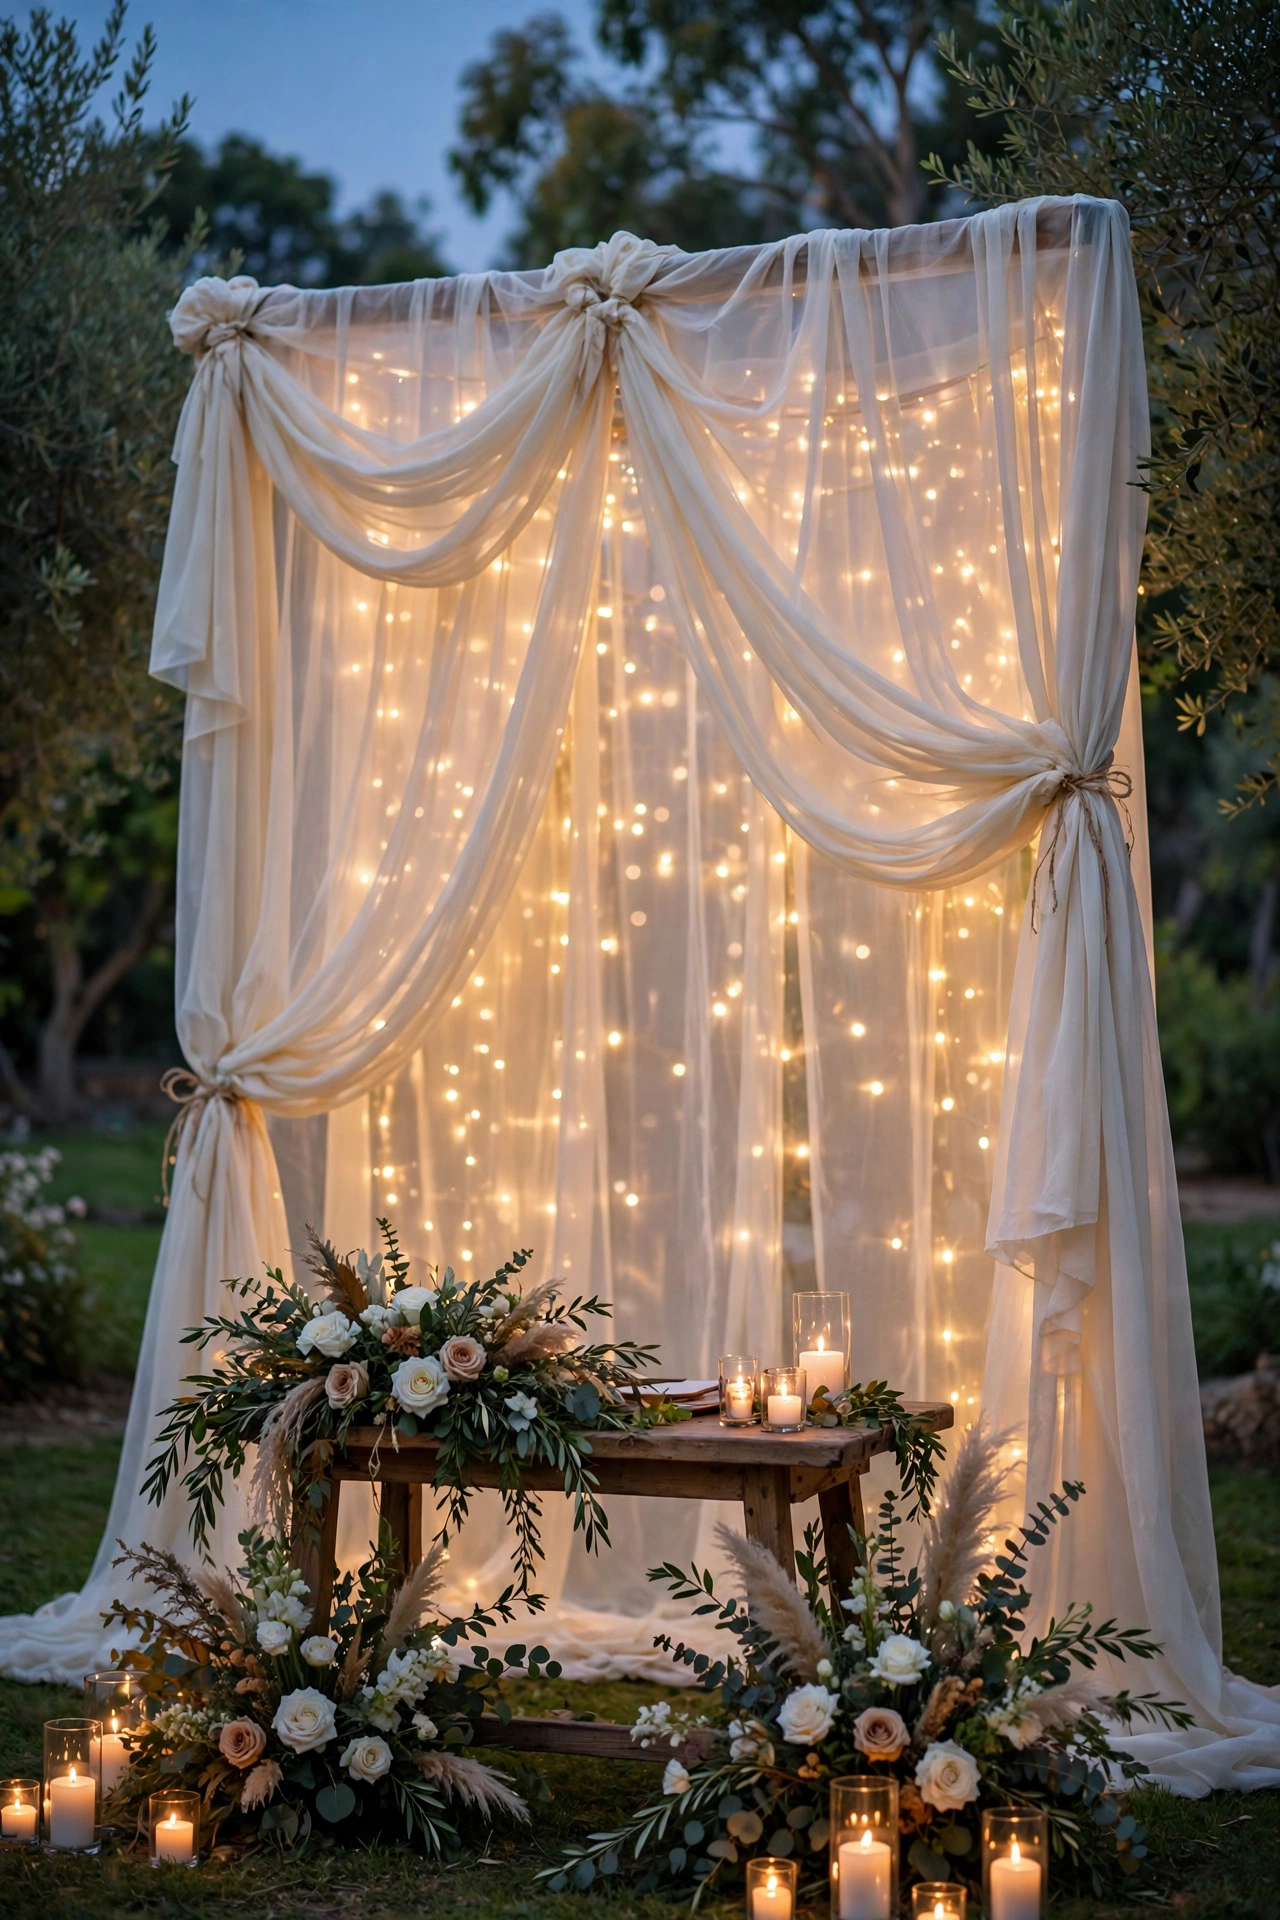
Drape fabric behind the officiant
If your ceremony space has an ugly wall, a drape is the fastest camouflage. Sheer fabric in ivory or your palette color, gathered and tied at three points, turns any bland backdrop into a soft frame for the vows. It costs $40 to $80 in fabric for a 12-foot span and takes two people about 30 minutes.
Try it: add fairy lights behind the fabric for evening ceremonies so the drape glows like a halo in photos.

06
Mark reserved seats with ribboned tags
Family seating confusion wastes the first five minutes of every ceremony. Hand-lettered tags tied with ribbon to the front rows of seats keep the ceremony start smooth and add a personal touch. Gold calligraphy ink on cream cardstock photographs beautifully.
Try it: write first names only for a warm, intimate feel, and place two extra tags on the aisle seat for late arrivals.
07
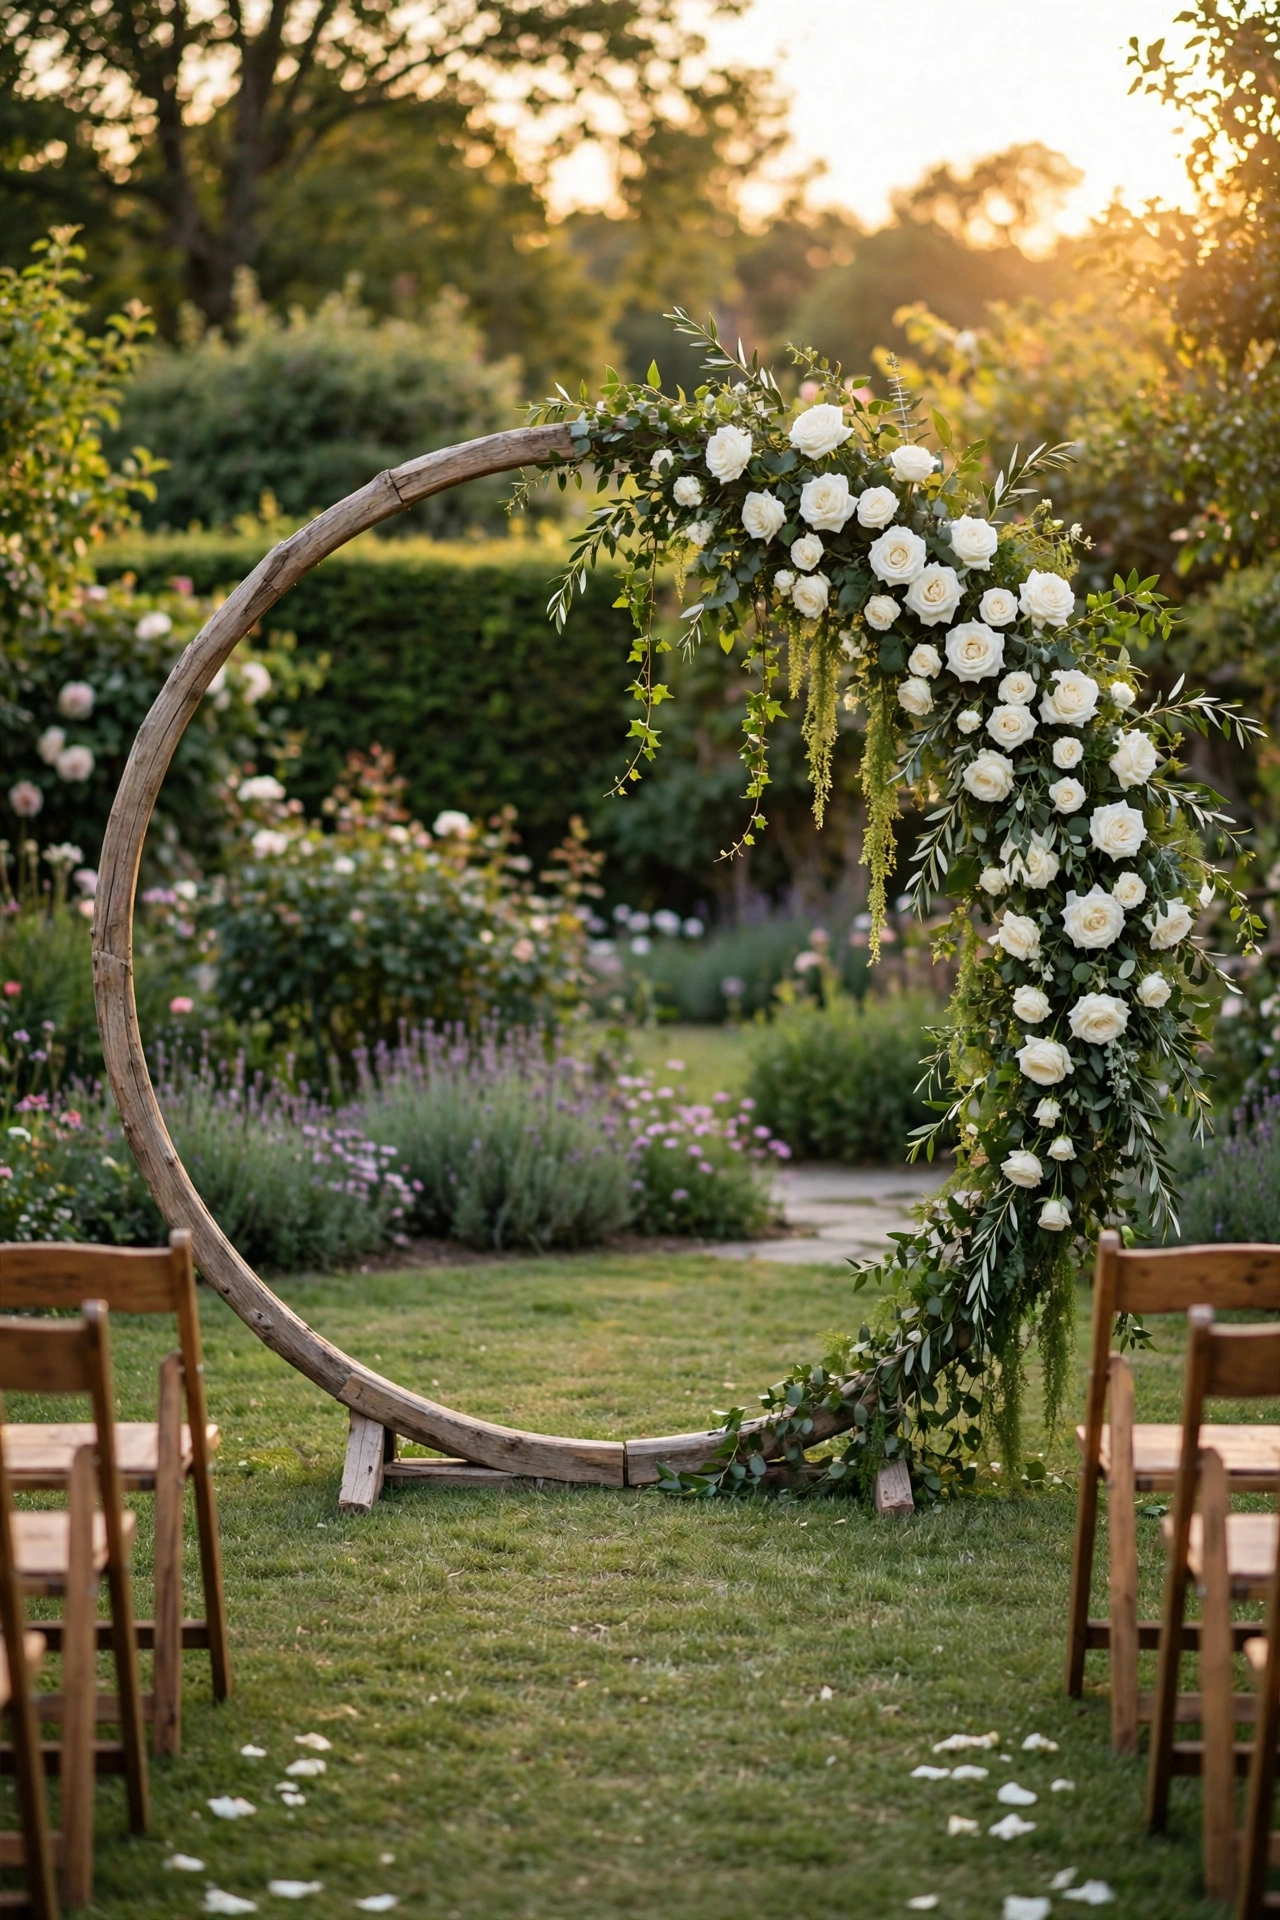
Build a circular moon gate arch
The circle arch, or moon gate, has become the defining altar shape of modern weddings because it frames the couple like a portrait. Decorate one half with flowers and greenery and leave the rest bare so the shape itself stays the hero. Metal hoop stands rent for $50 to $100.
Try it: position the arch so your photographer shoots through it with the best light behind the couple, not the audience.

08
Style a hexagonal arch with draped fabric
Hexagonal arches suit industrial lofts, barns, and rooftop venues where a classic round arch would look out of place. Drape two or three panels of gauzy fabric across the top corners and anchor a floral cluster at one joint. The geometry gives photos a strong, modern structure.
Try it: keep the fabric light, a gauzy 5-yard panel per corner, so wind moves it gently instead of fighting it.

09
Hang a floral cloud over the altar
A hanging floral installation draws every eye upward and fills vertical space that walls cannot. Greenery clouds with suspended blooms at the altar make outdoor ceremonies feel like a chapel. Fake a high-impact version with fishing line and foam-grid bases for under $150.
Try it: hang the cloud at 7 to 8 feet so it sits just above the officiant’s head and clears the couple’s line of sight.

10
Use potted plants as altar decor, then move them
Ceremony florals get used for 30 minutes and then discarded, which is the most wasteful part of wedding decor. Potted olive trees, palms, or eucalyptus flanking the altar do double duty: they look stunning during the vows, then get carried to the reception entrance or bar. Guests often take them home as favors.
Try it: rent large potted plants instead of buying; most rentals deliver and collect for about $25 to $40 per plant.
11
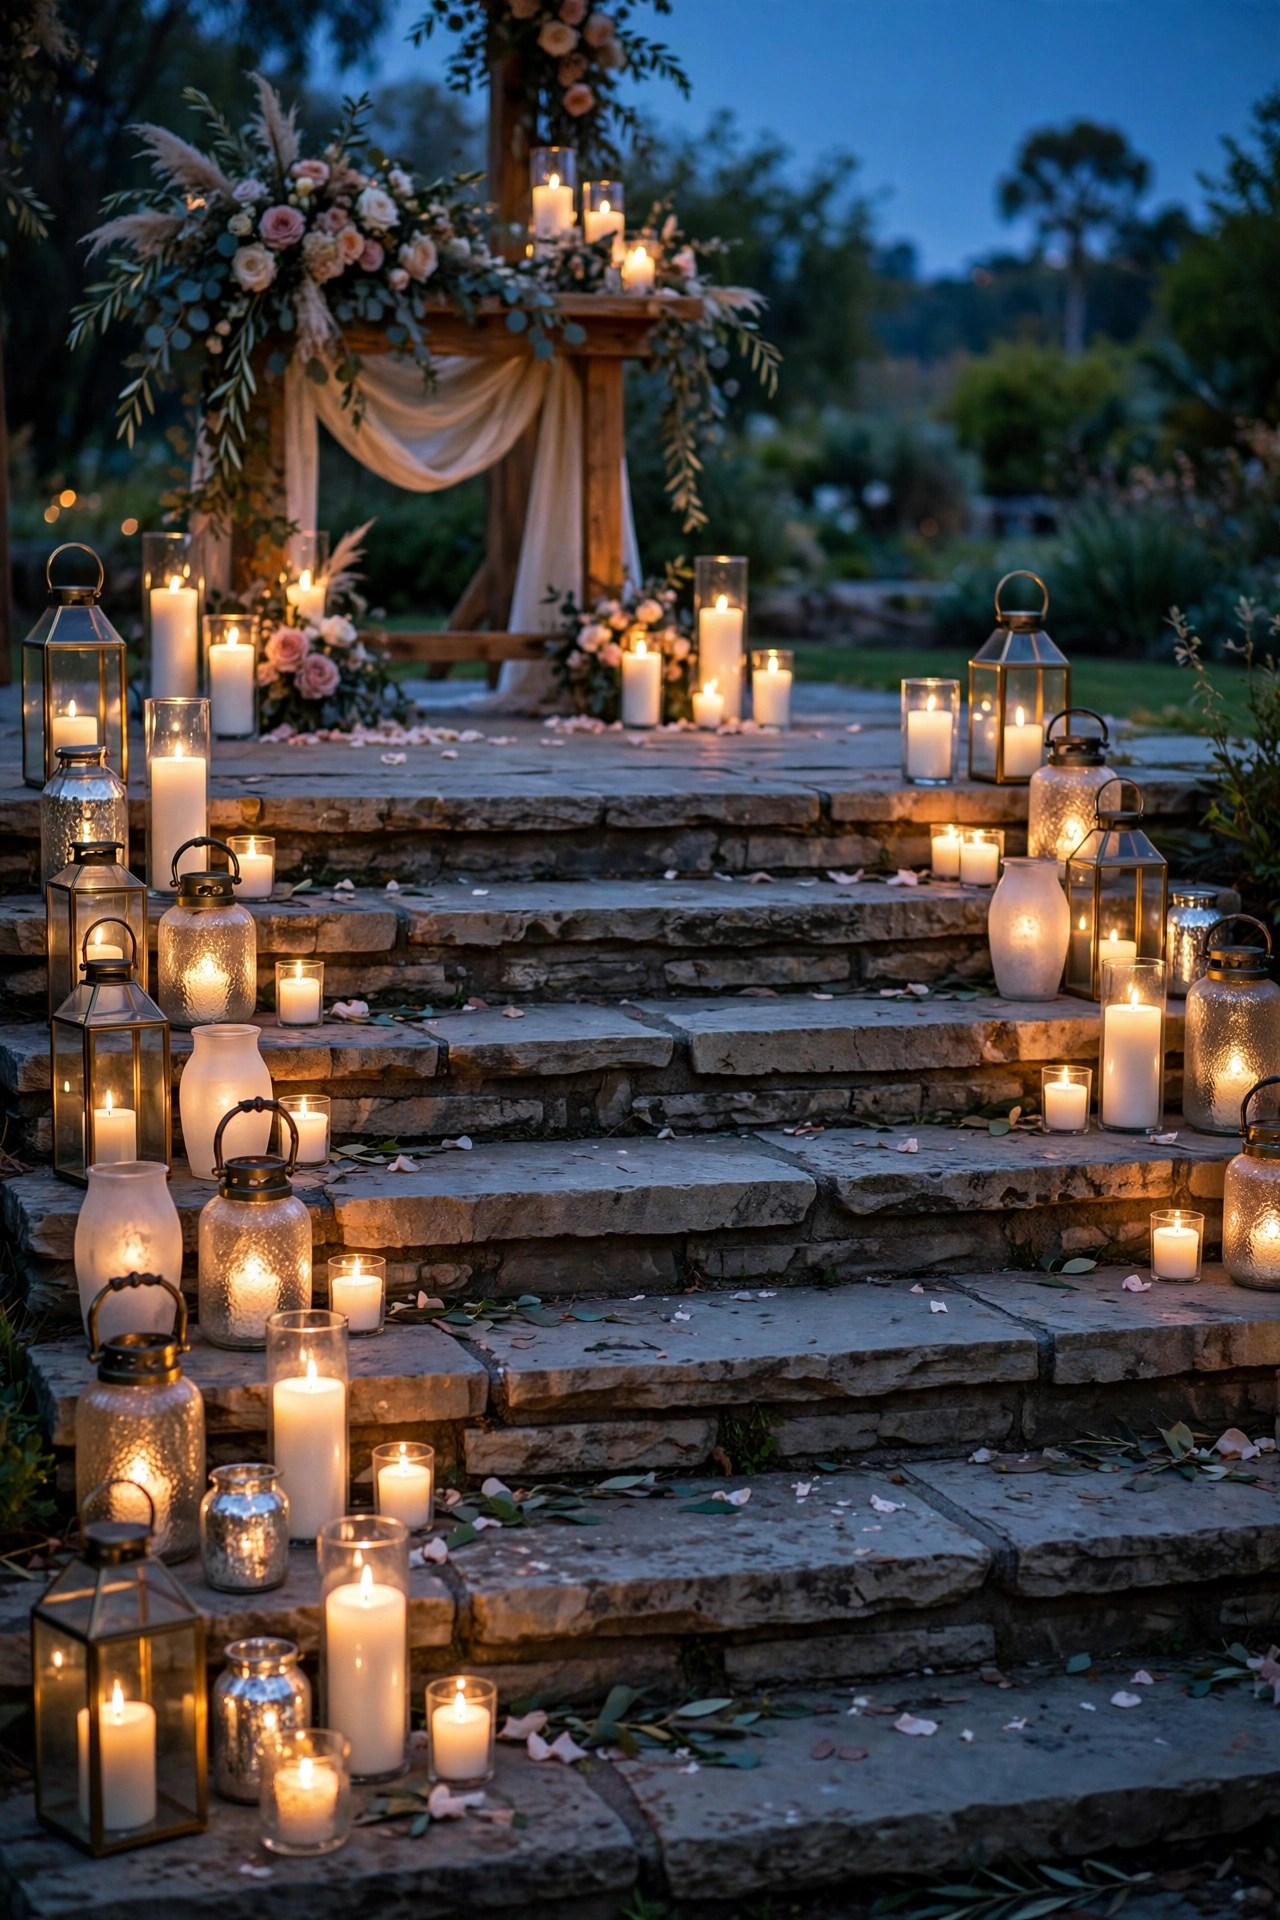
Line the altar steps with lanterns and candles
Evening ceremonies need glow more than flowers. A row of mixed lanterns and pillar candles down the altar steps creates a path of warm light that reads as pure romance on camera. Use LED candles if your venue bans open flame; the warm 2700K tone photographs nearly identically.
Try it: place lanterns at three heights, floor lanterns, medium, and small, so the line has rhythm instead of looking like a fence.
12
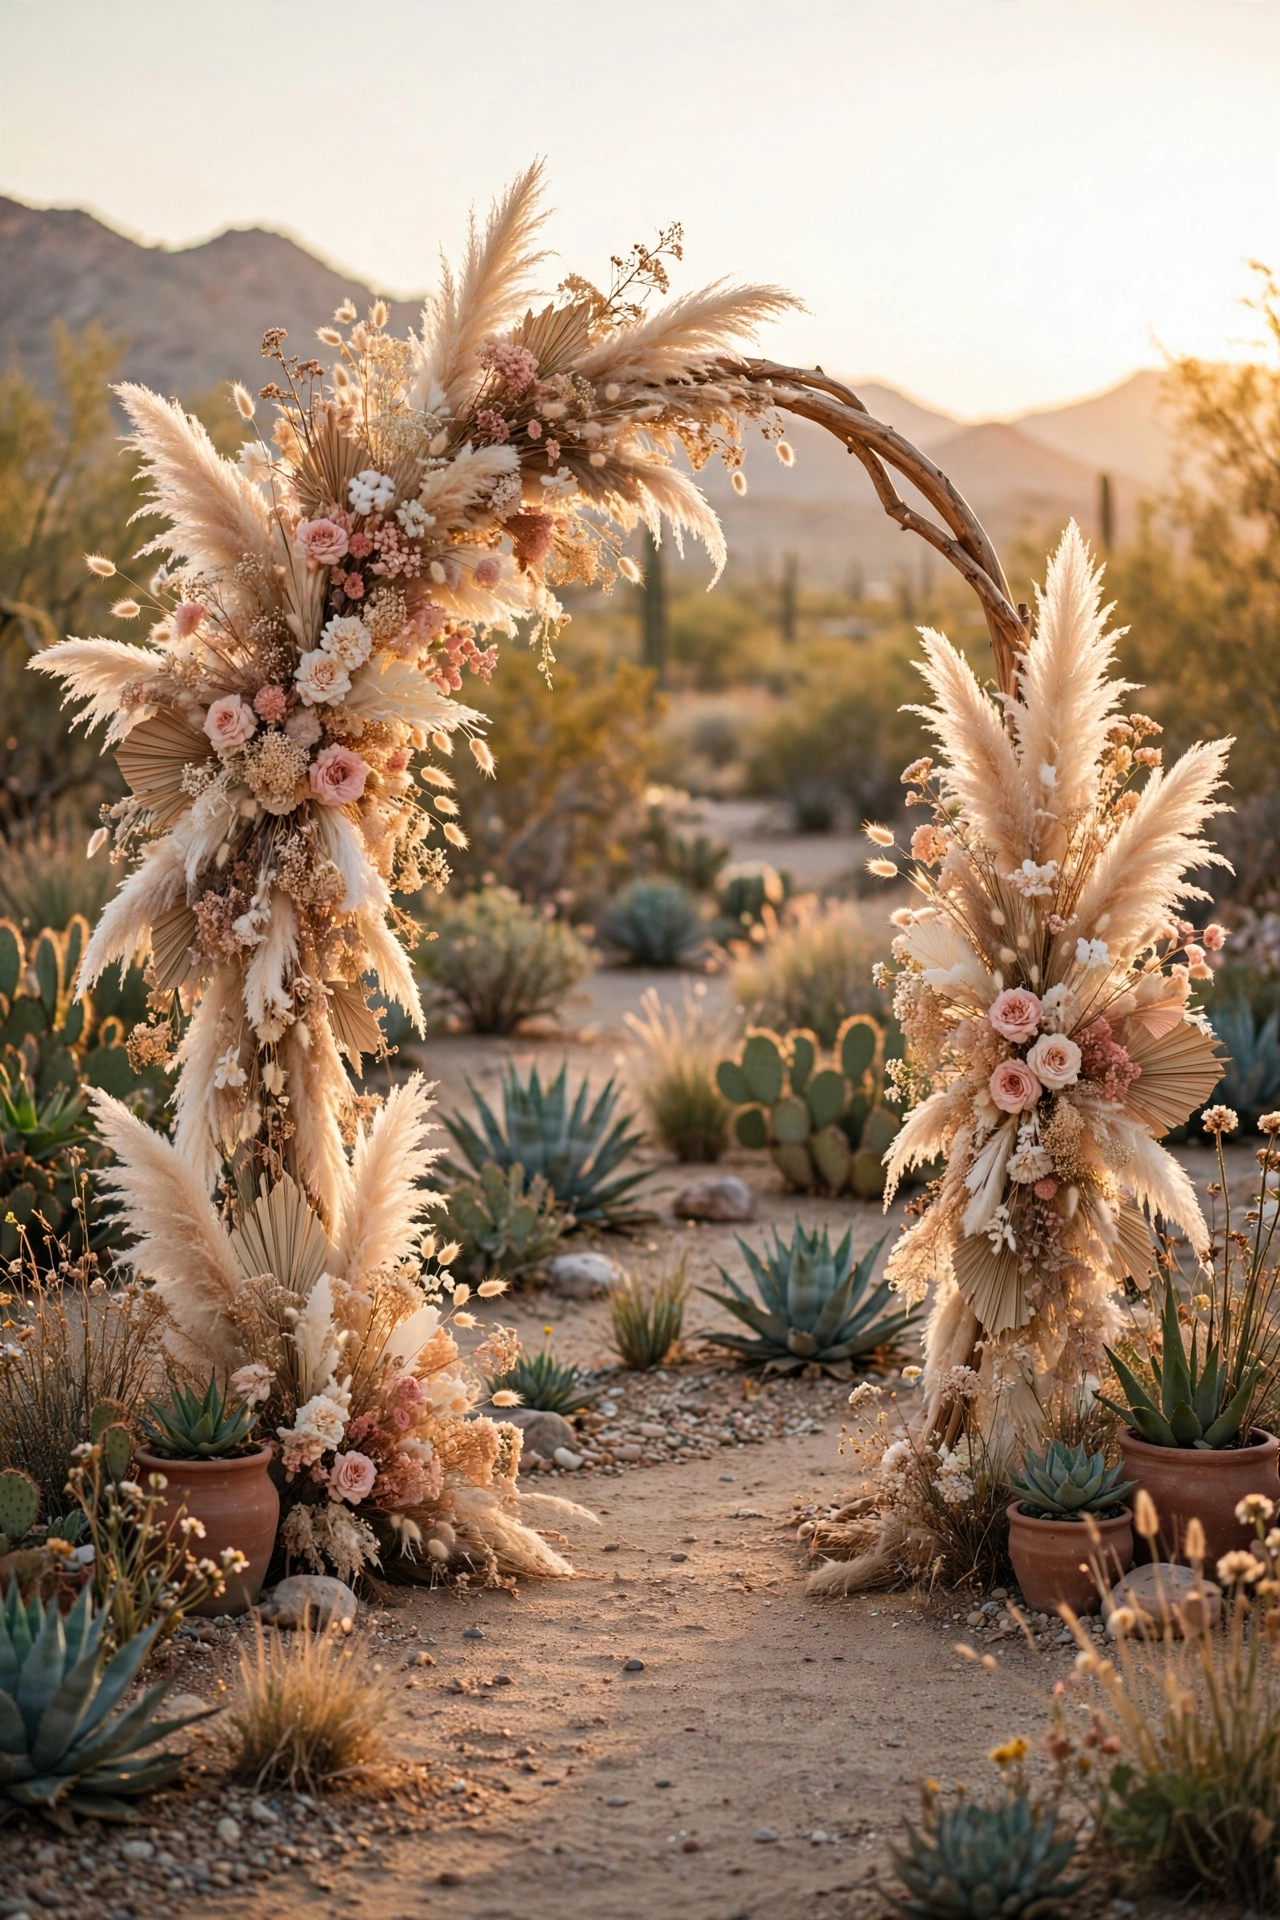
Go boho with a pampas and dried grass arch
Dried pampas grass and preserved blooms give the arch a soft, feathery texture that photographs beautifully against desert, vineyard, and beach venues. The best part: dried materials can be assembled a week ahead and transported without wilting. A full pampas arch costs $120 to $250 in materials.
Try it: fluff pampas stems over steam from a kettle for five minutes to double their fullness before styling.
13
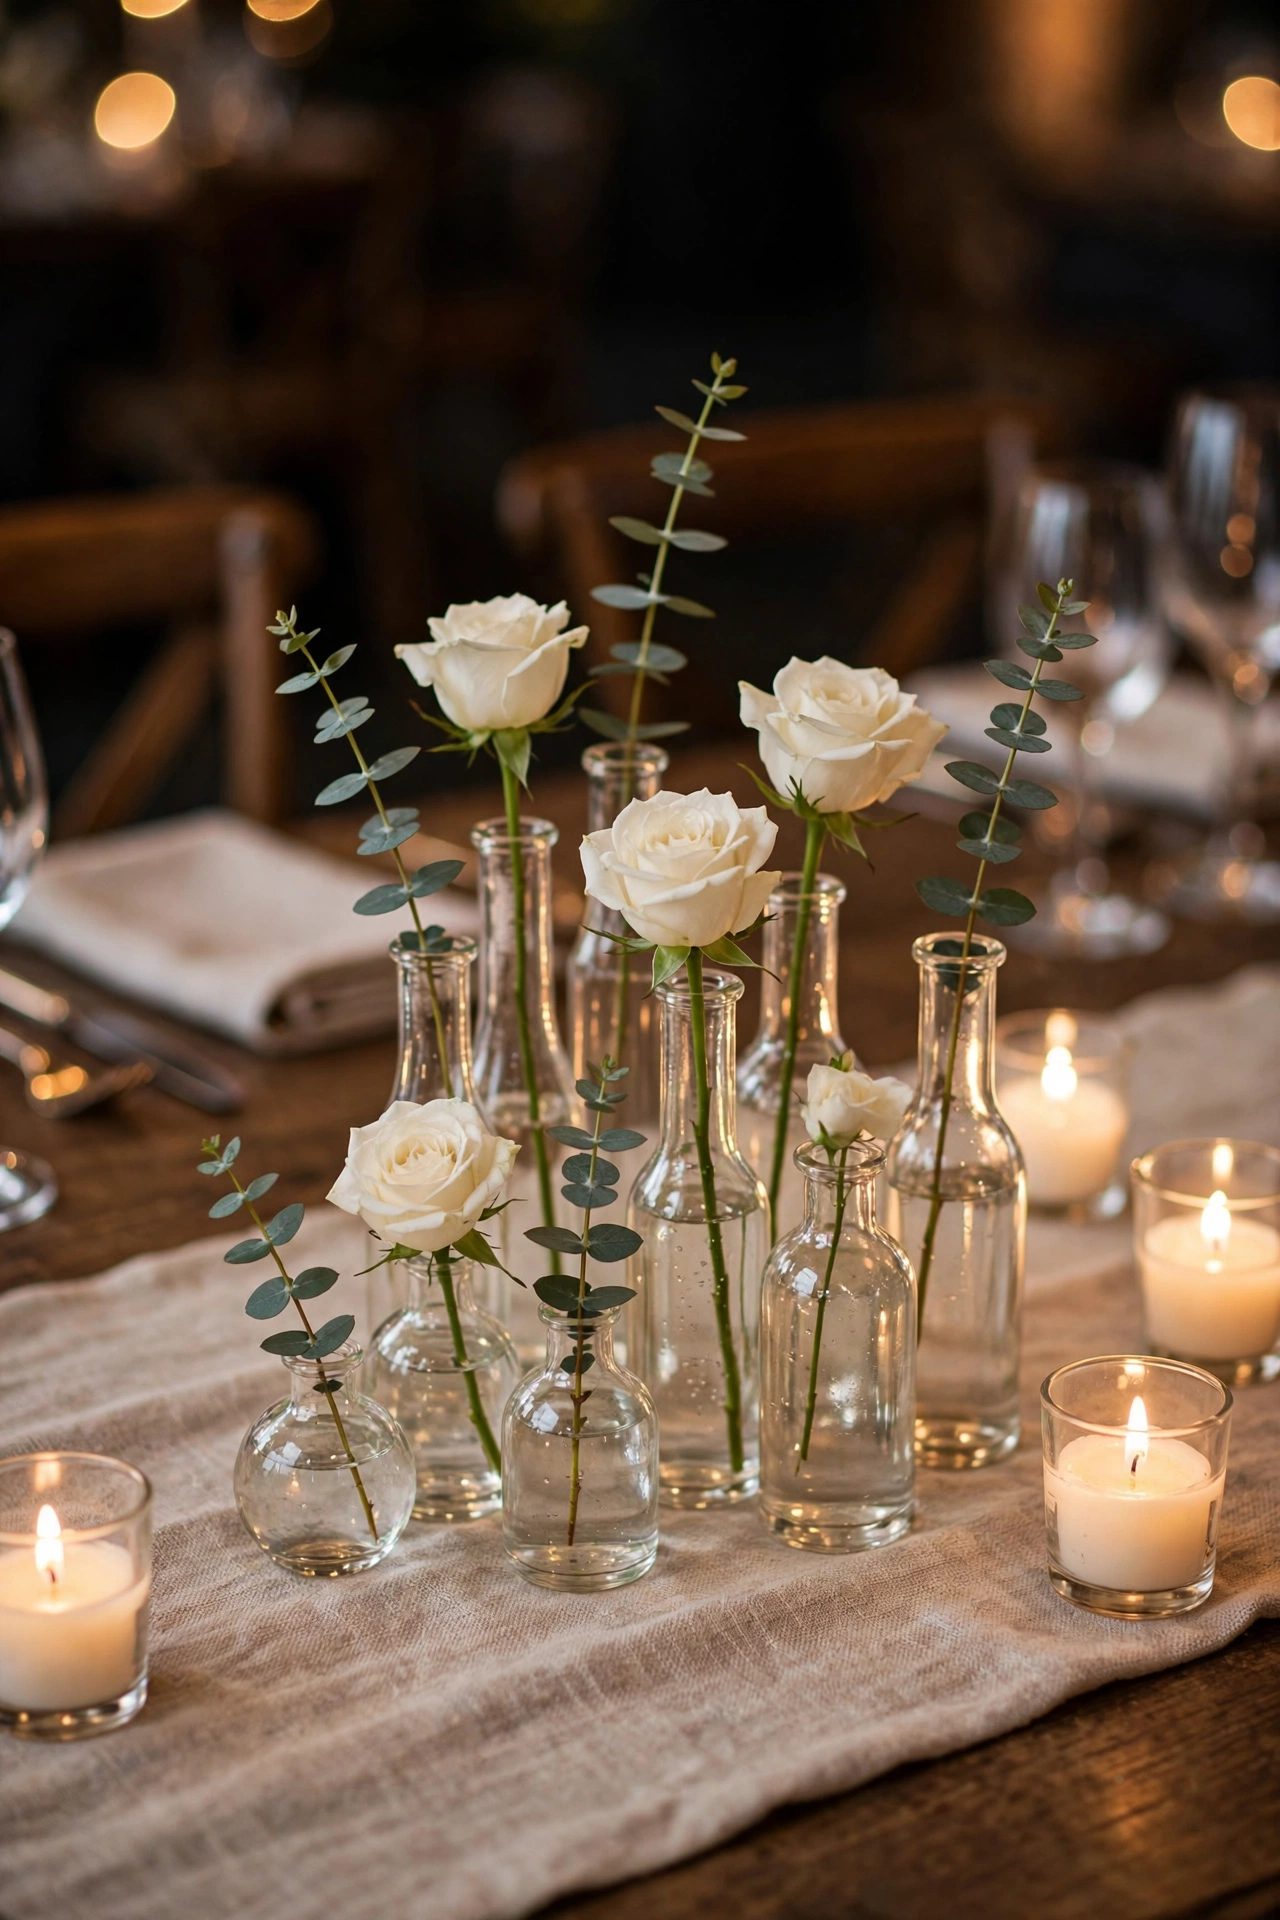
Cluster bud vases with single stems
Tall, expensive centerpieces are out; clustered bud vases are in. Three to five small vases in mixed heights, each holding a single bloom or a few stems of greenery, look modern and cost $10 to $18 per table. They also let guests actually see and talk across the table.
Try it: number your tables in the vases themselves by tucking a small printed number card into the tallest vase.
14
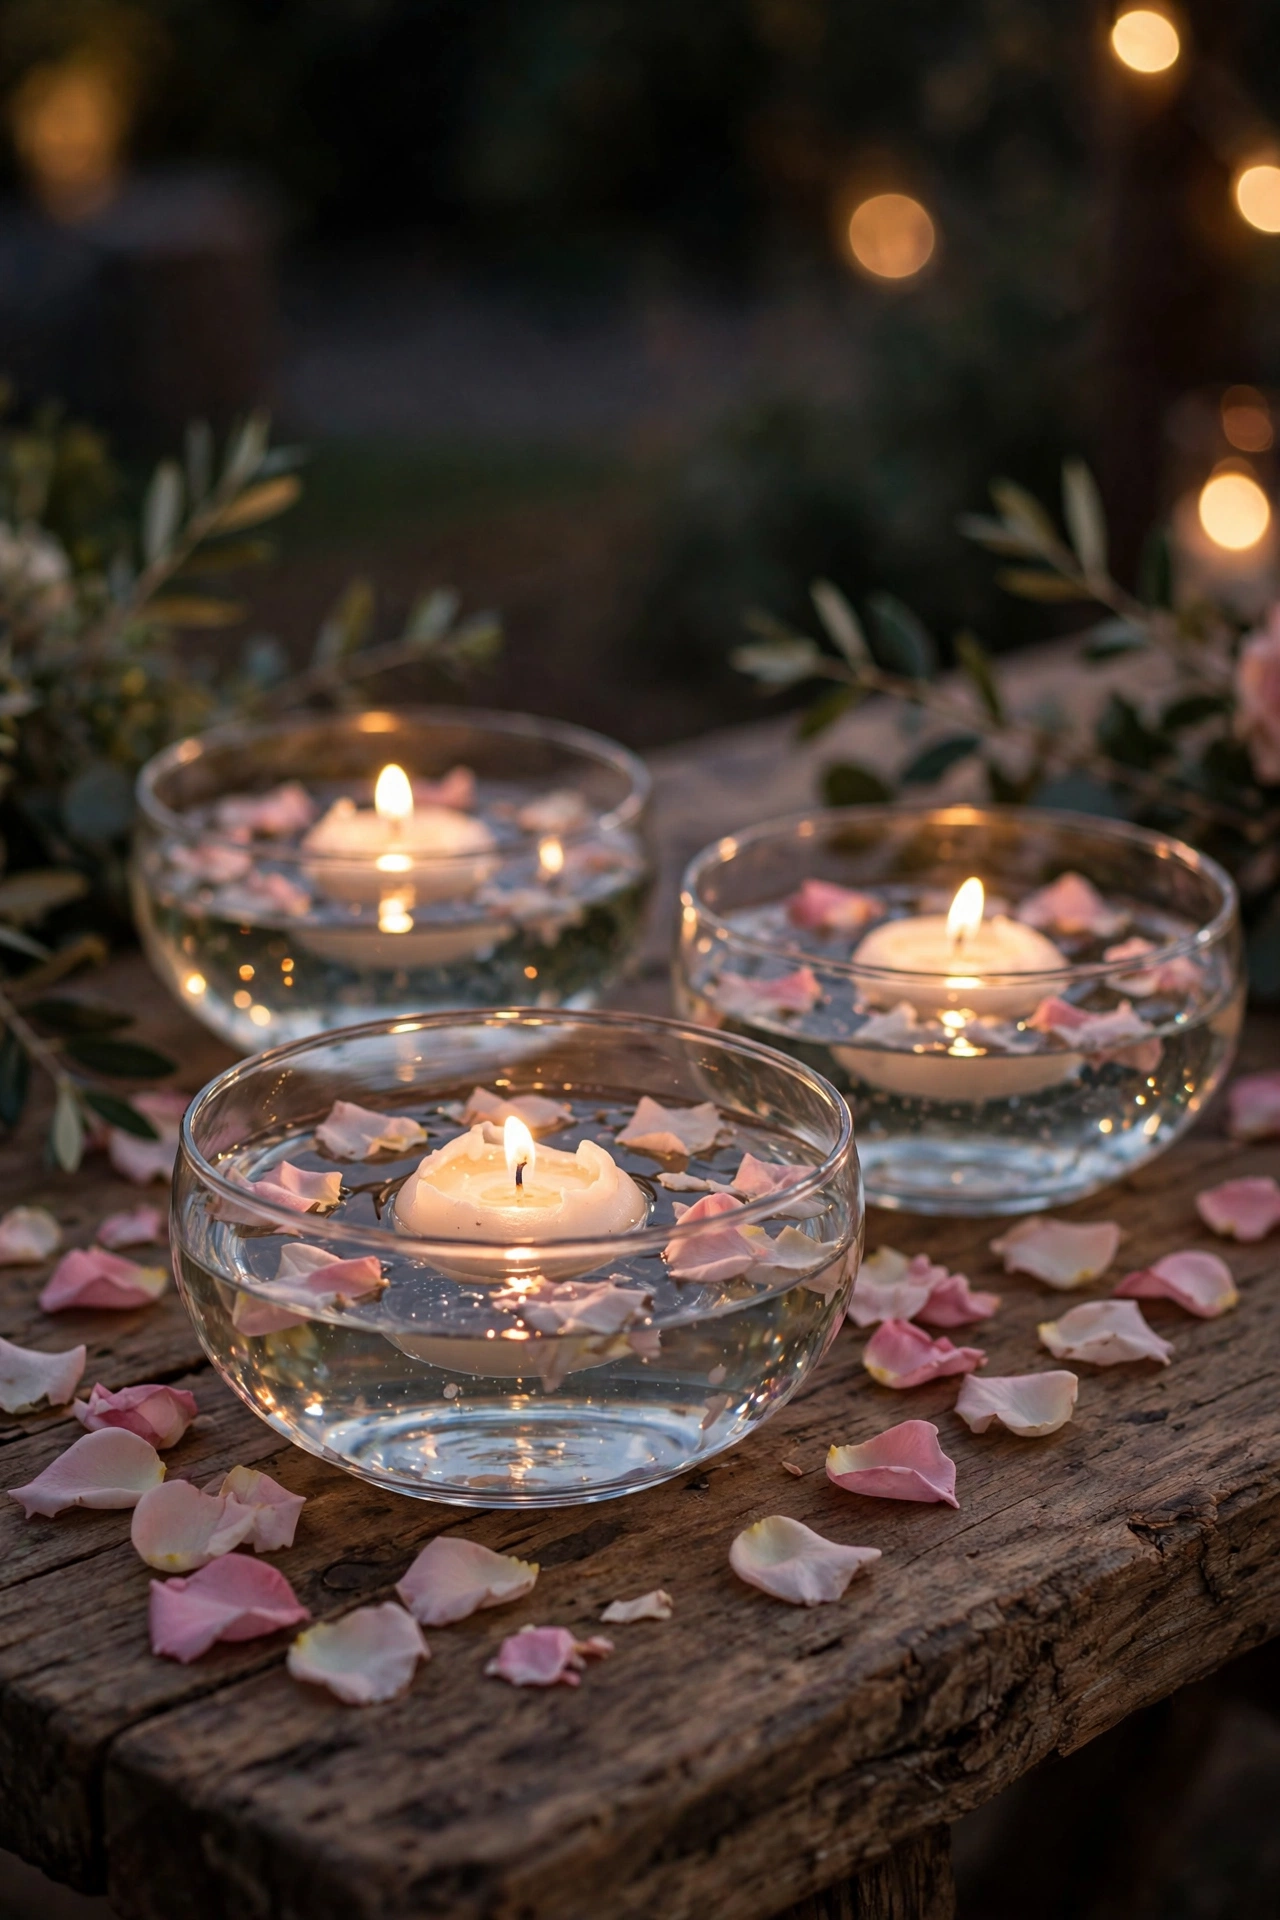
Float candles in glass bowls
Floating candles are the highest romance-per-dollar centerpiece you can make. A low glass bowl, water, two or three floating candles, and a handful of petals cost under $8 per table and reflect light across the whole room. They assemble in minutes and need no arranging skill.
Try it: add a drop of clear dish soap to the water to keep petals from sinking, and light the candles with a long-reach lighter.
15
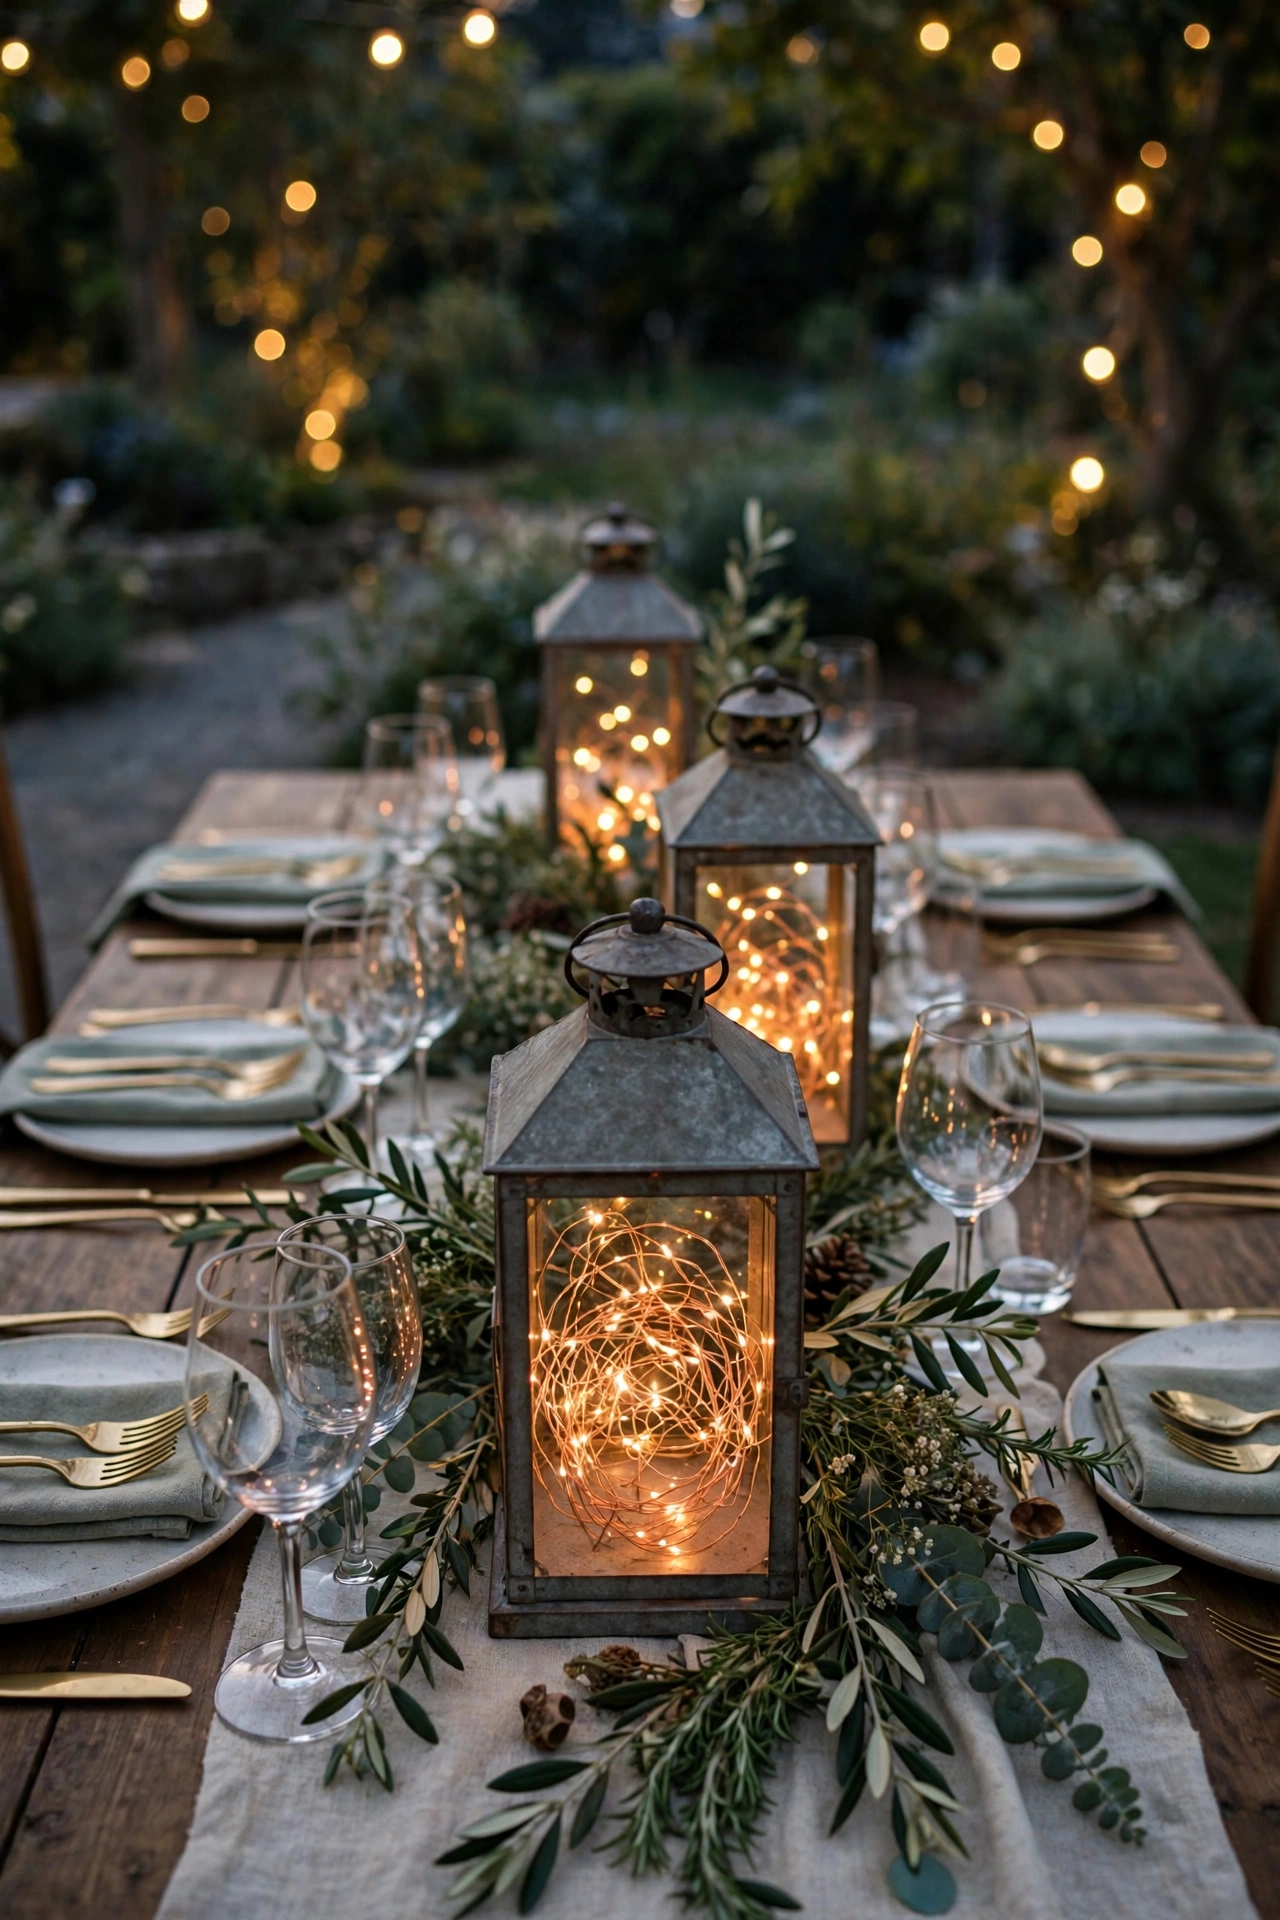
Glow lanterns stuffed with fairy lights
For garden and evening receptions, lanterns filled with tangled fairy lights create little beacons of light on every table. Copper wire lights cost about $1 per string and last the whole evening on their batteries. Mix lantern sizes for a collected, curated feel.
Try it: buy lanterns secondhand and sell the lot after the wedding; you will often recover half the cost.

16
Elevate one hero bloom in a tall vase
If you want drama, invest in height instead of width. A tall cylinder vase with a single architectural stem, like delphinium, larkspur, or a branch of orchids, gives the table a centerpiece that shows up in wide room shots without blocking conversation. Budget $25 to $45 per table.
Try it: keep tall centerpieces at either above 24 inches or below 12 inches so they never sit at eye level.
17
Run a greenery garland down the table
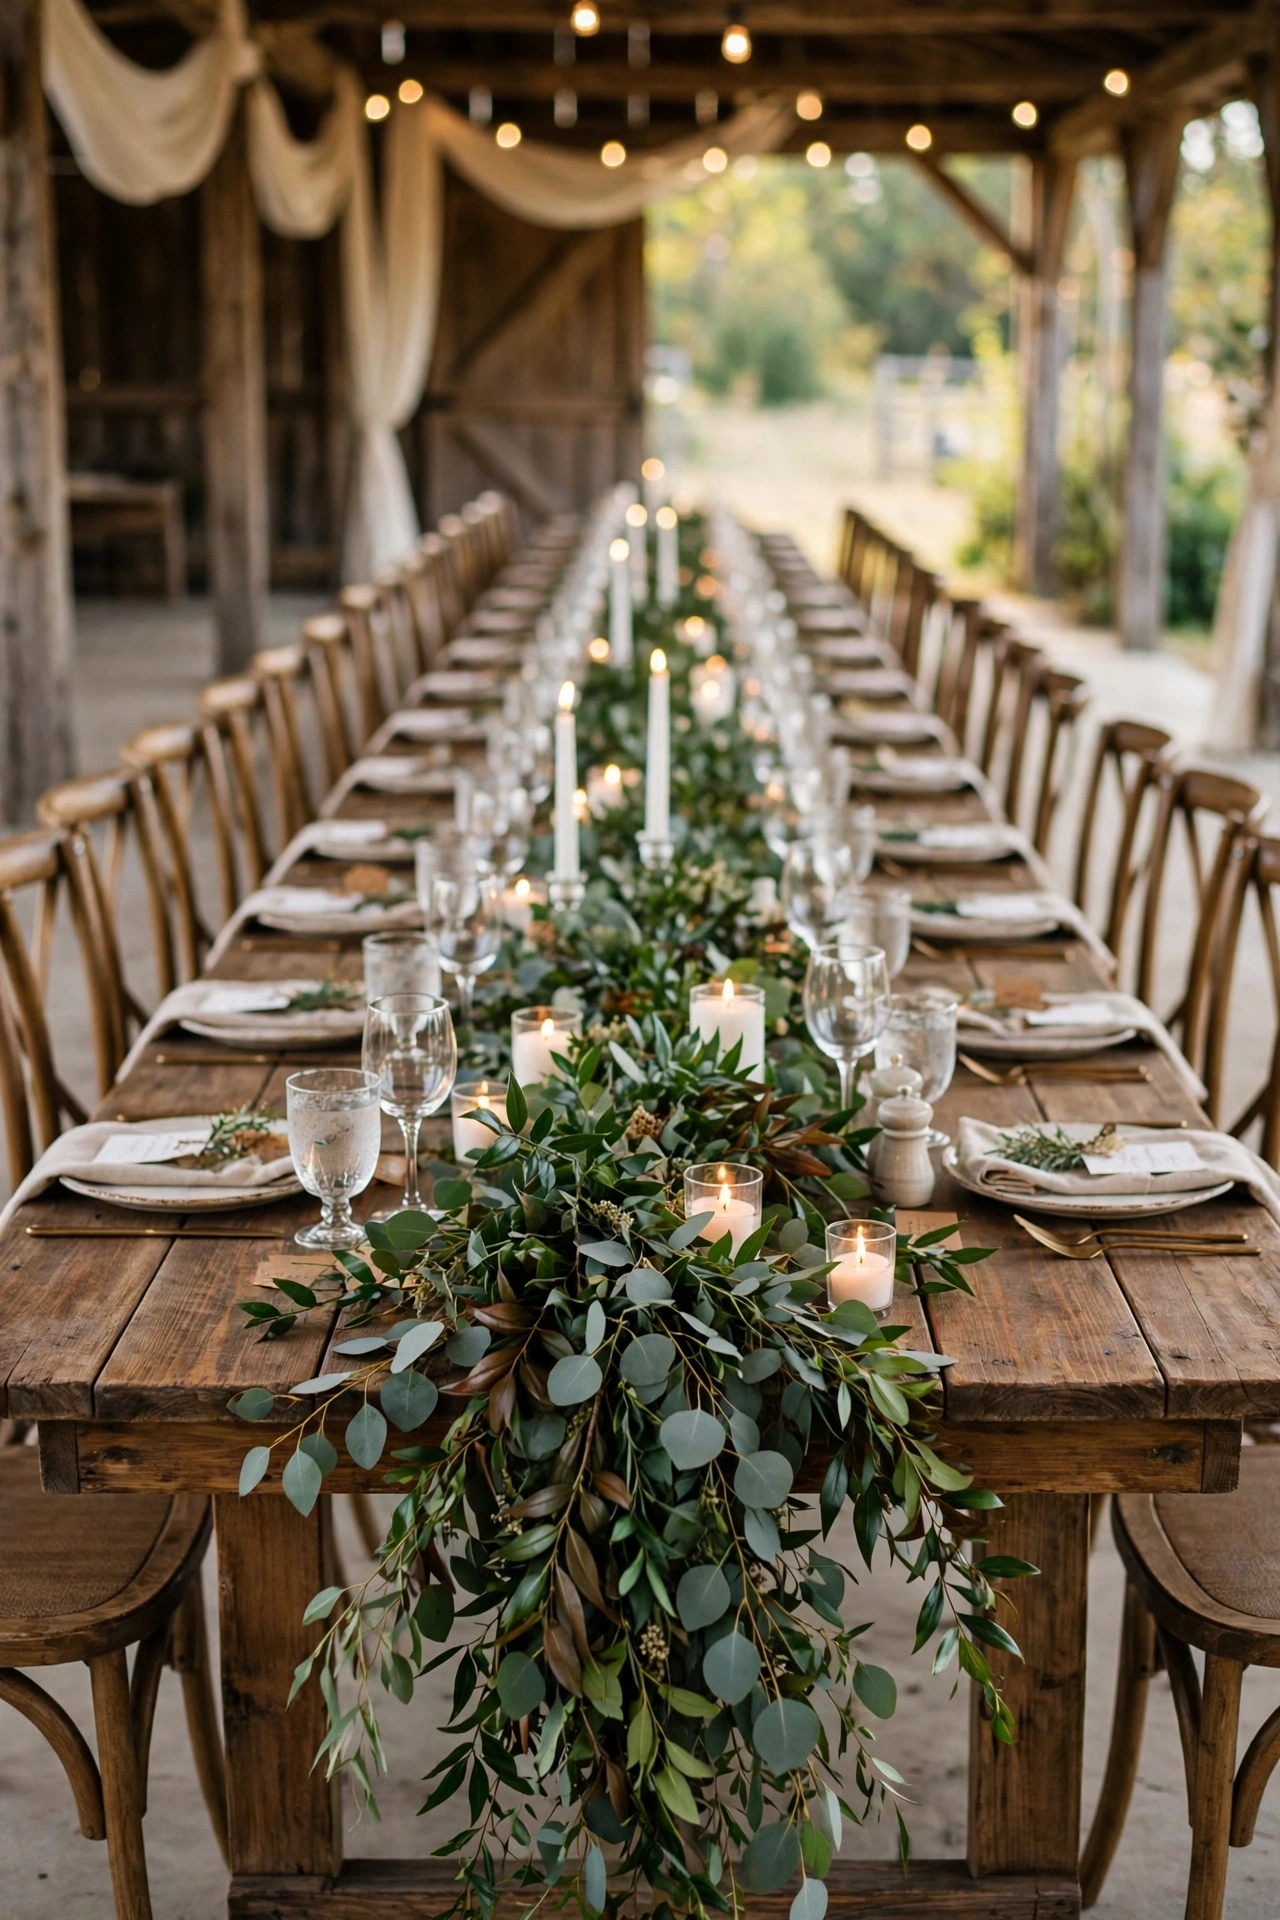
A eucalyptus and ruscus garland running the length of a long table is the farmhouse wedding look everyone recognizes. Fresh garland costs $8 to $15 per linear foot from a wholesaler, and one 8-foot table needs about 12 feet to cascade over the ends.
Try it: order garland to arrive two days before the wedding and store it in a cool, dark room with damp towels underneath.
18
Style a citrus and candle tablescape
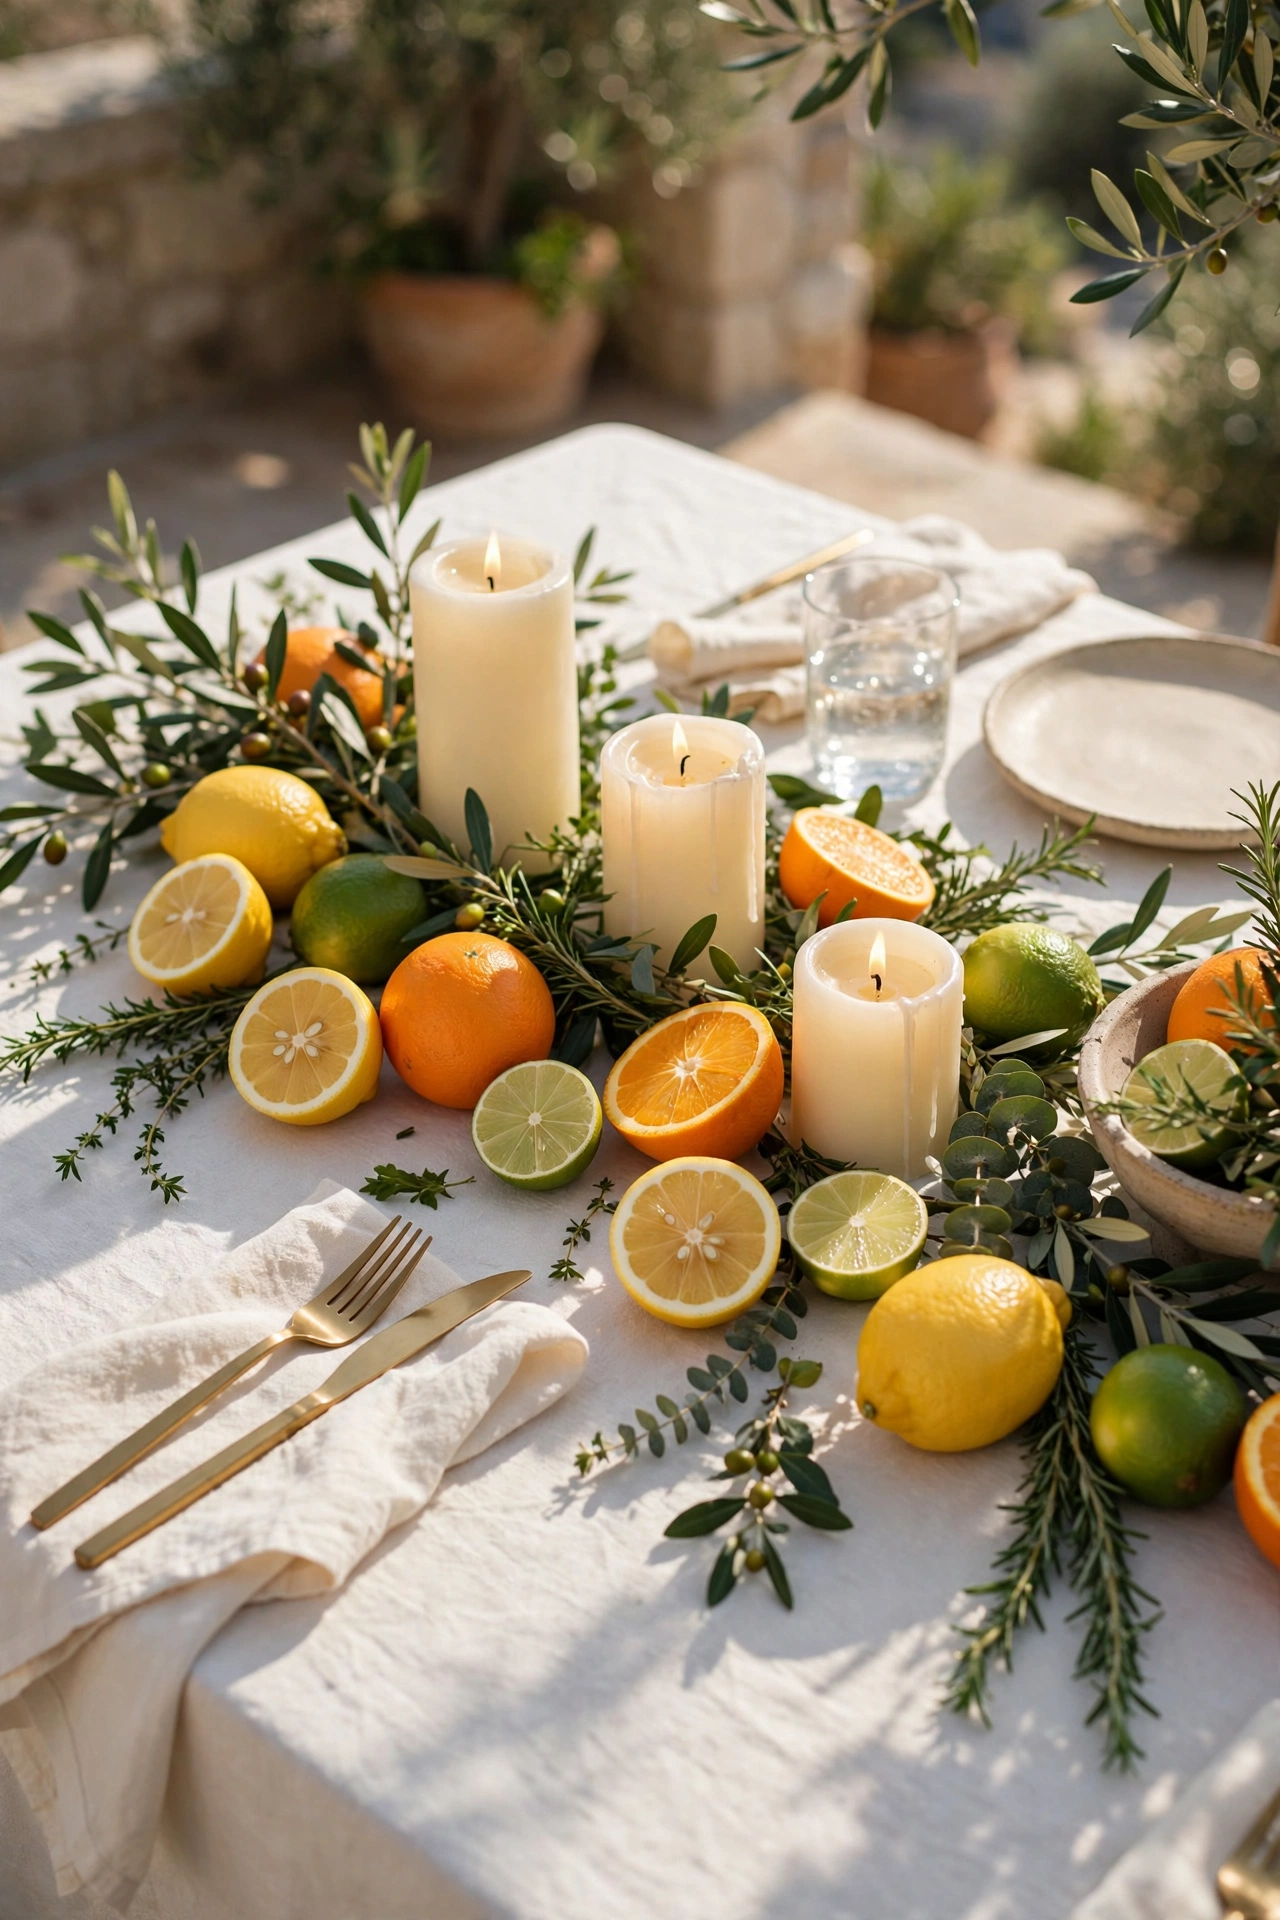
Lemons, oranges, and limes mixed with candles make a centerpiece that smells as good as it looks, perfect for summer and Mediterranean weddings. Scatter whole and halved fruit among pillar candles and greenery for a look that costs about $12 per table and takes 20 minutes.
Try it: halve citrus the morning of the wedding and refresh at cocktail hour so the cut faces look bright in photos.
19
Top each napkin with a sprig of herbs
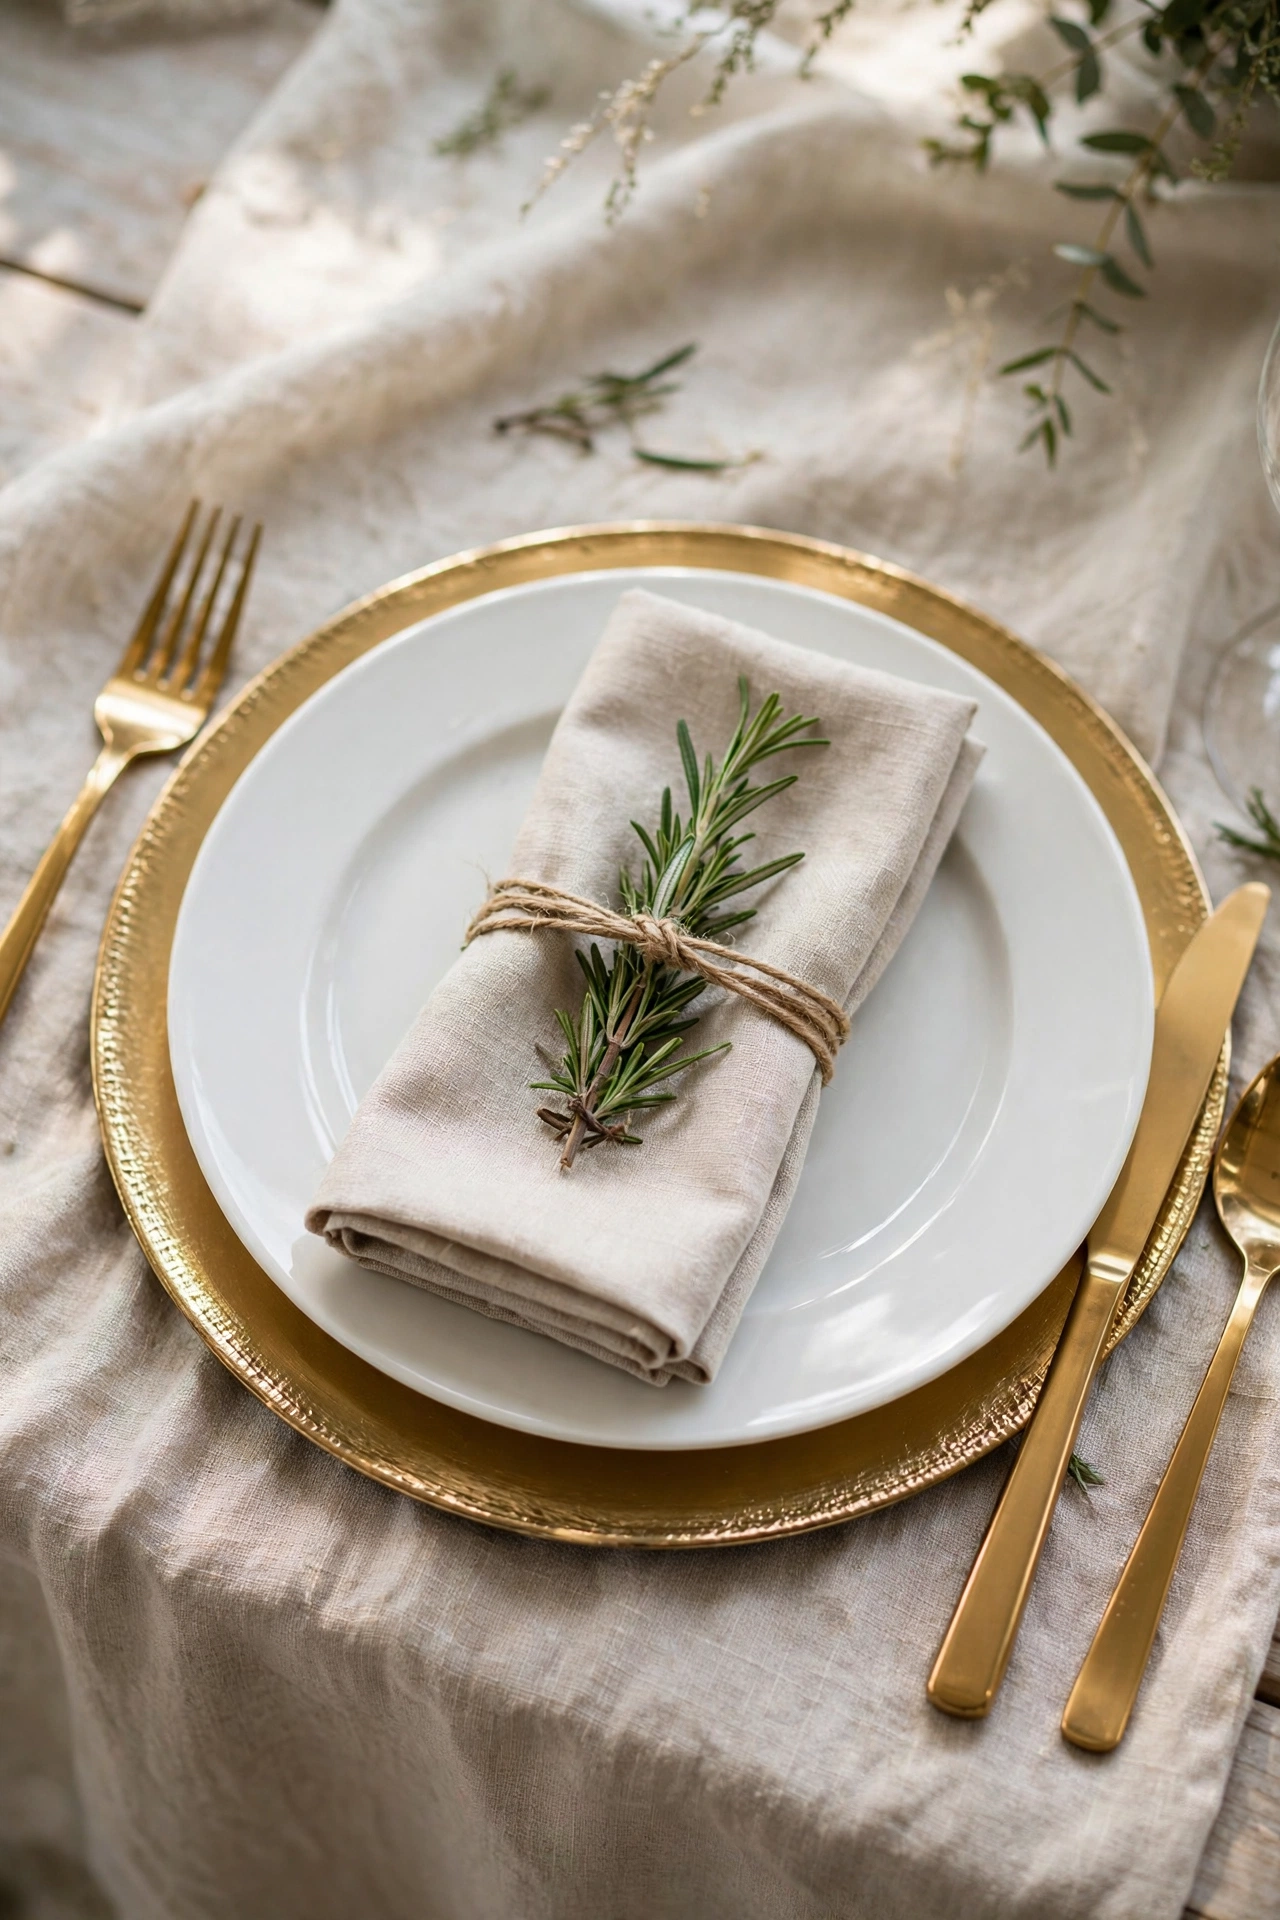
The humble napkin becomes a place setting with one sprig of rosemary or eucalyptus laid on top. The greenery adds color, costs pennies per guest, and doubles as a scent detail when guests sit down. It takes one person about an hour to dress 120 settings.
Try it: tie the sprig to the napkin with twine and a tiny printed name card so the garnish doubles as the place card.

20
Display place cards on mini acrylic stands
Escort cards pinned to a board get crowded and hard to read. Individual place cards on tiny acrylic stands at each setting look clean and modern, and guests find their seat without crowding a display. Clear stands cost about $0.50 each in bulk.
Try it: print names in a single elegant font at 14-point minimum so guests can read them from standing height.

21
Frame each plate with a charger
Chargers are the fastest way to make rental dinnerware look expensive. A gold, rattan, or glass charger under each plate adds a finished frame to the setting and photographs like fine dining. Rented chargers run $0.75 to $1.50 each, far cheaper than upgrading the plates.
Try it: match charger finish to your flatware: gold chargers with gold-rimmed glassware, silver with polished steel.
22
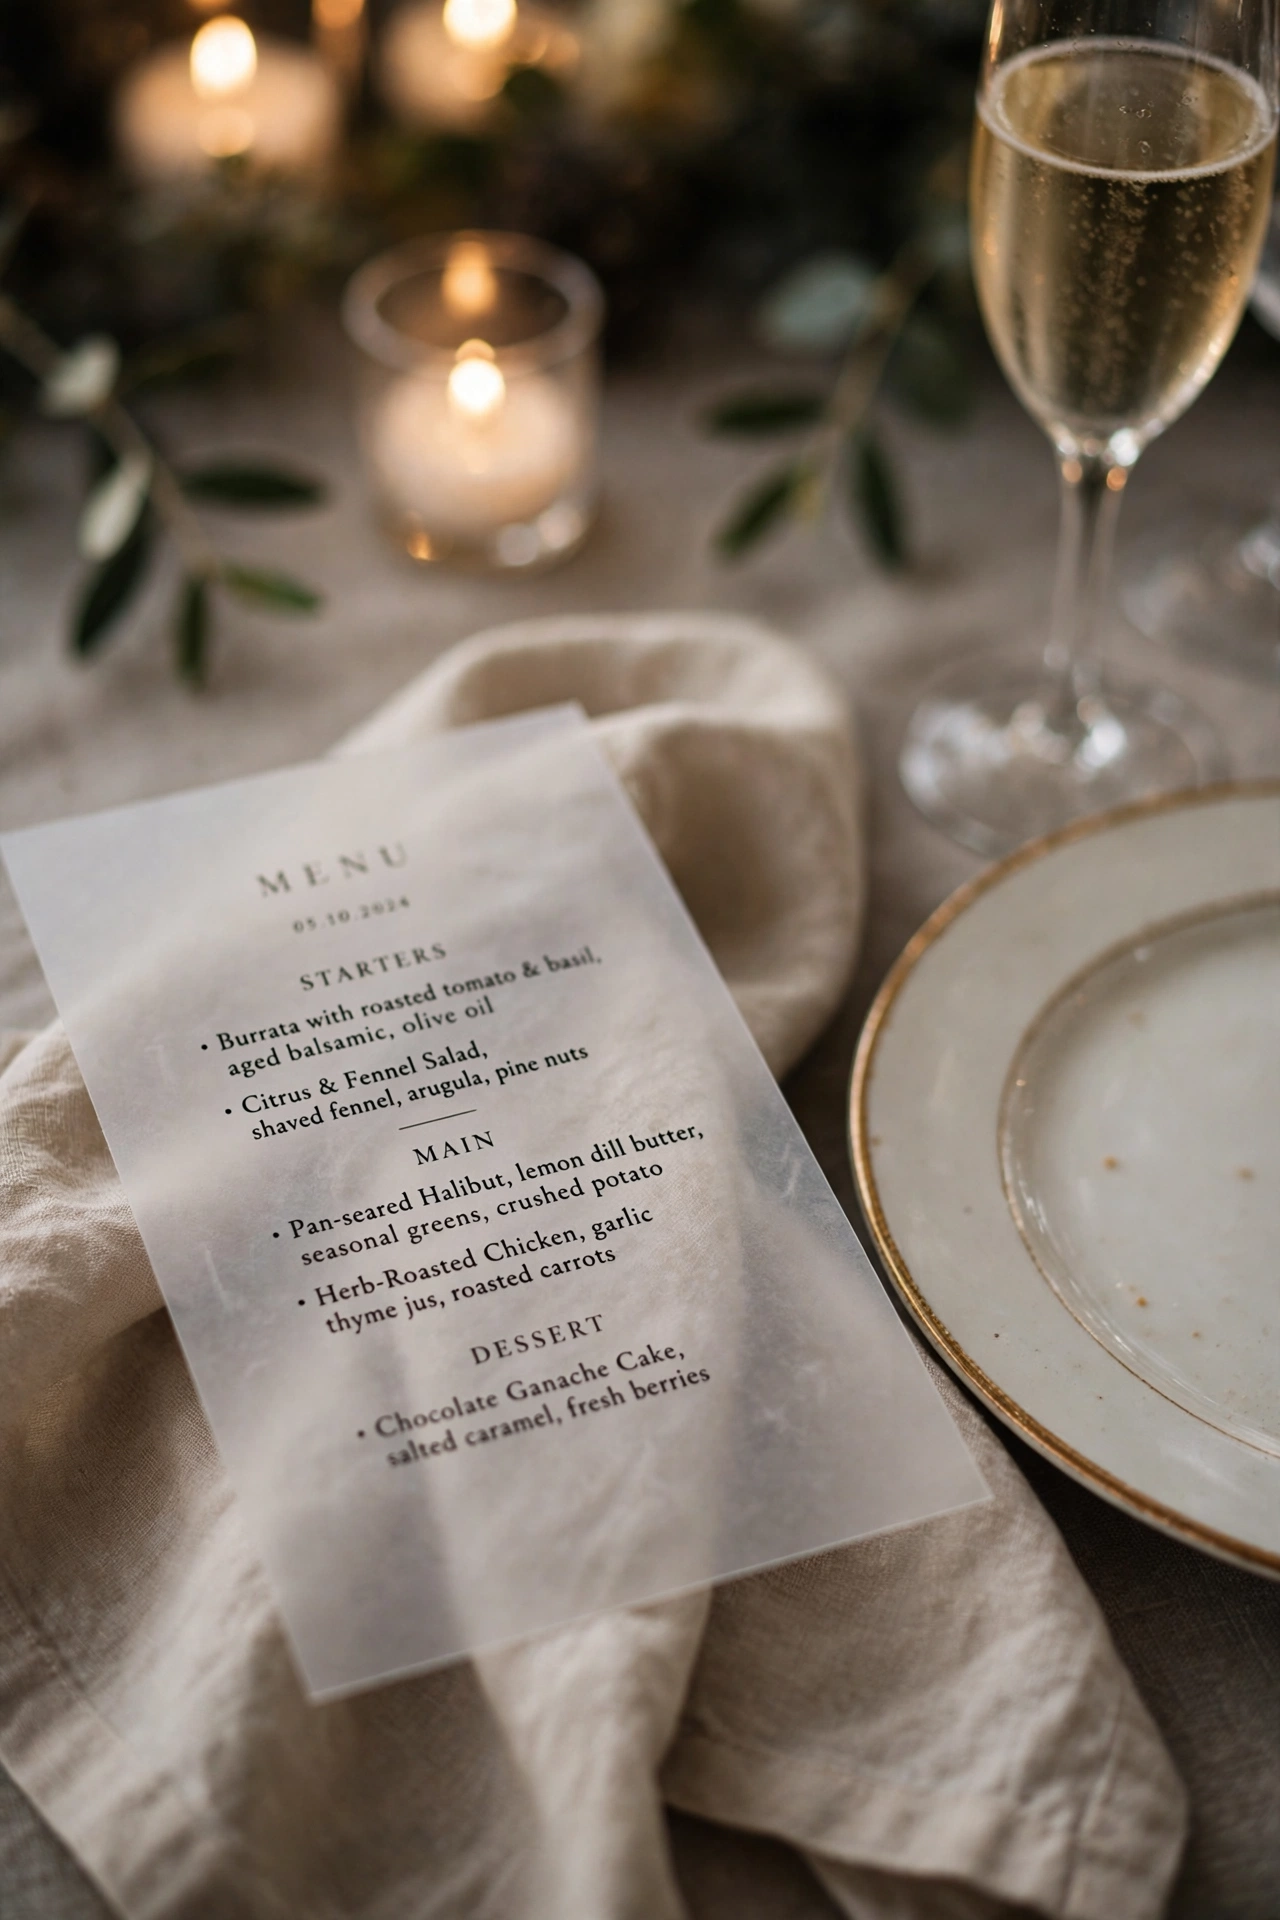
Print menus on vellum
Paper menus are expected, but vellum menus feel luxurious. The translucent paper layers beautifully over the table and costs only slightly more than cardstock when ordered in bulk, about $1 to $2 per menu for 120 guests. One menu per two guests keeps the table uncluttered.
Try it: print the menu on your home printer with a clear or white ink cartridge for a boutique look at DIY prices.

23
Build a floral seating chart display
The seating chart is the first thing guests crowd around, so make it a decor moment. Mount the chart on a large board, an antique window, or a framed mirror, then anchor it with the same florals as your arch. The repetition makes the whole venue feel designed.
Try it: list tables by name instead of number (favorite places, songs, shared memories) to make the display part of your story.
24
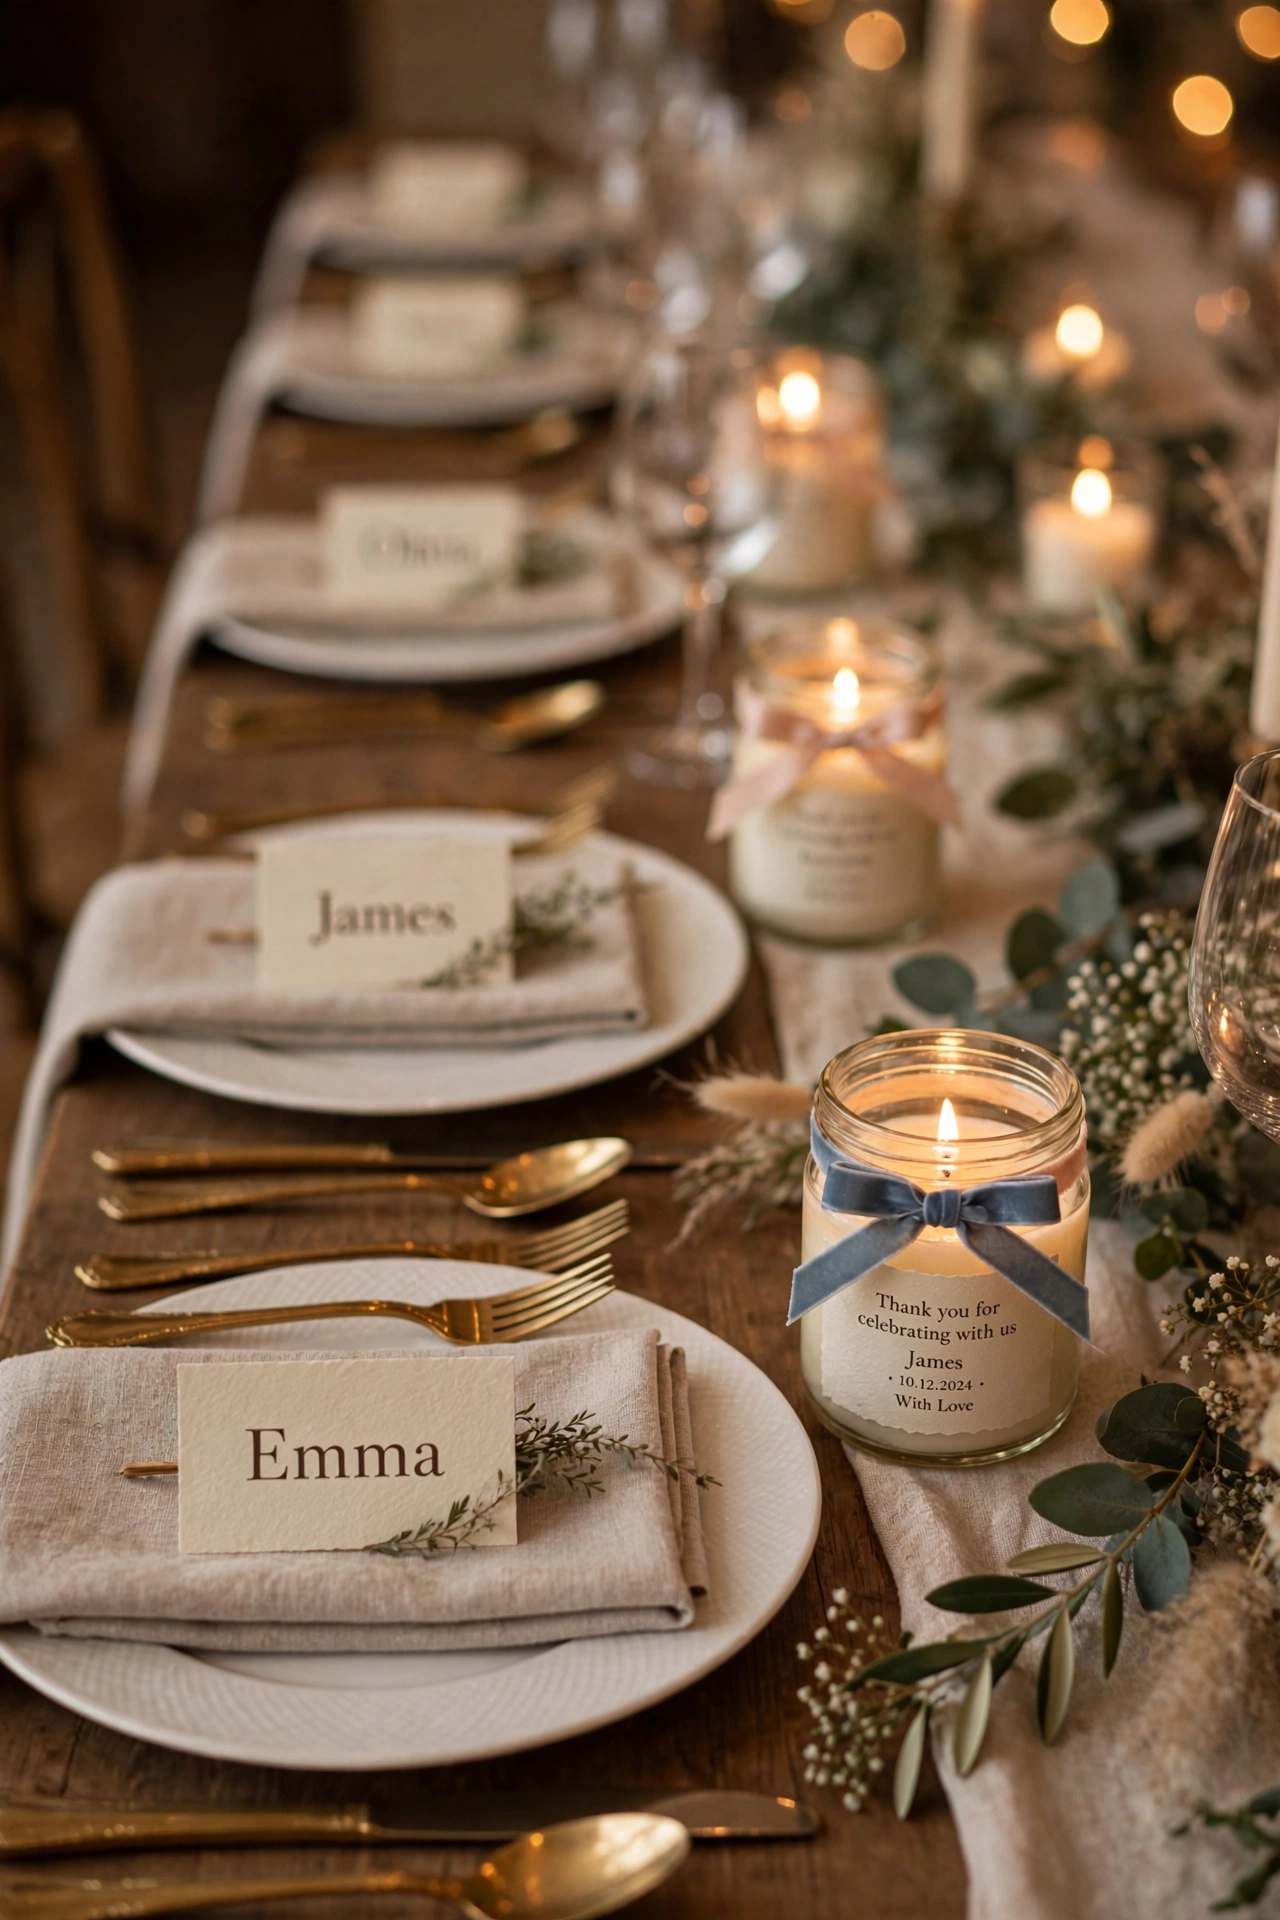
Let favors double as table decor
Favors left in a pile by the exit get forgotten; favors staged at each seat become decor. Mini candles, seed packets, or honey jars with personalized labels dress the table and guarantee every guest takes one home. Budget $2 to $4 per favor when ordered in bulk.
Try it: choose favors guests will use within a month, candles and local treats beat decorative trinkets that gather dust.
25
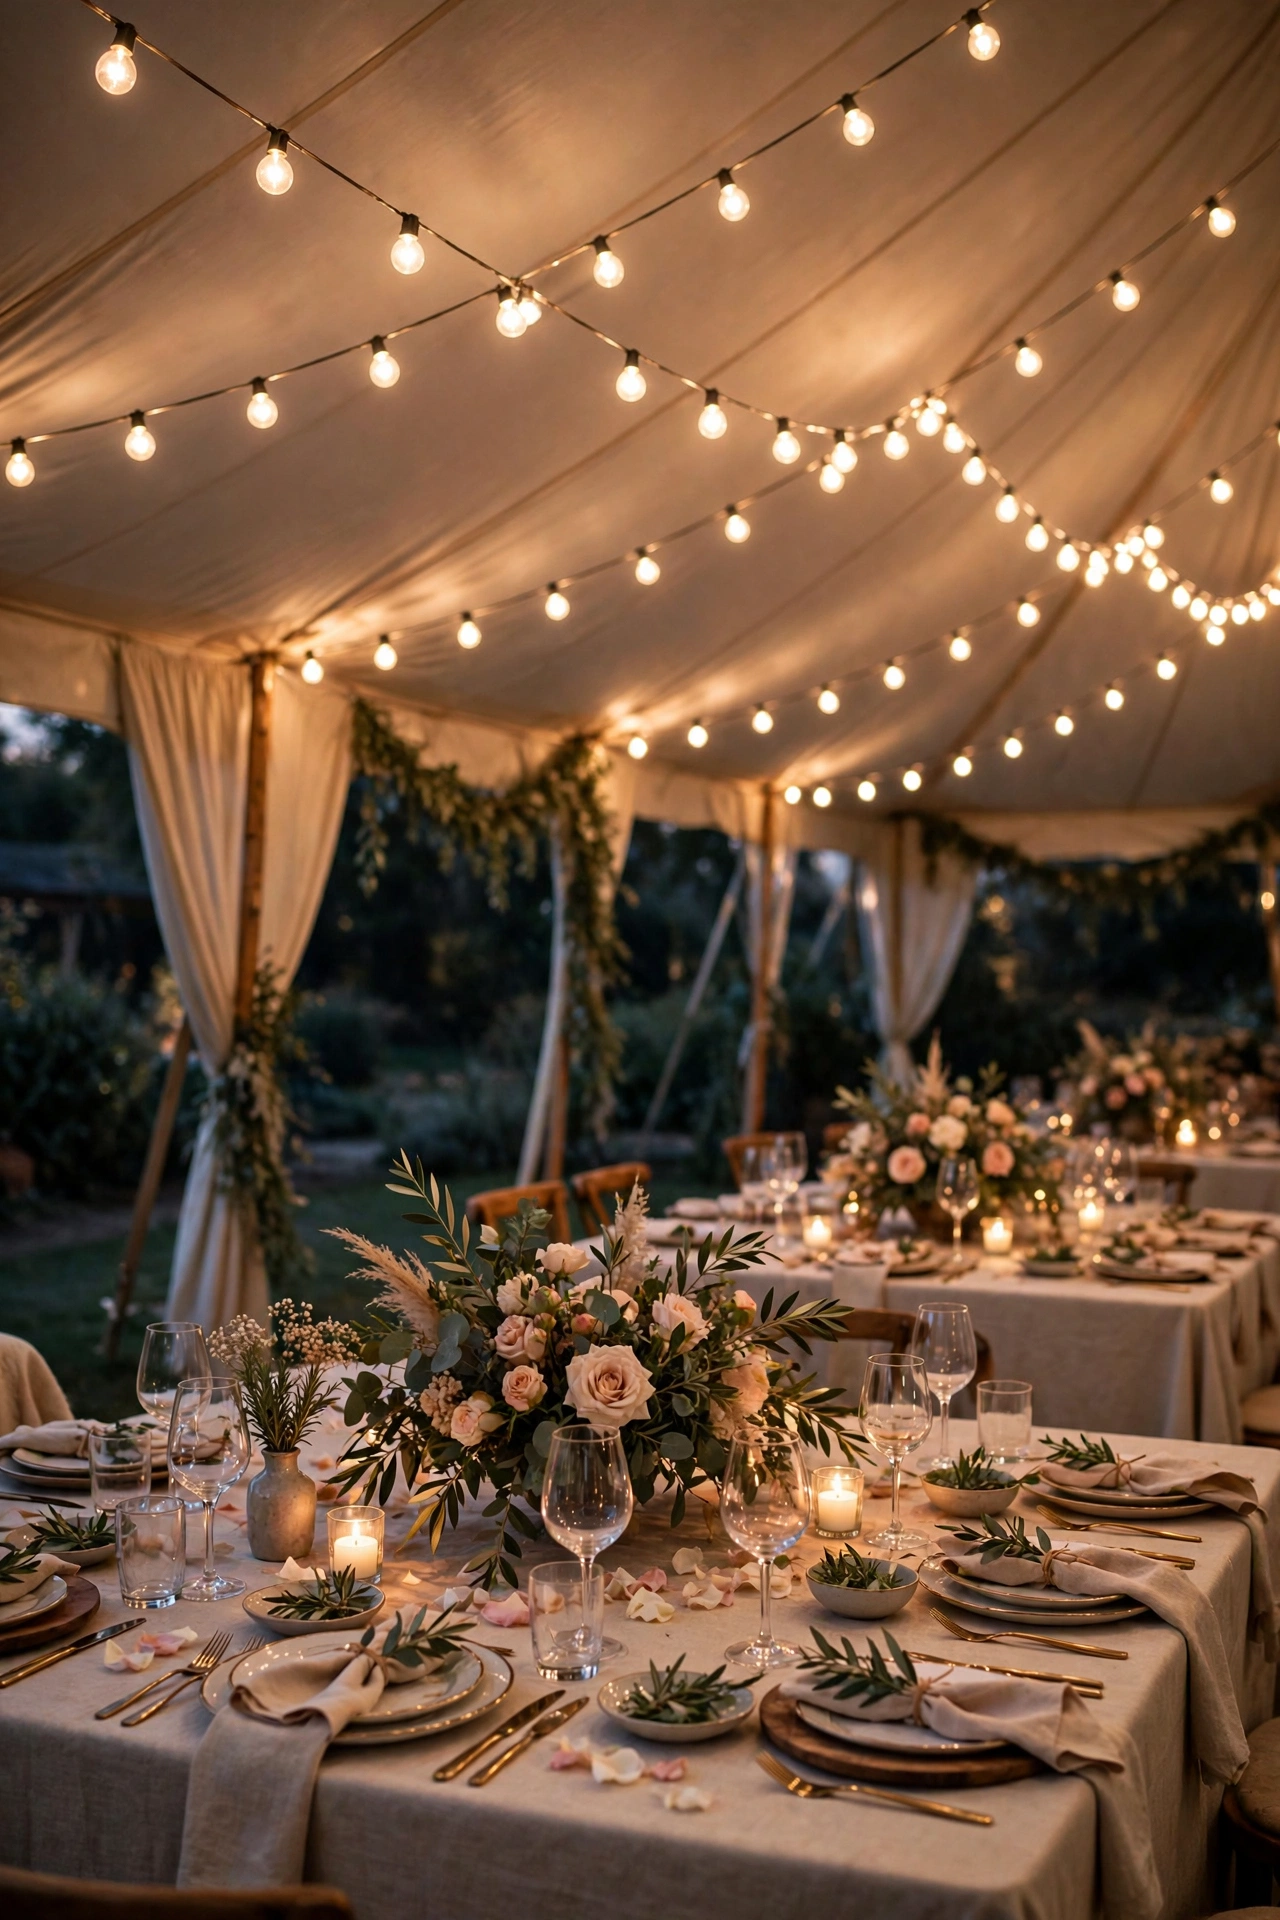
Hang a canopy of string lights
Nothing transforms a reception space faster than a ceiling of string lights. Zigzag strands across an outdoor tent or drape them in swags across a ballroom ceiling for instant atmosphere. A 2,000-square-foot tent needs roughly 15 to 20 strands at $15 to $25 each.
Try it: use warm white, 2700K, bulbs only; cool white bulbs read clinical in wedding photos and kill the romance.
26
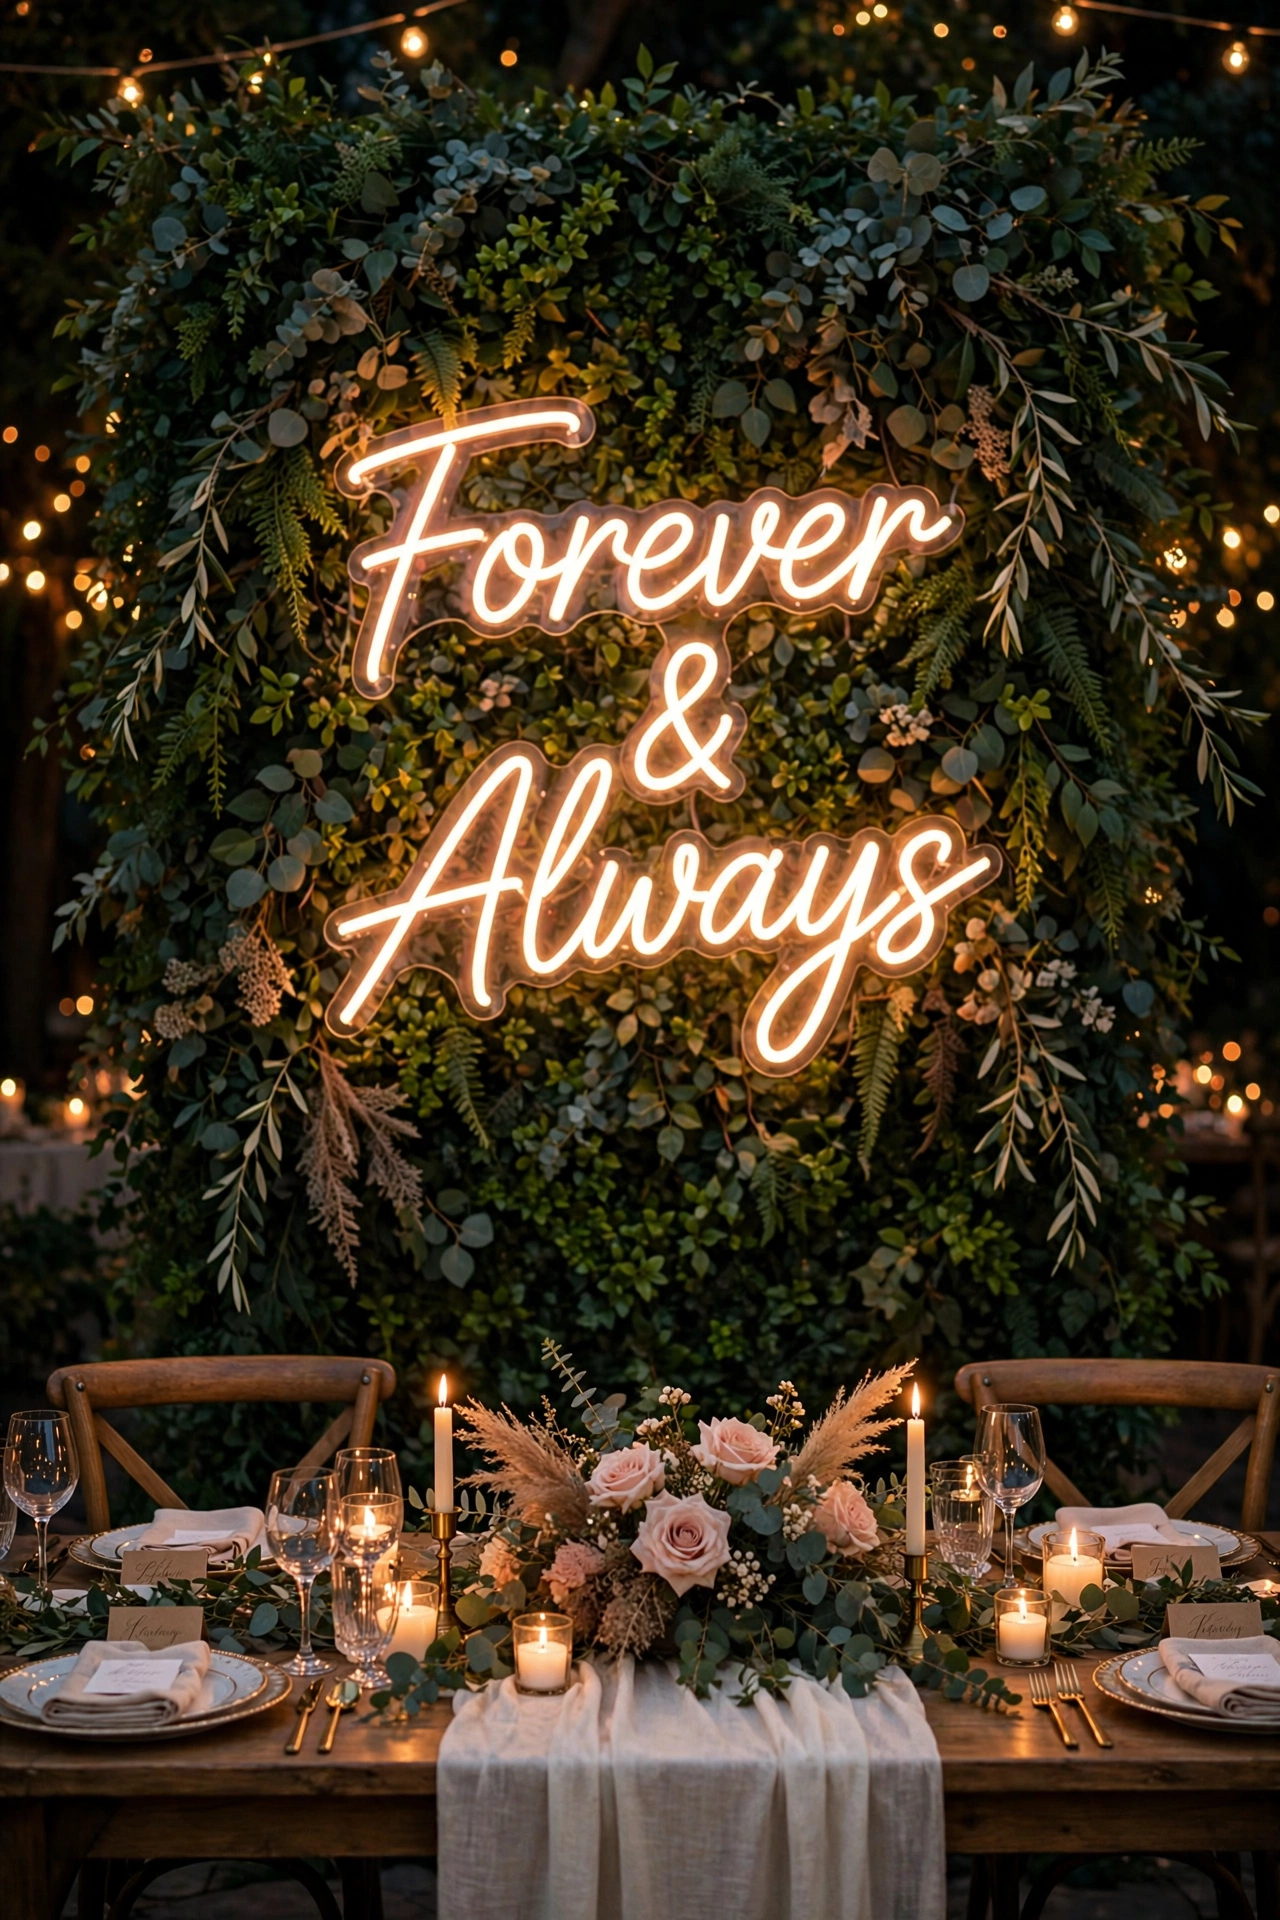
Light up a neon name sign
A custom neon sign with your names or a favorite phrase becomes the most-photographed item of the night. It works over the head table, behind the bar, or at the photo booth. Rentals run $150 to $300, and purchases start around $200 for a two-line sign.
Try it: choose a dimmable sign so your photographer can lower it during speeches and raise it for the dance floor.
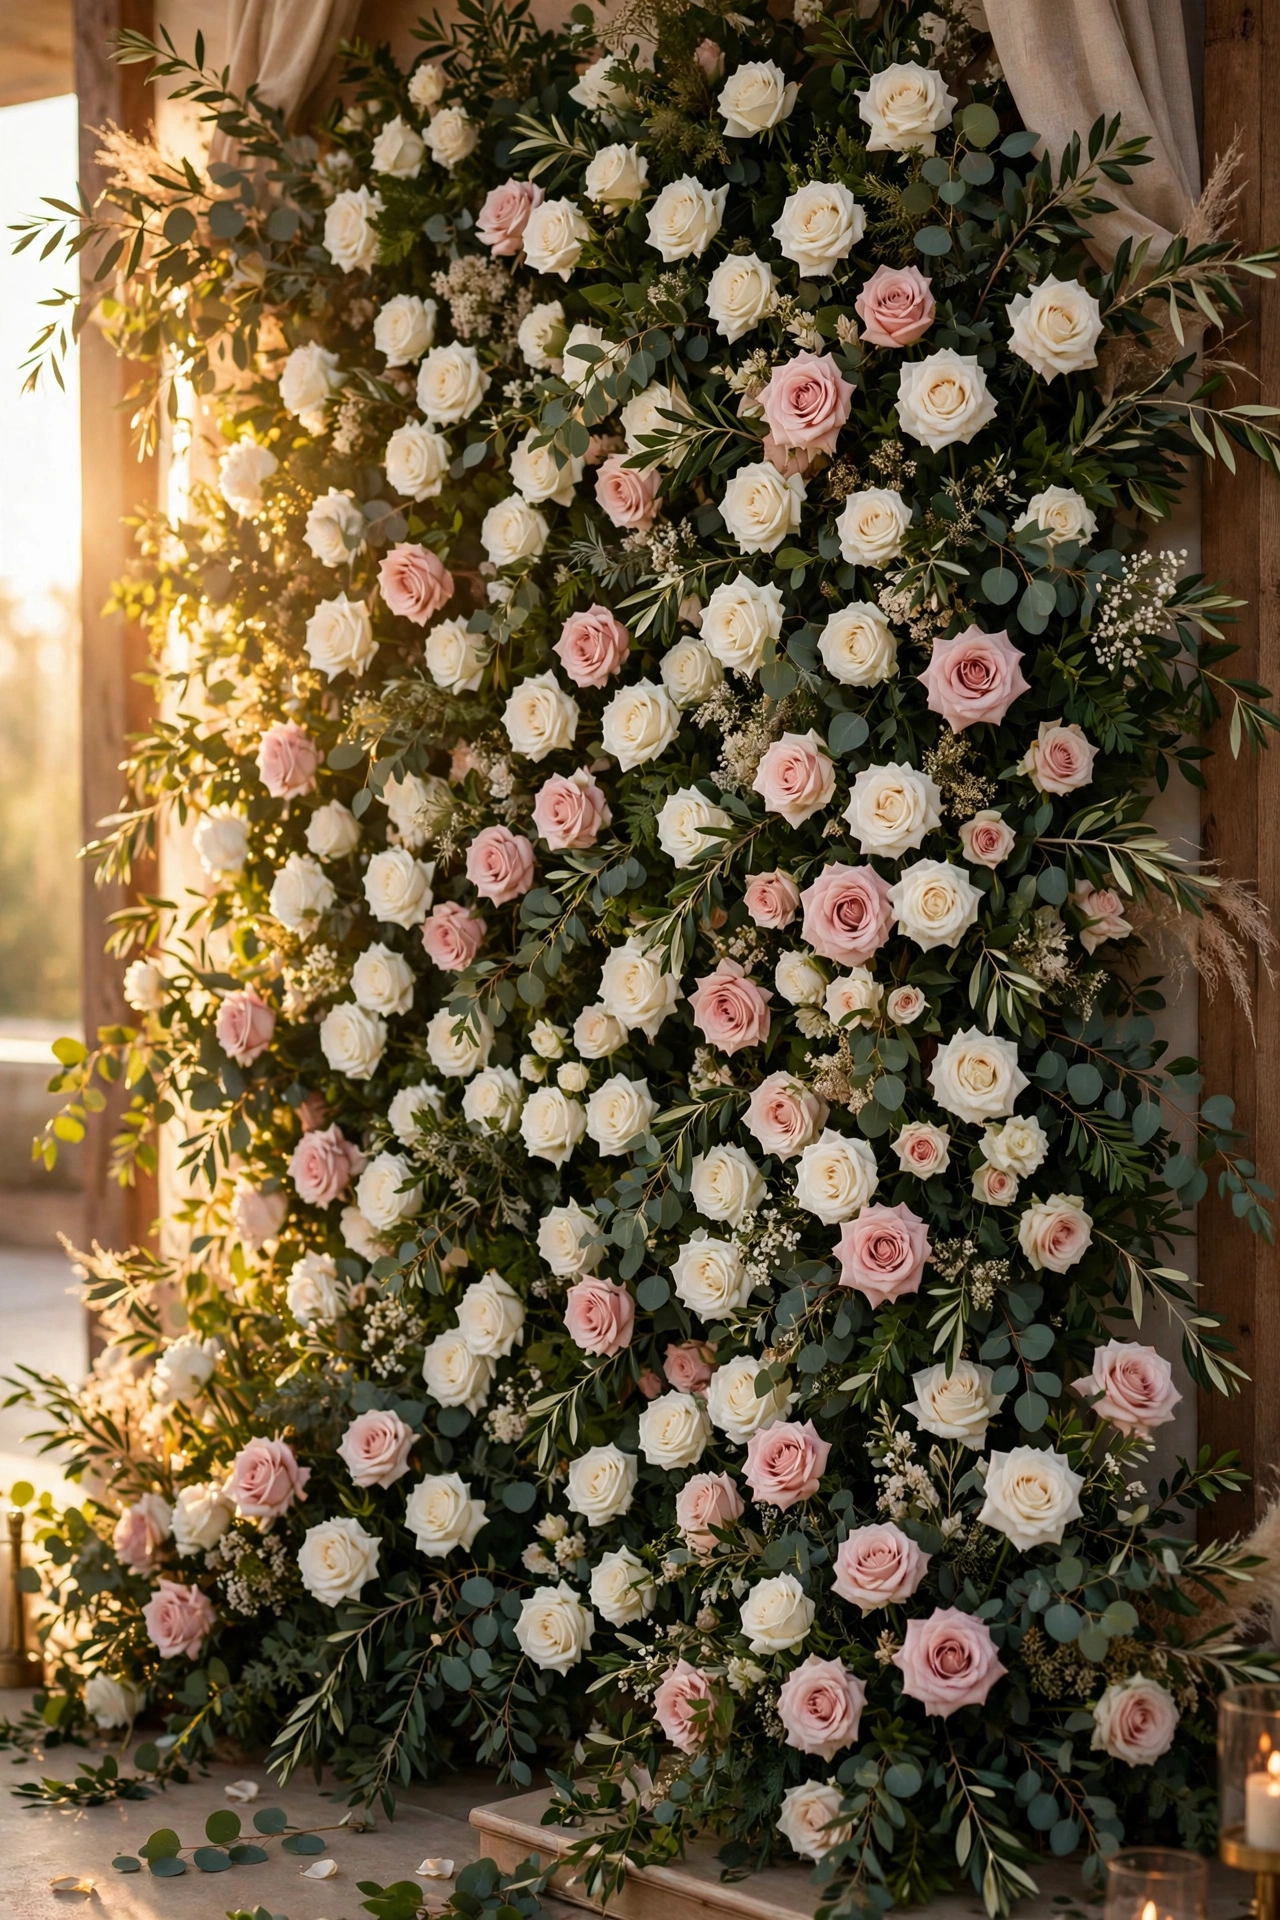
27
Stage a flower wall photo backdrop
A flower wall gives guests a reason to take photos and gives you a branded backdrop for portraits. Greenery walls with scattered blooms cost $200 to $500 to build with faux panels, and they can be assembled the day before. Real flower walls photograph better but wilt by dessert.
Try it: place the wall where natural light hits it during cocktail hour, when guests are most likely to use it.

28
Suspend Edison bulbs over the dance floor
The dance floor needs its own lighting moment to pull guests in. A grid of hanging Edison bulbs at staggered heights, about one bulb per two square feet, creates an intimate glow that makes the floor feel like the center of the party. Rent a pre-wired grid to skip the electrical headache.
Try it: hang bulbs at 7 feet minimum so tall dancers and raised hands stay clear of the glass.
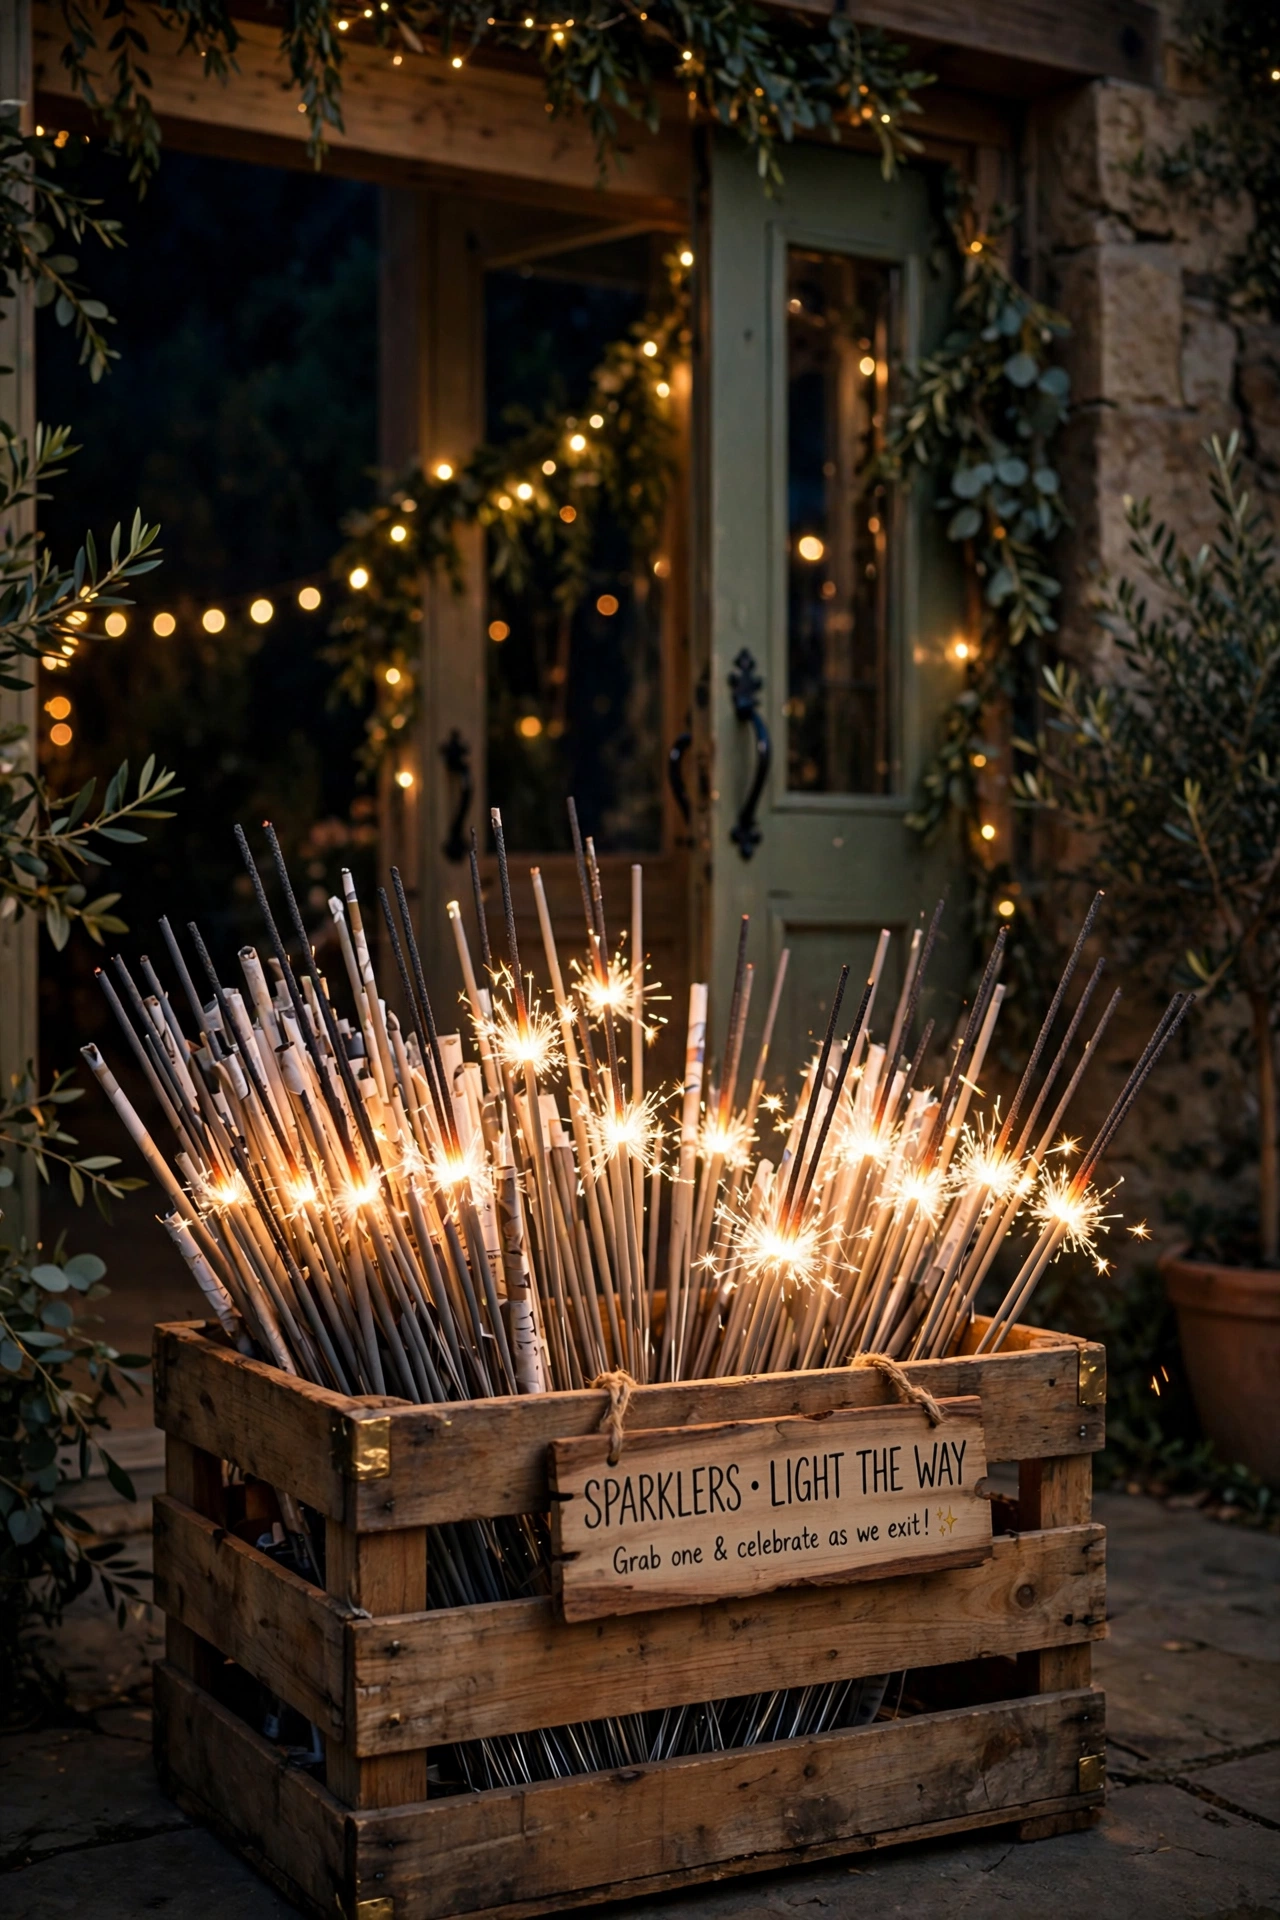
29
Stage a sparkler send-off display
The sparkler send-off is the grand finale photo of the night, but it needs staging to work. A wooden crate of 20-inch sparklers, a lit lighter station, and a sign with the timeline, gathered at 10:45 PM, keep the moment organized. Twenty-inch sparklers burn for about 90 seconds each.
Try it: appoint two friends as sparkler captains to light and distribute, and check your venue’s fire policy before buying a single one.

30
Edge the dance floor with candle clusters
The dance floor perimeter is usually bare, which makes the room feel unfinished in wide shots. Clusters of pillar candles and low florals around the floor’s edge define the space and keep the glow going after dinner. Use LED pillars anywhere guests might knock them over.
Try it: keep clusters at least three feet from the dance floor edge so enthusiastic dancers do not send them flying.
Pro tip: choose one metal finish, one wood tone, and three colors for the entire wedding, then repeat that exact combination in every zone; repetition reads as professional design, novelty reads as clutter. Before you finalize your palette, browse the latest wedding decor trends.
Three rules for wedding decor
Three principles separate the weddings that photograph beautifully from the ones that look scattered, no matter the budget.
- Repeat, do not accumulate: pick five to seven decor elements and use them everywhere. The same florals on the arch, seating chart, and head table make one design; fifteen different ideas make a yard sale.
- Design for the photo, not the room: nobody photographs the corner of the room, but everyone photographs the arch, the tables, and the photo wall. Spend where the camera goes and let the rest stay simple.
- Move it twice: ceremony decor that migrates to the reception doubles its value. Plan the move during cocktail hour with two helpers and a simple map of where each piece goes.
After the wedding: decor takedown and keepsakes
The party ends but the decor does not disappear, so plan the ending the way you planned the beginning.
- Assign a takedown captain: name one person, not the couple, to lead teardown the next morning. Rental companies collect on a schedule, so confirm pickup times before the wedding and have boxes ready for small items.
- Gift the florals: send guests home with centerpieces and aisle flowers at the end of the night. Announce it during the last dance so nothing goes to waste and you are not transporting wilting flowers at midnight.
- Keep three things: save the welcome sign, one menu, and a single dried bouquet. They become the physical memory of the day without filling a garage with boxes of used decor. To stay organized through it all, follow a wedding planning checklist.
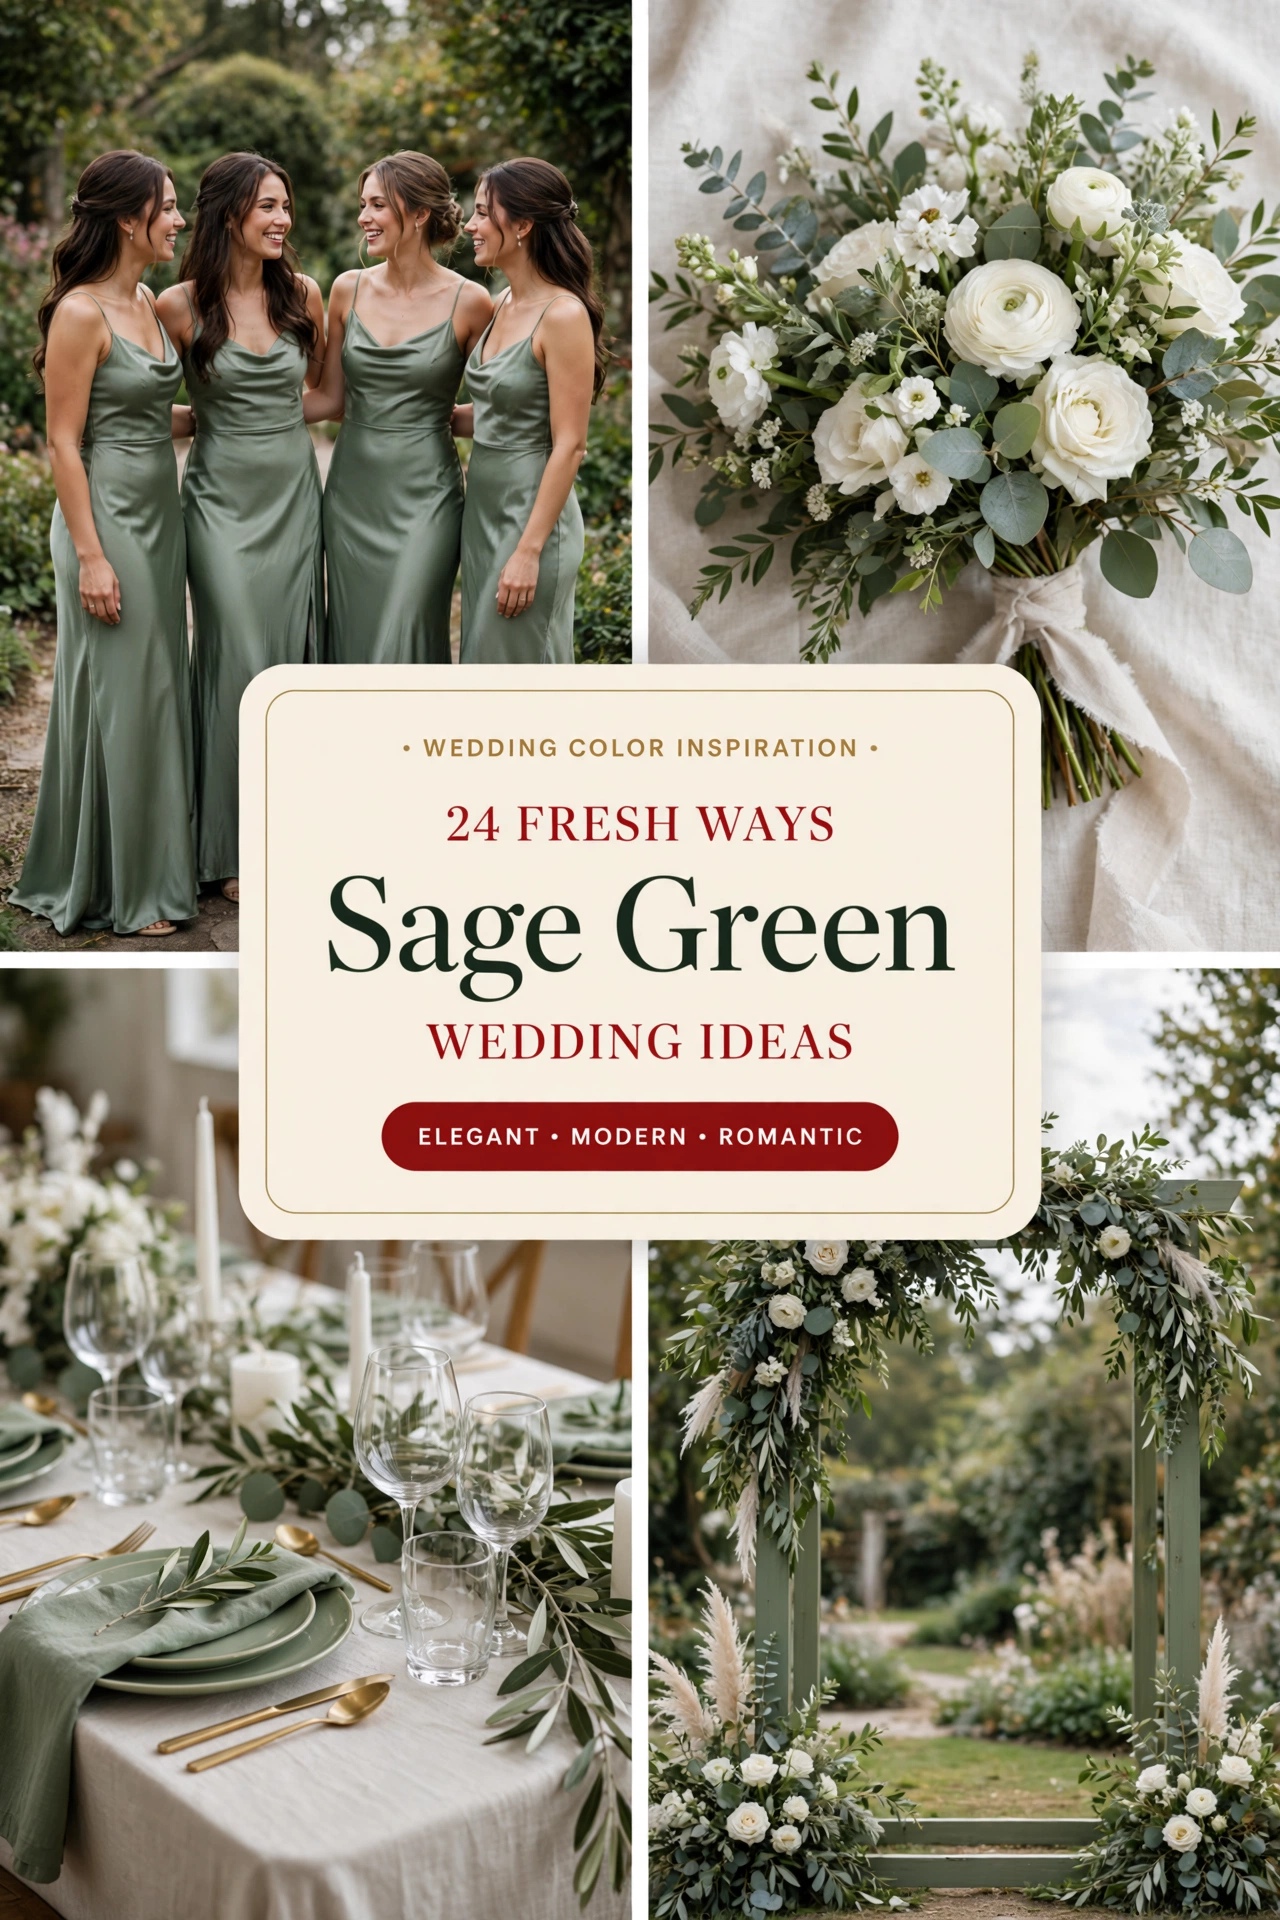
More ideas you’ll love: sage green wedding ideas, New Year’s Eve party ideas, and more in Parties & Celebrations.
Questions readers ask
How much should we budget for wedding decor?
Most couples spend $1,500 to $3,000 on decor for a 100 to 150 guest wedding, with DIY weddings landing closer to $800 and full florist designs running $5,000 or more. Allocate about 10 percent of your total wedding budget to decor, then spend 80 percent of that on five visual anchors: the arch, head table, lighting, signage, and photo spot.
What wedding decor has the biggest visual impact?
Lighting and the ceremony arch give you the most impact per dollar. A string light canopy transforms any room for under $400, and a statement arch frames every ceremony photo. After those, invest in the head table styling and one strong photo backdrop; those four elements show up in nearly every picture from the day.
How can we decorate a wedding on a budget?
Focus on high-impact, low-cost elements: string lights, candles, greenery garland, and fabric draping. Move ceremony decor to the reception, borrow vases and lanterns from friends, and choose dried flowers or potted plants that last. Renting statement pieces like arches and neon signs usually costs half of buying them.
When should we start buying wedding decor?
Start collecting non-perishable decor 6 to 9 months before the wedding so you can shop sales and thrift stores without rushing. Order fresh flowers 2 to 3 months out, confirm rentals 3 months out, and do a full mock setup of one table 4 to 6 weeks before the day so there are no surprises.
What decor works for outdoor weddings?
Outdoor weddings need decor that handles wind and sun. Heavy lanterns, staked signage, weighted fabric drapes, and potted plants beat lightweight items that blow away. Always have a wind plan for paper goods and a sun plan for candles, which melt in direct heat; LED alternatives solve both problems.
Should ceremony and reception decor match?
Yes, but they do not need to be identical. Use the same color palette, florals, and metal finishes in both spaces so the day feels cohesive, then vary the scale: ceremony decor goes big and vertical for the altar photos, while reception decor goes low and detailed for the table experience.
How do we make a small wedding feel decorated?
Small weddings shine with fewer, richer details. Style one spectacular table with layered linens, candles, and florals instead of decorating ten tables thinly. A 20-guest dinner with a full tablescape and great lighting feels more luxurious than a 150-guest wedding with sparse decor.
What is the biggest decor mistake couples make?
Buying too many unrelated pieces. Couples who shop piece by piece end up with a cluttered mix that photographs poorly. Pick a palette and five anchor pieces first, then only buy items that fit both. If a piece does not match your metals, woods, or colors, skip it no matter how pretty it is.
People Also Ask
How long does wedding decor setup take?
Plan 2 to 4 hours for a ceremony-only setup and 4 to 6 hours for a full reception setup with a team of four to six helpers. Complex installations like hanging florals or string light canopies add another 2 to 3 hours, so confirm venue access times and whether a professional setup crew is included in your rental.
Can we reuse ceremony decor at the reception?
Absolutely, and you should. Move the arch to the bar or photo area, carry aisle posies to the head table, and shift lantern rows to the dance floor edge during cocktail hour. Assign two helpers and draw a simple placement map so the move takes 20 minutes instead of an hour.
Do we need a florist for wedding decor?
Not necessarily. Greenery garlands, bud vase clusters, candle centerpieces, and fabric draping are all realistic DIY projects that need no floral training. Hire a florist only for the pieces that demand it: the bridal bouquet, a lush altar installation, and any boutonnieres. Everything else can be assembled by you and a few helpers.
loved these ideas? ✿
Save this guide for later
Pin it to your board so it’s there when you’re ready to recreate it.

Curated by
Hey! I'm Sanaullah — visual curator and content creator. I search, curate, and test the best aesthetic ideas across Pinterest so you can easily transform your living space, style daily outfits, and try simple creative DIYs without the overwhelm.