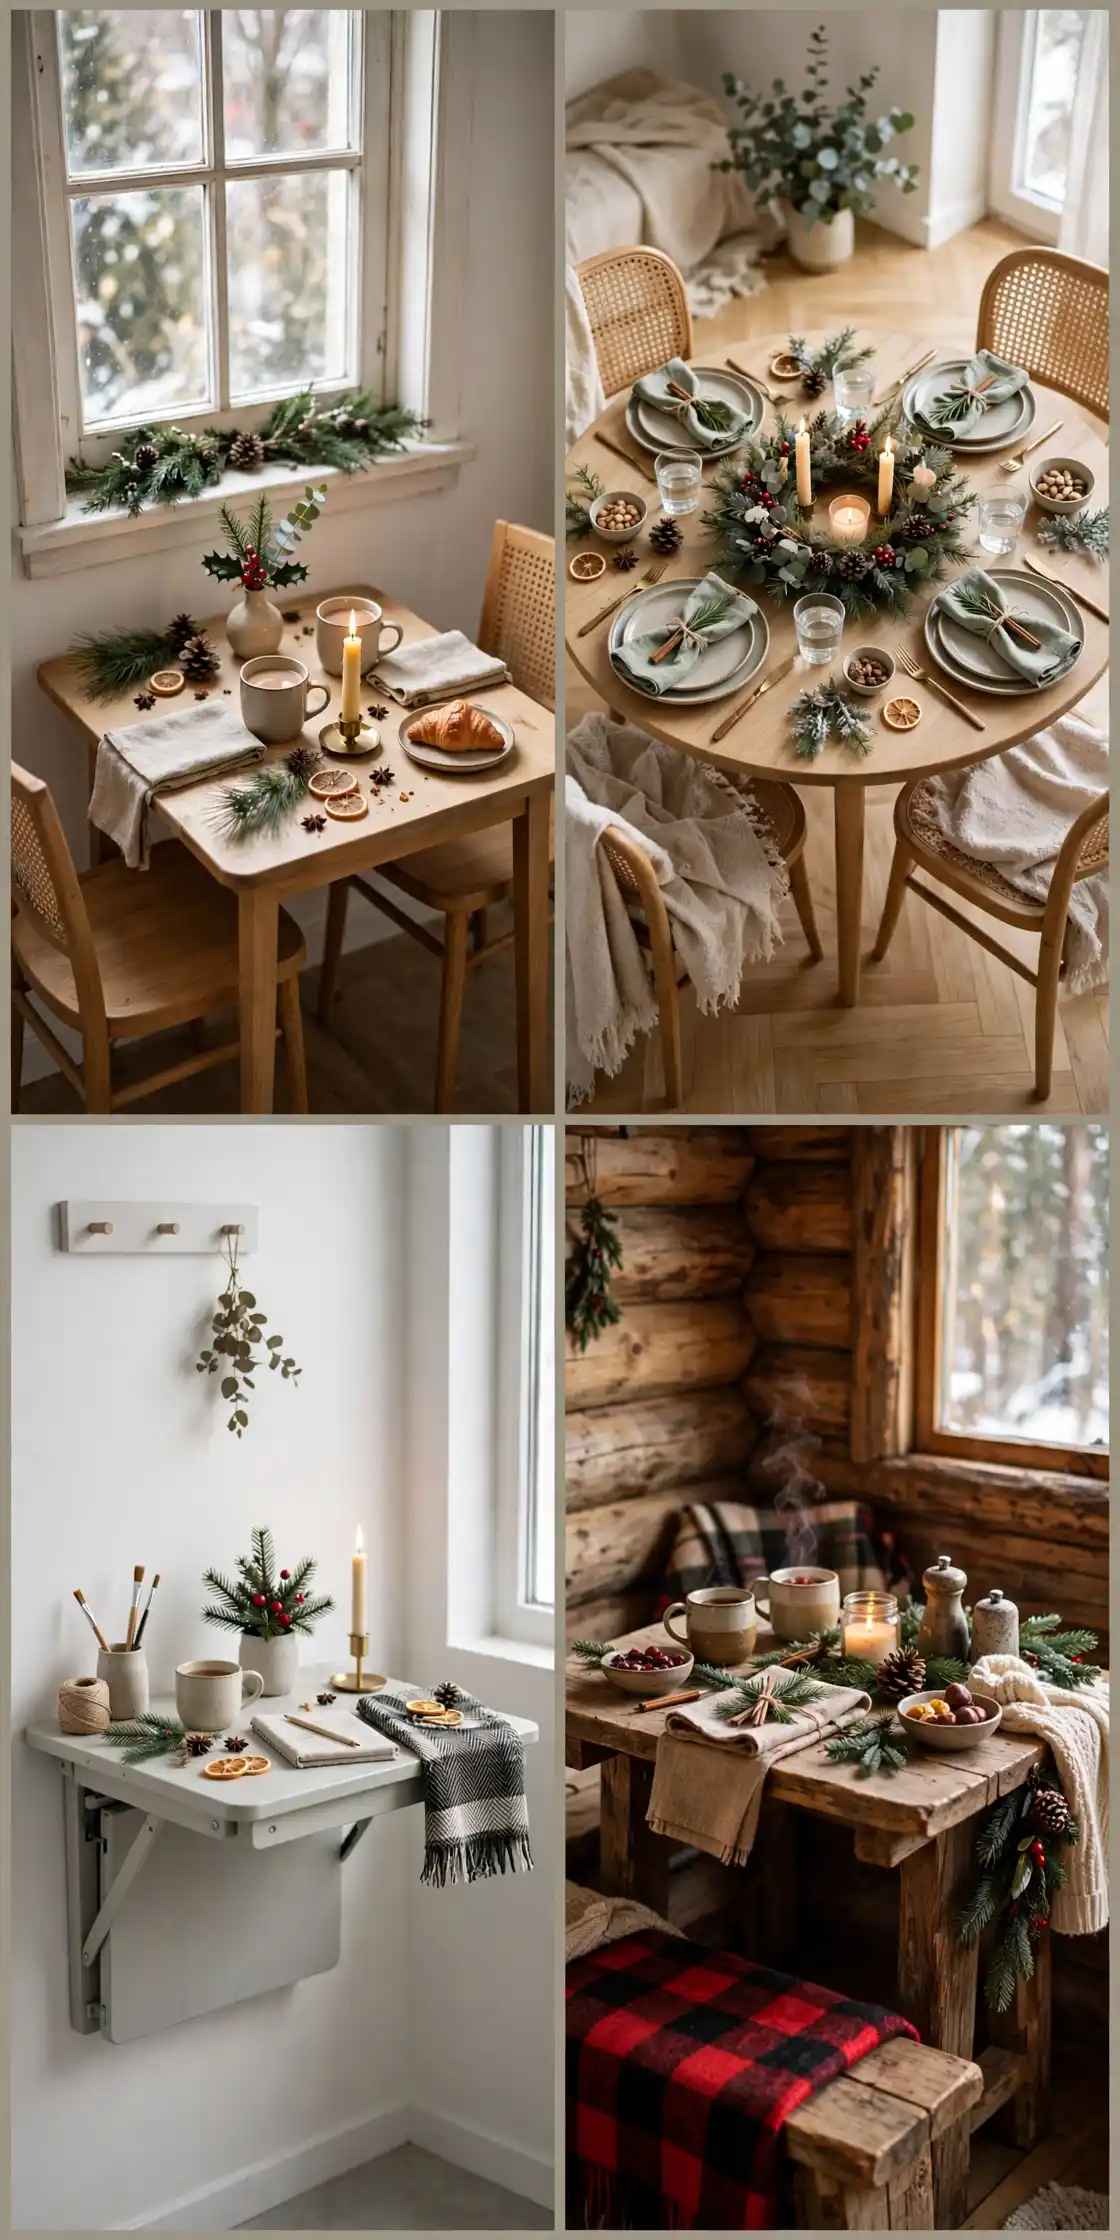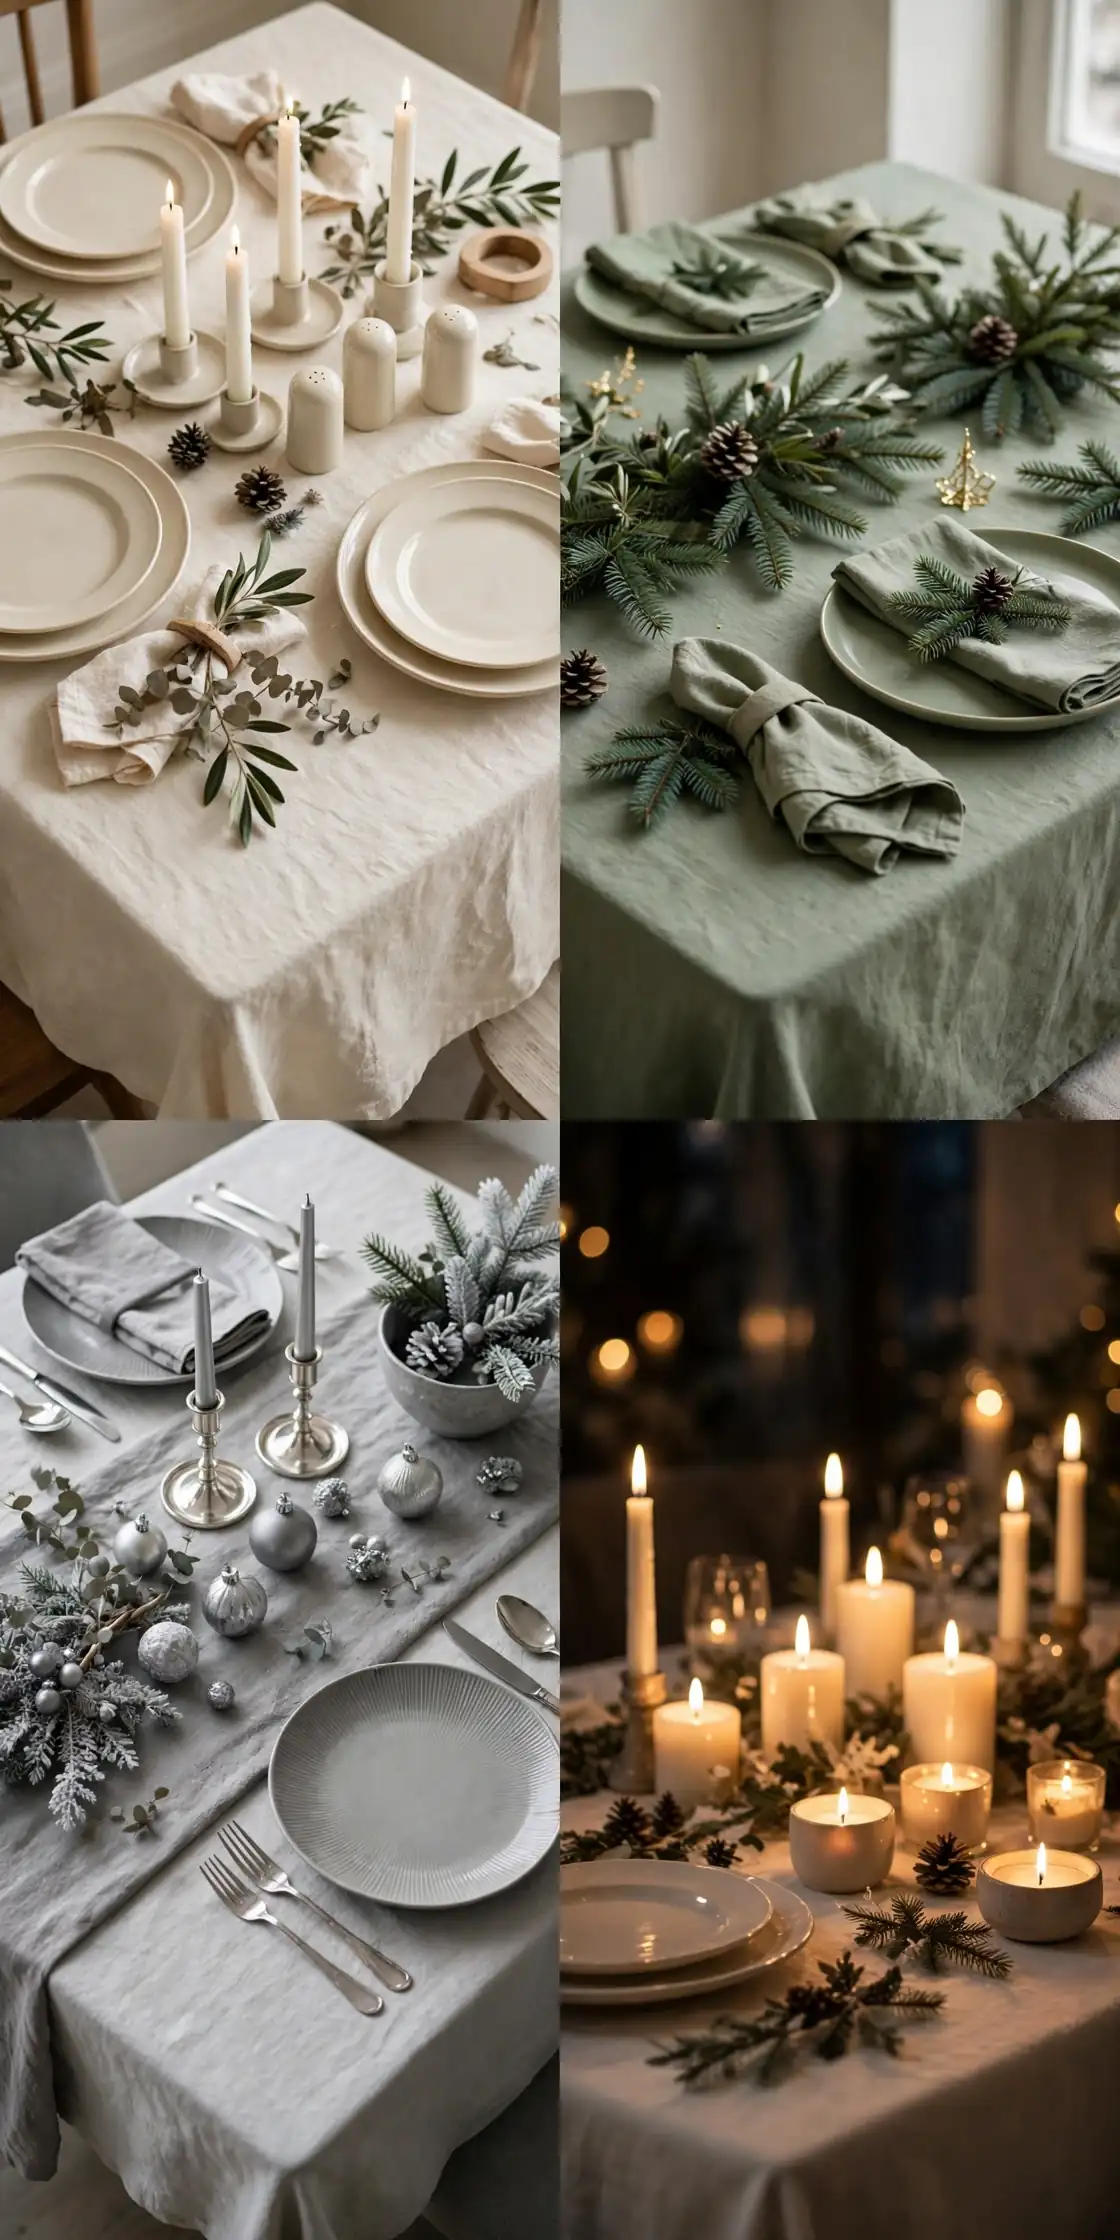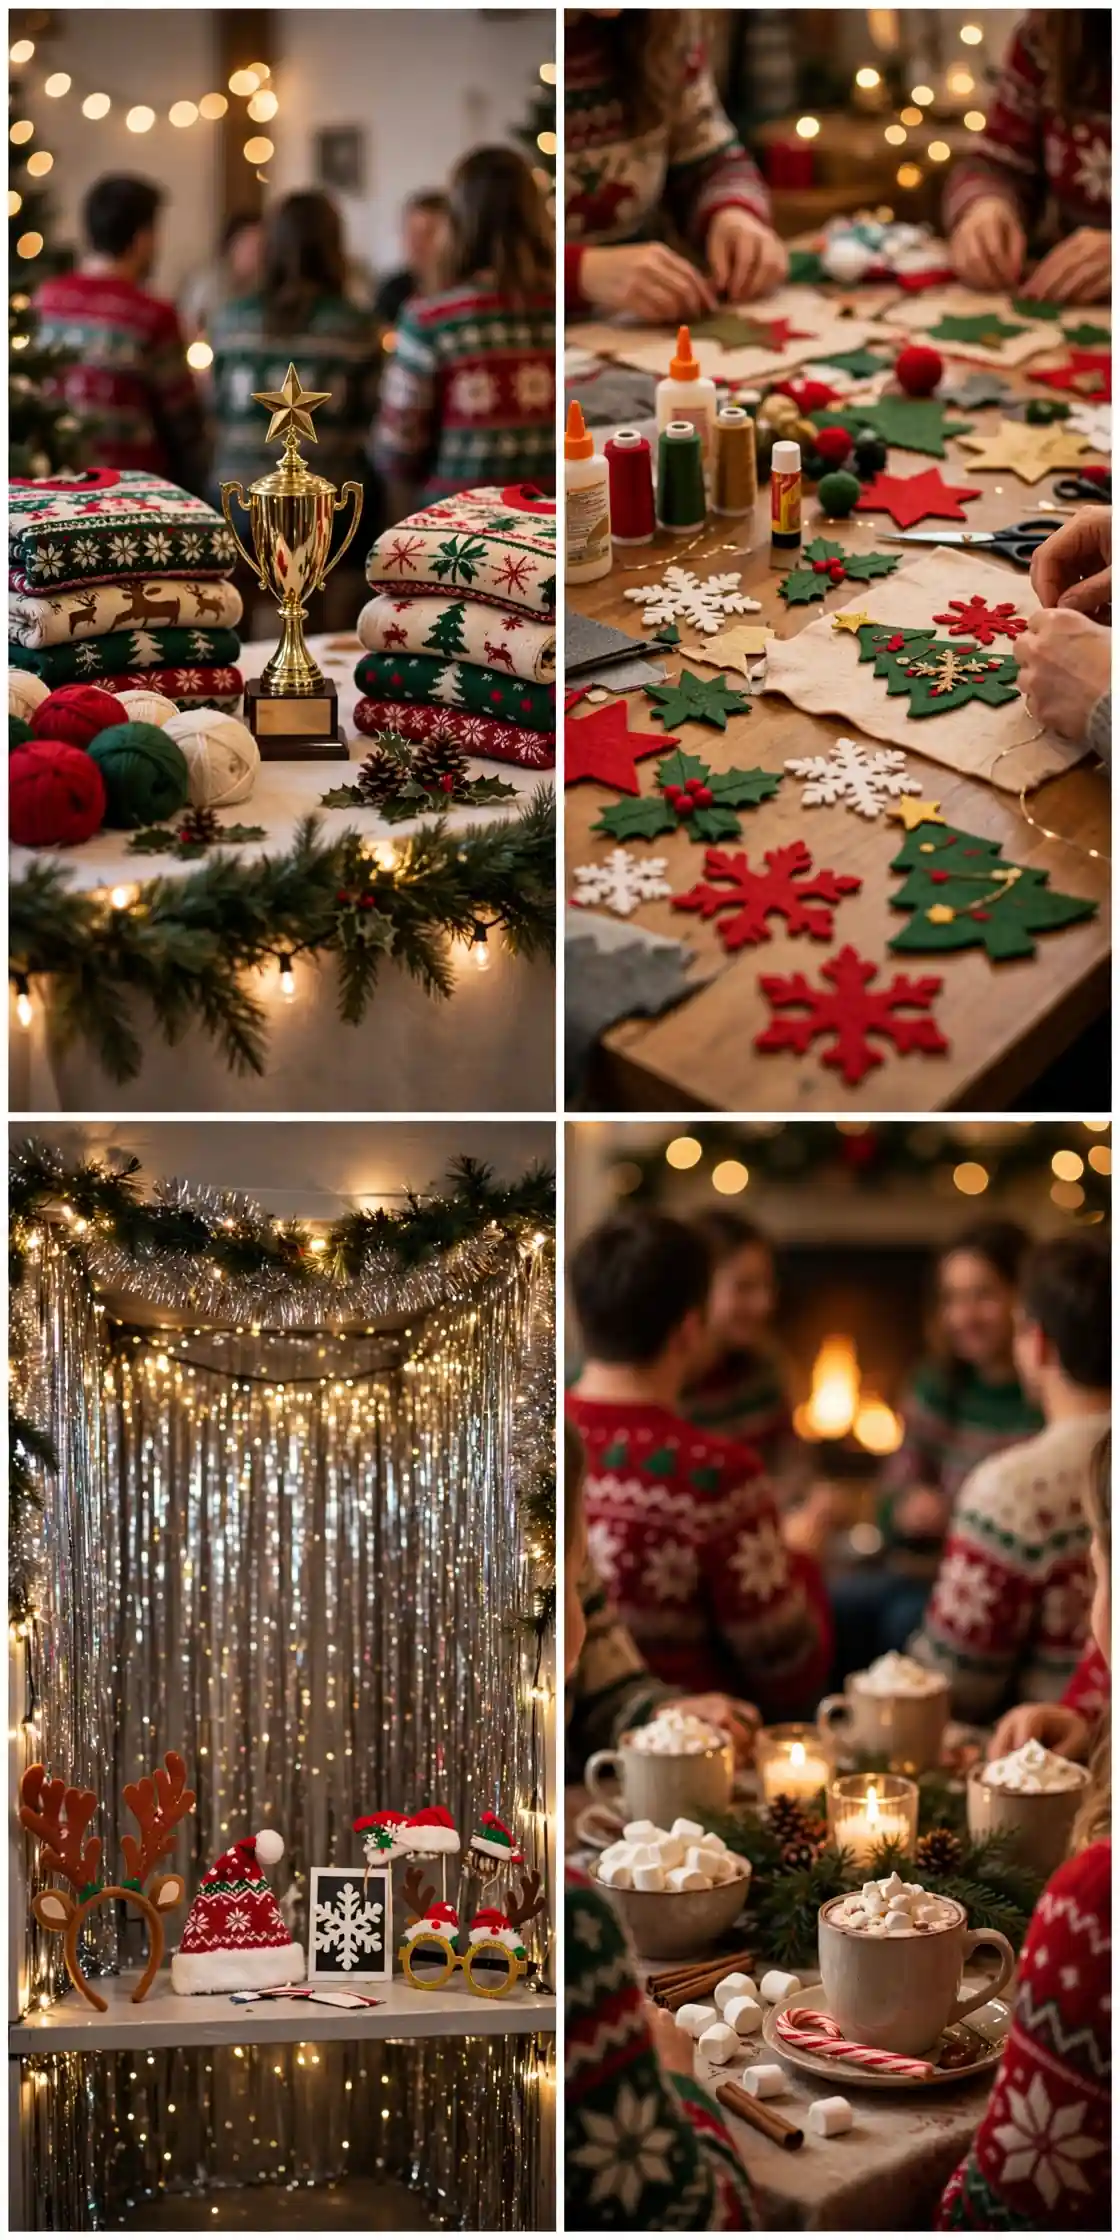

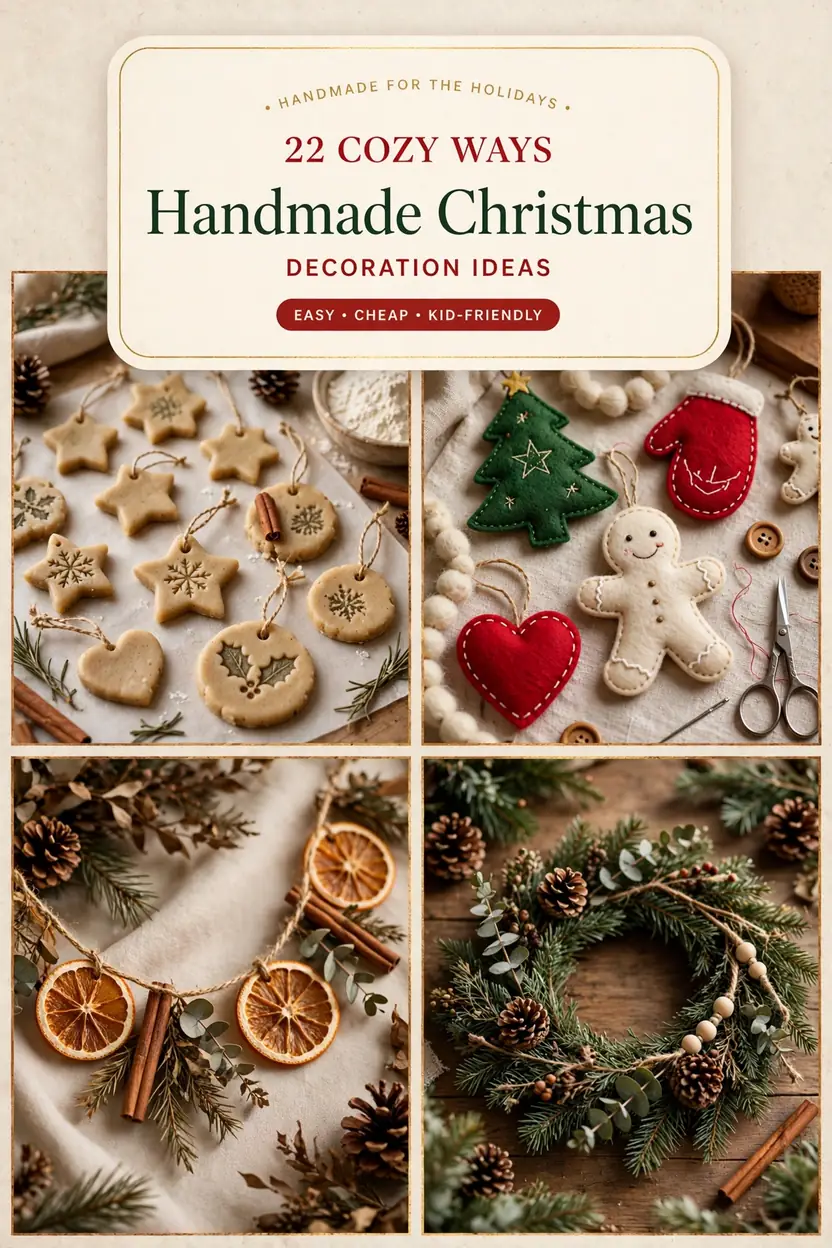
A house dressed only in shop bought decorations can look polished and still feel like anyone’s house, because nothing in it was made by your hands. A house dressed with a handmade christmas decoration looks like yours, because every piece on the tree, the mantel, the door and the table carries an afternoon of making and a decision you made yourself. Most handmade christmas decoration attempts fail in the same way: people make one beautiful piece and run out of time for the rest of the house, pick projects that need tools they do not own, or hang everything on the tree and leave the mantel, door and walls bare, and end up with a half decorated home and a box of unfinished crafts. This list works the other way around. These 22 handmade christmas decoration ideas are grouped by zone, tree, mantel, door, table, walls, windows, hall and porch, and every idea comes with real making steps, so you can dress the whole house in one weekend, not just one corner of it. For the wider decorating picture, including room-by-room styling and bought decorations mixed with handmade ones, see DIY Christmas Decor Ideas. Pick one zone here, start with a single decoration, and your home will carry decorations that are unmistakably homemade in the best way.
- The key takeaway: Decorate by zone, not by project. A tree, a mantel, a door and a table each need one handmade piece before any zone gets a second, because one piece in every zone reads as a decorated house, while five pieces on the tree and nothing elsewhere reads as a decorated tree.
- The detail most people miss: Finish the edges and the backs. A tree skirt with a raw hem, a banner with loose threads and a wreath with a bare back all read as rushed from the sofa, while edges hemmed, sealed and neatened read as made with care, because the edge is what the eye checks first.
- What it costs or how long it takes: Most of these 22 decorations cost $2 to $20 in supplies, and each takes 30 minutes to 3 hours of active work, plus drying time. A paper bunting sits at the bottom of the range, while a hand sewn tree skirt sits at the top, and every idea here beats the price of a shop decoration that means nothing.
At a glance
| Group | Ideas | Zone | Best for |
|---|---|---|---|
| Handmade Tree Dressings | 01-03 | Tree top, tree base, tree garland | The tree as a whole |
| Handmade Mantel Decorations | 04-06 | Mantel shelf | Living room fireplaces |
| Handmade Door Decorations | 07-09 | Front door | First impressions |
| Handmade Table Decorations | 10-12 | Dining table | Christmas dinner |
| Handmade Wall Decorations | 13-15 | Walls and hallways | Bare walls |
| Handmade Window Decorations | 16-17 | Windows | Light and glow |
| Handmade Hall Decorations | 18-19 | Stairs and console | Entrances |
| Handmade Porch Decorations | 20-22 | Porch and outdoors | Kerb appeal |
jump to an idea ↓
- 01 Handmade Star Tree Topper
- 02 Handmade Christmas Tree Skirt
- 03 Ornament Strand Tree Garland
- 04 Homemade Mantel Garland
- 05 Hand-Sewn Mantel Stockings
- 06 Handmade Mantel Letter Banner
- 07 Handmade Front Door Wreath
- 08 Pinecone Door Swag
- 09 Hanging Door Basket
- 10 Handmade Fabric Table Runner
- 11 Felt Napkin Rings
- 12 Candle Jar Sleeves
- 13 Fabric Christmas Wall Hanging
- 14 Christmas Bunting
- 15 Pocket Advent Calendar Wall Hanging
- 16 Folded Window Stars
- 17 Windowsill Village Silhouette
- 18 Newel Post Topper
- 19 Hallway Console Arrangement
- 20 Handmade Porch Planter
- 21 Handmade Porch Lantern
- 22 Wooden Porch Sign
Handmade Tree Dressings
01
Handmade Star Tree Topper
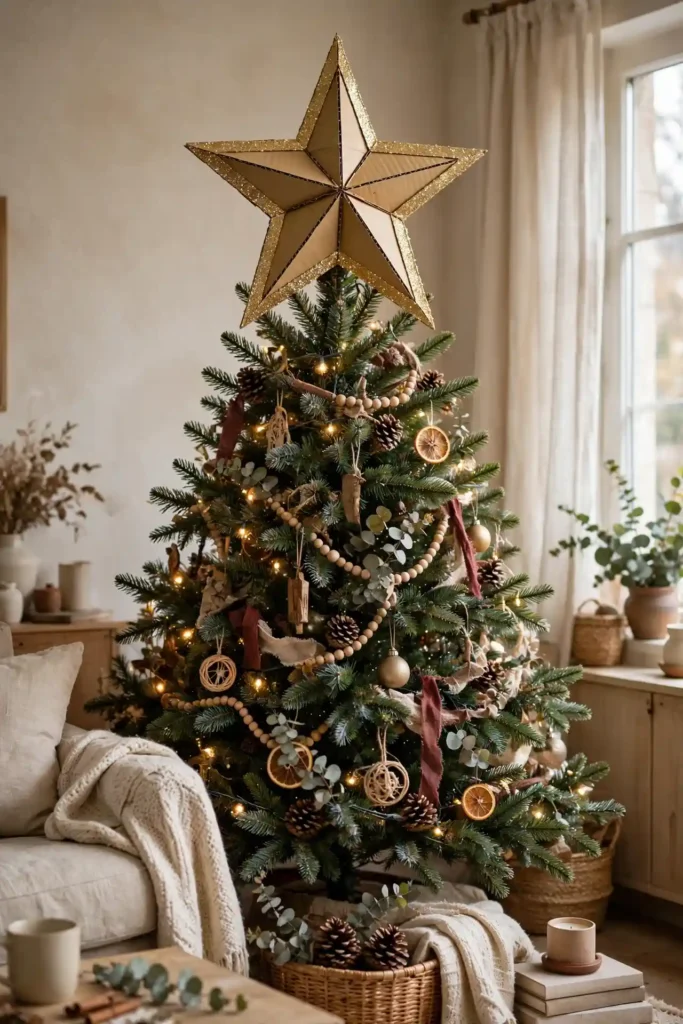
A tree with a shop bought topper can look finished and still feel impersonal, because the topper arrived in a box and you had no hand in it. A handmade christmas tree topper fixes that, because the star is cut, painted and placed by you, and it crowns the tree you decorated yourself. Steps: 1. Cut two identical star shapes from stiff card, glue them back to back with a dowel between them for the stem, and let the glue dry flat. 2. Paint the star gold, add glitter glue along the edges, and seal with clear spray. 3. Push the dowel into the top of the tree, straighten the star from the doorway, and tie a ribbon bow at its base. A handmade tree topper suits a family tree best, because the topper is the first thing children look for when the tree goes up.
Try it: Glue a dowel stem into the star, not just a loop of ribbon. A ribbon loop slips off the top branch, while a dowel pushed into the tree top holds the star upright all season.

02
Handmade Christmas Tree Skirt
A tree standing in a bare metal stand can look unfinished at the bottom, because the stand and the floor show under the branches. A handmade christmas tree skirt hides that, because a circle of fabric around the base reads as the tree’s own hem. Steps: 1. Cut a large circle of red or cream fabric, cut a slit from the edge to the centre and a small hole at the centre for the trunk. 2. Hem the outer edge and both slit edges, and sew a ribbon tie at each side of the slit. 3. Lay the skirt around the tree base, tie it closed, and arrange the folds so the skirt ripples outward. A handmade christmas tree skirt suits a living room tree best, because the skirt is what the eye lands on when it drops from the branches.
Try it: Hem every edge before the skirt goes under the tree, not after. A skirt hemmed after laying bunches under the branches, while a skirt hemmed flat first lies in smooth ripples.

03
Ornament Strand Tree Garland
A tree dressed only in single ornaments can look scattered, because each ornament hangs alone with gaps between them. An ornament strand garland ties the tree together, because a string of small ornaments wound around the tree reads as one decoration, not twenty separate ones. Steps: 1. Thread small lightweight ornaments, wooden beads and dried orange slices onto sturdy twine, spacing them about 15 cm apart. 2. Knot the twine on both sides of each piece so nothing slides. 3. Wind the strand around the tree from top to bottom, tucking it just inside the branch tips, and tie the ends to branches. Diy christmas decorations garland in ornament strand form suits a tree that already has baubles best, because the strand connects them into a whole.
Try it: Knot the twine on both sides of every piece. Pieces threaded without knots slide into a bunch at the bottom, while knotted pieces stay spaced all the way around the tree.
Handmade Mantel Decorations

04
Homemade Mantel Garland
A mantel with a shop bought garland can look like every other mantel, because the same garland hangs in a thousand living rooms. A homemade christmas garland fixes that, because the greenery, the baubles and the ribbon are chosen by you for your own mantel. Steps: 1. Lay fresh or faux fir branches along the mantel, overlapping them in one direction, and bind them together with florist wire. 2. Wire in pinecones, dried orange slices and a few baubles, keeping them on the front face. 3. Fix the garland to the mantel at three points, both ends and the middle, and add a bow at each end. A homemade christmas garland suits a main living room fireplace best, because the mantel is the decoration guests notice the moment they walk in.
Try it: Overlap the branches in one direction, not mixed. Branches laid in mixed directions look tangled, while branches laid one way read as a designed garland.

05
Hand-Sewn Mantel Stockings
A mantel hung with bought stockings can look like a shop window, because the stockings match nothing else in the room. A handmade stocking fixes that, because the fabric, the cuff and the name are chosen to match your own mantel. Steps: 1. Cut two stocking shapes from wool felt or cotton fabric, slightly larger than a hand, and cut a cuff band from contrasting fabric. 2. Sew the cuff to the top of each front piece, then stitch the two stocking shapes together, leaving the top open. 3. Turn the stocking right side out, sew a hanging loop at the cuff, and add an initial in felt or embroidery. A handmade stocking suits a family mantel best, because each stocking belongs to one person by name, not by shop label.
Try it: Sew the cuff on before you stitch the two sides together. A cuff sewn after closing is hard to place evenly, while a cuff sewn first sits exactly where you want it.

06
Handmade Mantel Letter Banner
A mantel dressed only in greenery can look quiet, because green alone gives no message. A handmade mantel letter banner gives the message, because felt letters spelling a greeting hang across the mantel in plain sight. Steps: 1. Cut triangle flags from felt in two alternating colours, and cut one letter per flag from contrasting felt. 2. Glue or stitch one letter to each flag, and thread the flags onto ribbon in order, spacing them evenly. 3. Hang the banner across the mantel front, fixing it at both ends and in the middle so it dips gently. A handmade christmas decoration in banner form suits a mantel that already has a garland best, because the banner adds words where the garland adds green.
Try it: Fix the banner at three points, not just the ends. A banner fixed only at the ends sags in the middle, while a banner fixed at three points keeps its gentle dip all season.
Handmade Door Decorations
07
Handmade Front Door Wreath
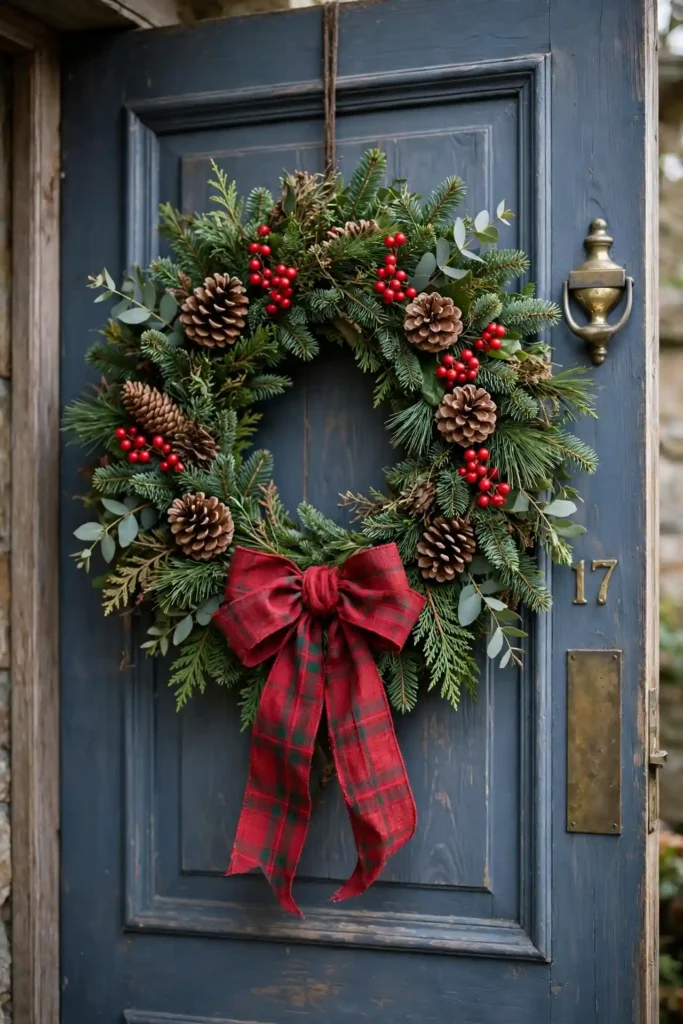
A front door with no wreath can look bare at Christmas, because the door is the first thing visitors see and it says nothing. A diy christmas wreath fixes that, because a ring of greenery, pinecones and a bow turns a plain door into a welcome. Steps: 1. Bind fresh or faux fir branches around a wire wreath ring, overlapping them in one direction. 2. Wire in pinecones and a few red berries, keeping them on the front face. 3. Tie a large bow at the bottom, hang the wreath on a door hook at eye height, and check it from the street. A diy christmas wreath suits any front door best, because the wreath is the decoration every visitor sees first.
Try it: Hang the wreath at eye height, not above the door. A wreath hung too high is seen only from far away, while a wreath at eye height greets every visitor face to face.
08
Pinecone Door Swag
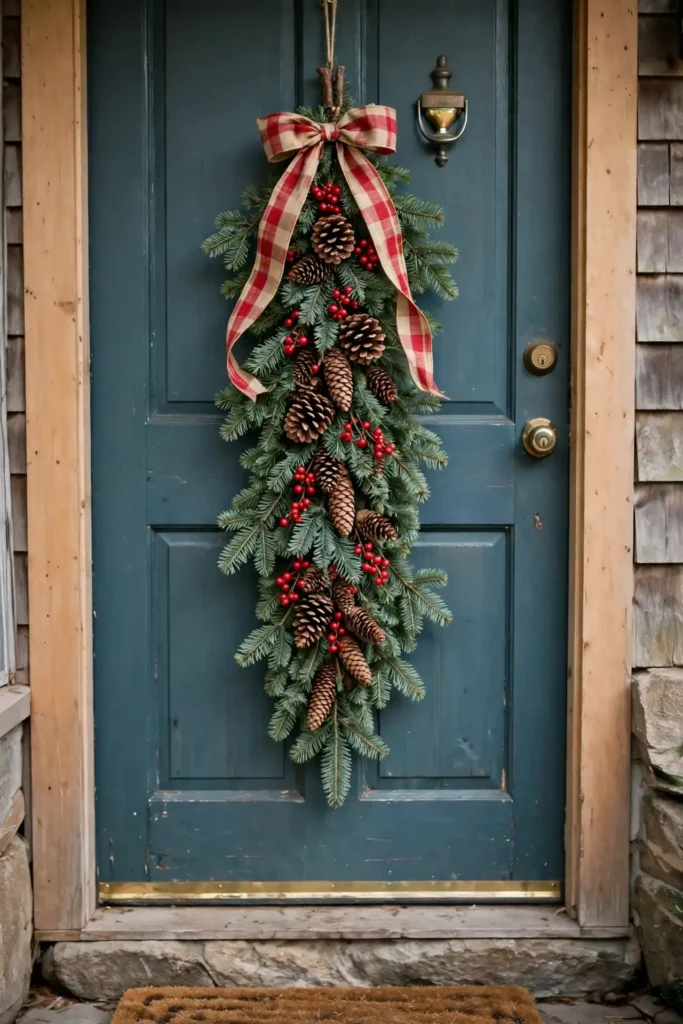
A full wreath can be too much for a narrow door, because a wide ring leaves no room beside it. A pinecone door swag suits a narrow door, because a vertical bunch of greenery and pinecones hangs down the door instead of spreading across it. Steps: 1. Gather three fir stems, two pinecones and a sprig of berries into a bunch, and bind the stems tightly with twine. 2. Tie a bow over the binding, and add a hanging loop at the top. 3. Hang the swag on the door at eye height, slightly off centre, and check it does not catch the letterbox. A diy christmas door decoration in swag form suits a cottage door best, because the vertical shape fits a narrow door that a wreath would crowd.
Try it: Bind the stems tightly before adding the bow. A loose binding lets stems slide apart in wind, while a tight binding holds the swag shape all season.
09
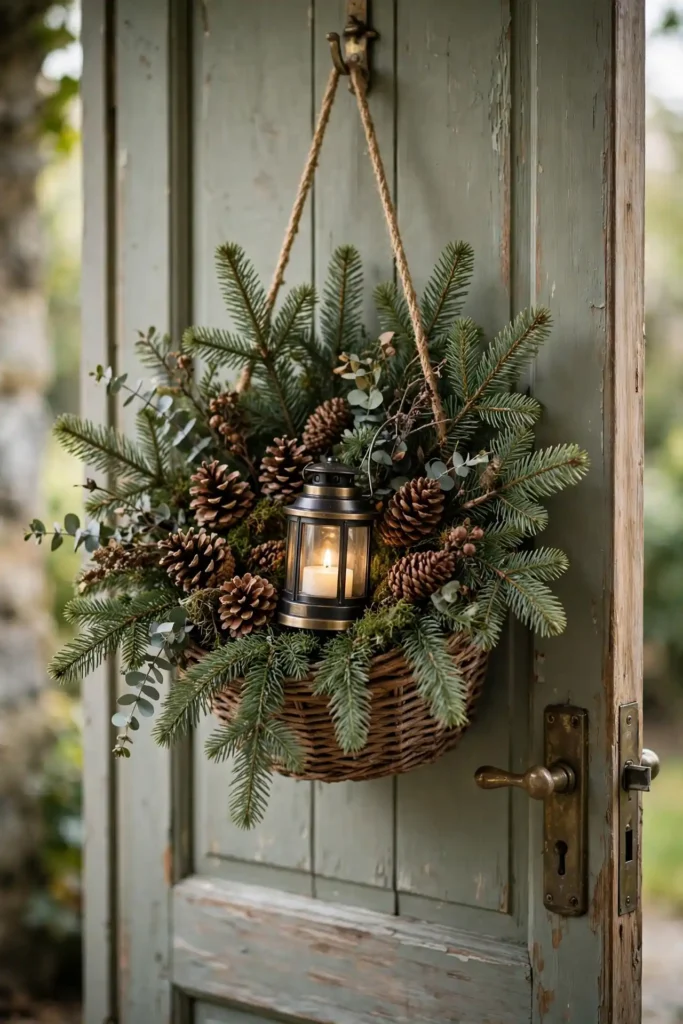
Hanging Door Basket
A door dressed only in greenery can look flat, because green alone gives no depth. A hanging door basket adds depth, because a small basket of greenery, pinecones and a candle lantern hangs out from the door like a miniature arrangement. Steps: 1. Choose a small flat-backed basket with a handle, and line it with moss or tissue. 2. Arrange fir stems, pinecones and a battery candle inside, tallest at the back. 3. Hang the basket on a sturdy door hook, and check it clears the door frame when the door opens. Christmas door decoration ideas diy in basket form suit a covered porch door best, because the basket is sheltered from rain while it greets visitors.
Try it: Use a battery candle, never a real flame, in a door basket. A real candle on a door is a fire risk every time the door moves, while a battery candle glows safely all evening.
Handmade Table Decorations
10
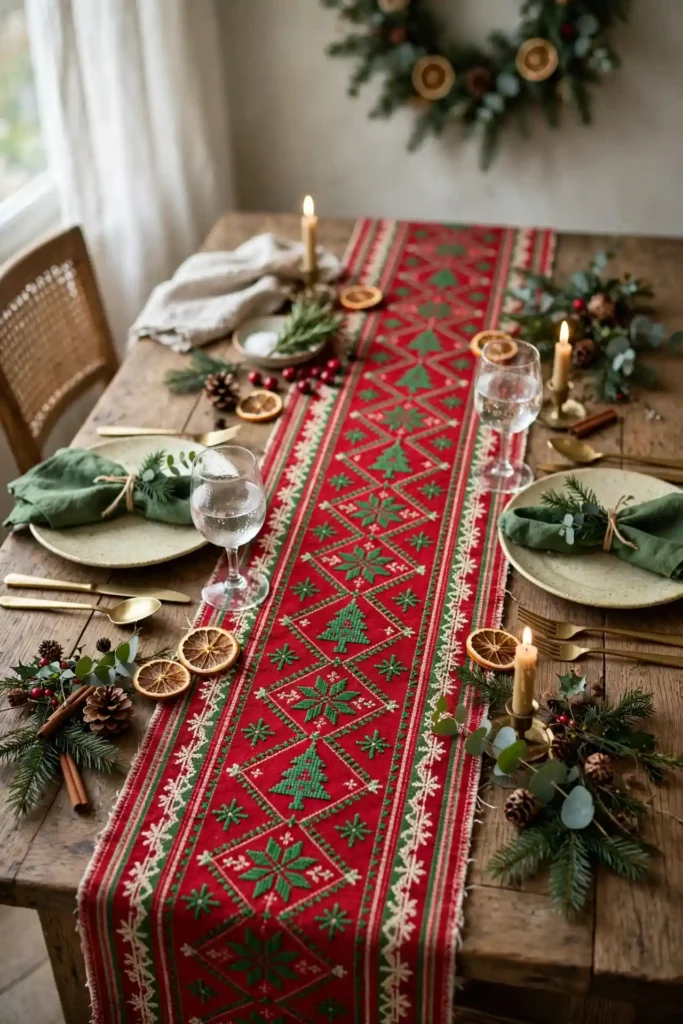
Handmade Fabric Table Runner
A Christmas table dressed only in a plain cloth can look like any dinner, because the cloth says nothing about the season. A handmade fabric table runner says Christmas, because a strip of festive fabric down the centre carries the whole table’s colour scheme. Steps: 1. Cut a strip of festive cotton fabric to your table length plus 30 cm overhang at each end, and wide enough to sit under the centrepiece. 2. Hem all four edges, and press the runner flat. 3. Lay the runner down the centre of the table, and arrange the centrepiece and candles on top of it. Diy christmas decorations for table in runner form suit a dining table best, because the runner frames everything else on the table without taking up a place setting.
Try it: Hem the runner before it goes on the table, and press it flat. A runner hemmed on the table bunches under the centrepiece, while a runner hemmed and pressed first lies smooth.

11
Felt Napkin Rings
A table set with bare napkins can look unfinished, because the napkins lie flat with nothing to hold them. Felt napkin rings finish each place, because a small felt ring around each napkin reads as a deliberate detail at every seat. Steps: 1. Cut strips of red or green felt, about 15 cm long and 4 cm wide, one per place. 2. Sew or glue each strip into a ring, and glue a small felt holly leaf and berry to the front of each ring. 3. Roll each napkin, slide a ring over it, and set one at every place. Diy christmas table decorations ideas in napkin ring form suit a family Christmas dinner best, because the rings cost almost nothing and every guest gets one to take home.
Try it: Glue the holly decoration on after the ring is closed, not before. A decoration glued before closing sits crooked when the ring is sewn, while a decoration glued last sits square on the front.
12
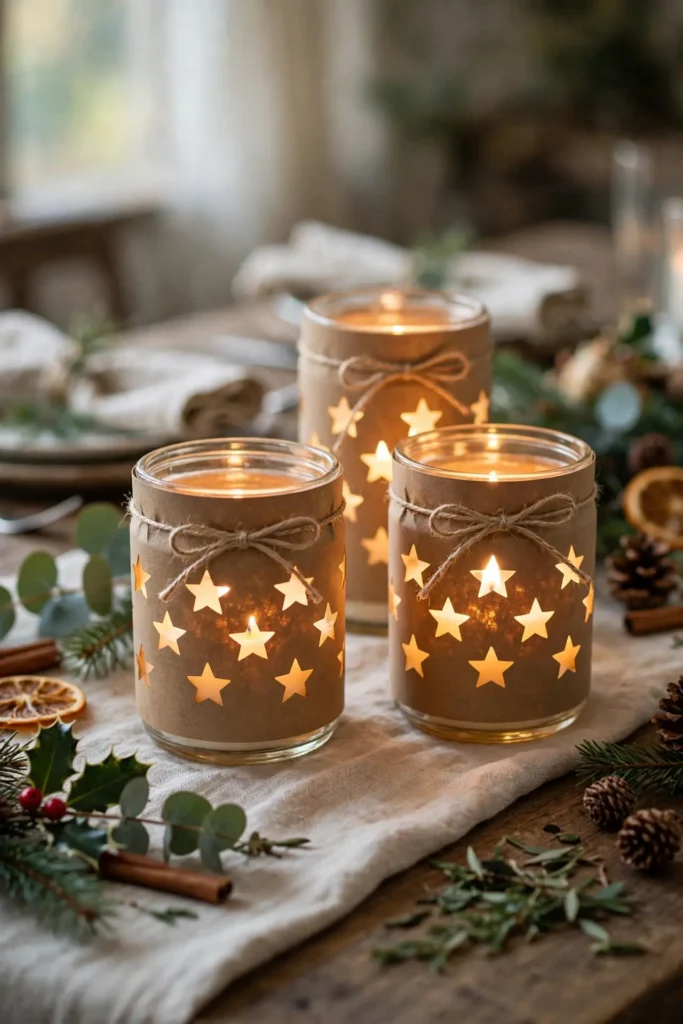
Candle Jar Sleeves
A table lit by bare jam jars can look like a storage shelf, because plain glass gives no festive finish. Candle jar sleeves fix that, because a paper or fabric sleeve around each jar turns it into a lantern. Steps: 1. Measure a jar’s height and circumference, and cut a sleeve of kraft paper or thin fabric to fit, leaving 1 cm overlap. 2. Cut small star or tree shapes out of the sleeve so candlelight shines through the cutouts. 3. Wrap the sleeve around the jar, glue the overlap, and place a battery candle inside. Diy christmas table centerpiece ideas in sleeve form suit a dinner table best, because the sleeves glow softly without taking up centrepiece space.
Try it: Use a battery candle inside a sleeved jar, never a real flame near paper. Paper sleeves and real flames do not mix, while a battery candle glows through the cutouts just as warmly.
Handmade Wall Decorations
13
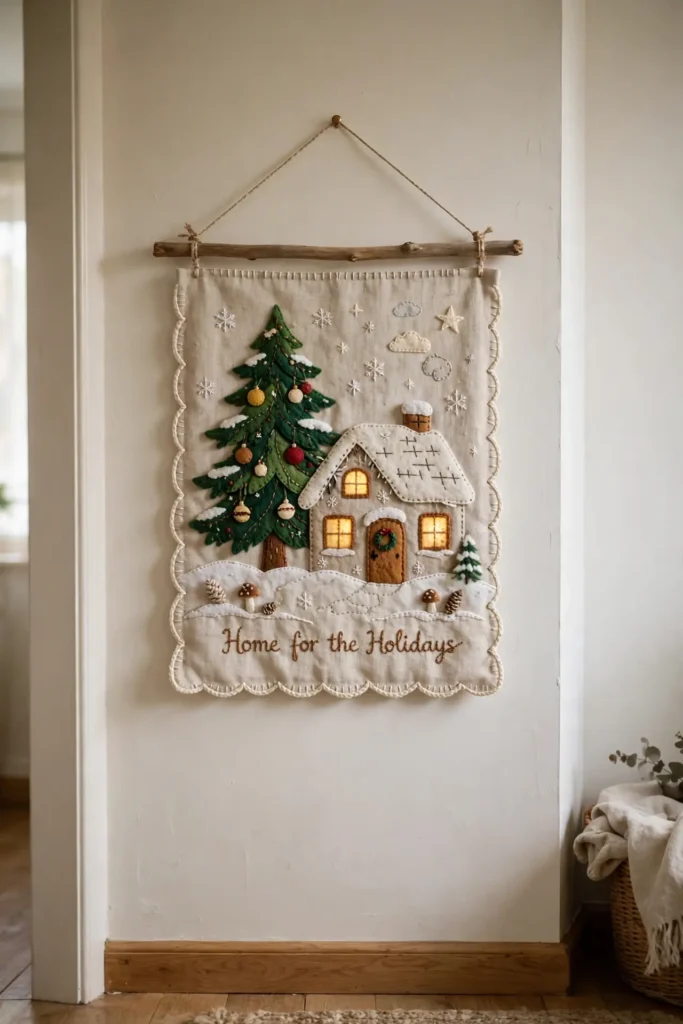
Fabric Christmas Wall Hanging
A bare hallway wall at Christmas can look forgotten, because every other surface is dressed and the wall is not. A christmas wall hanging handmade from fabric fixes that, because a stitched panel with a tree, star or village scene turns a blank wall into a decoration. Steps: 1. Cut a backing panel of plain fabric, and cut simple tree, star and house shapes from contrasting felt. 2. Sew or glue the shapes onto the backing in a simple scene, keeping the design bold enough to read from across the room. 3. Sew a dowel sleeve at the top, thread a dowel through it, and hang the panel on a wall hook. A christmas wall hanging handmade suits a hallway or stair wall best, because the panel fills a wall that a wreath or garland cannot.
Try it: Keep the scene bold and simple, with three or four large shapes. A wall hanging crowded with small details reads as clutter from across the room, while a few large shapes read clearly.
14
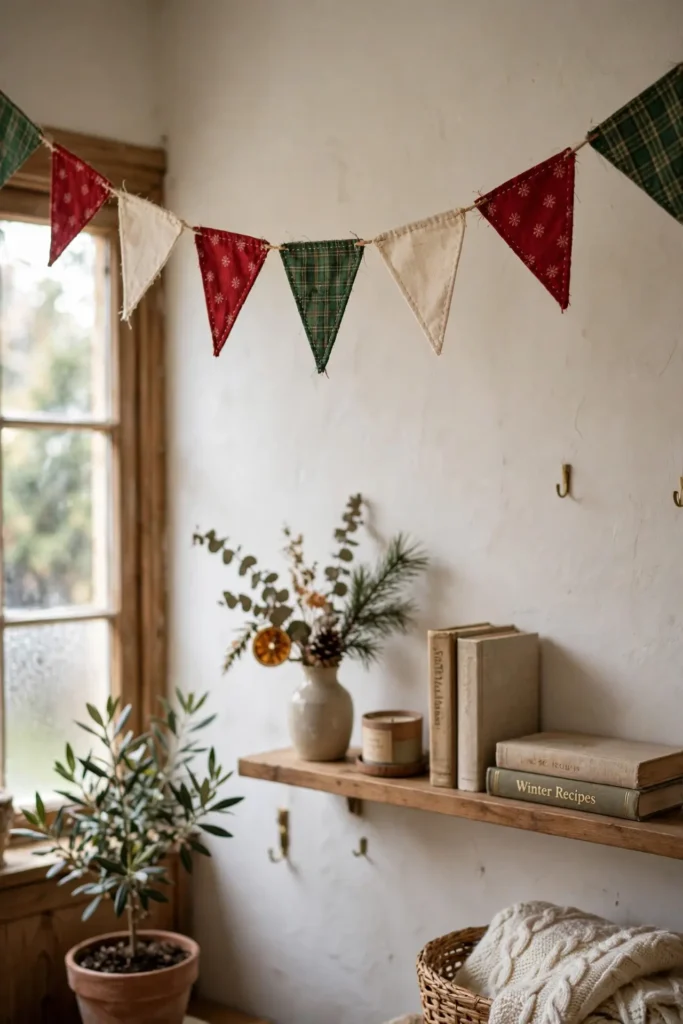
Christmas Bunting
A long bare wall or a fireplace surround can look empty between decorations, because the eye finds nothing to follow along it. Diy christmas bunting fills the gap, because a string of triangle flags leads the eye along the wall like a garland. Steps: 1. Cut triangle flags from festive fabric or card, about 15 cm wide, in two or three alternating patterns. 2. Fold the top edge of each flag over a length of ribbon and glue or stitch it in place, spacing the flags evenly. 3. Hang the bunting along the wall or mantel, fixing it at both ends and in the middle so it dips gently. A diy christmas bunting suits a hallway, a kitchen wall or a mantel best, because the flags fill a long space that single decorations cannot.
Try it: Space the flags evenly, with the same gap between every pair. Uneven gaps make the bunting look thrown up, while even spacing reads as a designed decoration.

15
Pocket Advent Calendar Wall Hanging
A wall with a bought advent calendar can look like a shop display, because the calendar arrives printed and flat. A pocket advent calendar wall hanging is a decoration in itself, because twenty-four small fabric pockets sewn onto a panel count down December on the wall. Steps: 1. Cut a backing panel of sturdy fabric, and cut twenty-four small pocket rectangles from contrasting fabric. 2. Sew three edges of each pocket to the backing, leaving the top open, in four rows of six. 3. Number the pockets, hang the panel on the wall, and fill each pocket with a small treat or note. Diy christmas decorations indoor in advent form suit a family hallway best, because the calendar is used every morning and seen all day.
Try it: Sew the pockets on before the panel is hung, and number them after sewing. Numbers sewn before the pockets are placed end up crooked, while numbers added last sit straight on each pocket.
Handmade Window Decorations
16
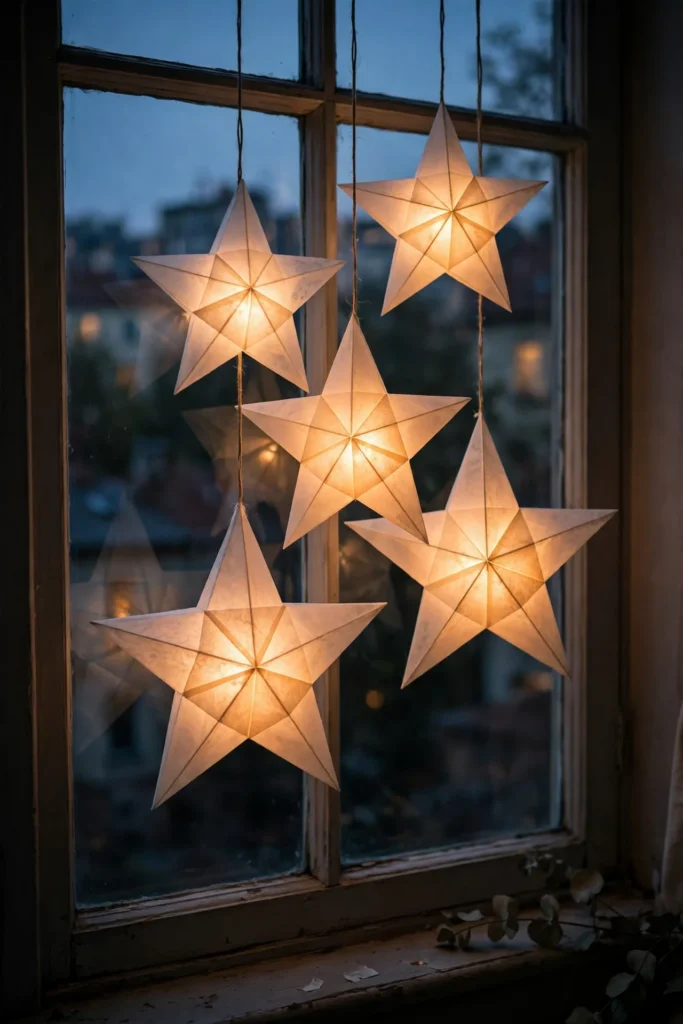
Folded Window Stars
A window at Christmas can look dark from the street, because the glass shows only the room behind it. A diy christmas star in the window glows, because folded paper stars hung in the glass catch the room light and show outside. Steps: 1. Fold translucent paper into star points, following a window star pattern, using eight identical points per star. 2. Glue the points together into a full star, and add a hanging loop of thread. 3. Hang one star in each window, centred in the glass, where light from the room shines through it. A diy christmas star suits a front window best, because the star is the decoration neighbours see after dark.
Try it: Fold every point exactly the same size, and crease sharply. Points of mixed sizes will not join into a clean star, while identical points with sharp creases lock together neatly.
17
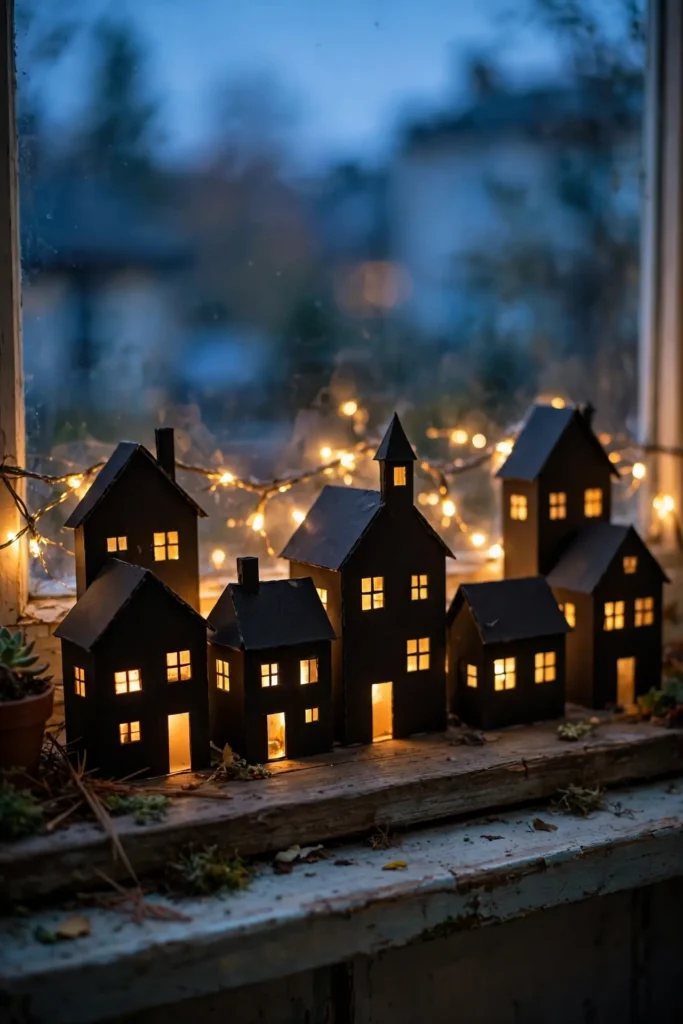
Windowsill Village Silhouette
A windowsill at Christmas can look like a shelf of clutter, because small objects pile up with no theme. A windowsill village silhouette gives the sill a theme, because a row of card house shapes with lit windows reads as a tiny village from the street. Steps: 1. Cut a row of simple house shapes from dark card, varying the heights, and cut small window rectangles out of each house. 2. Tape tissue paper behind the windows, and stand the row along the windowsill. 3. Place a string of fairy lights behind the row, so the windows glow, and keep the lights clear of curtains. A christmas star handmade in village form suits a front room windowsill best, because the glowing windows are seen from the street all evening.
Try it: Keep the fairy lights behind the card, never in front of it. Lights in front wash out the silhouette, while lights behind make the windows glow like a real village.
Handmade Hall Decorations
18
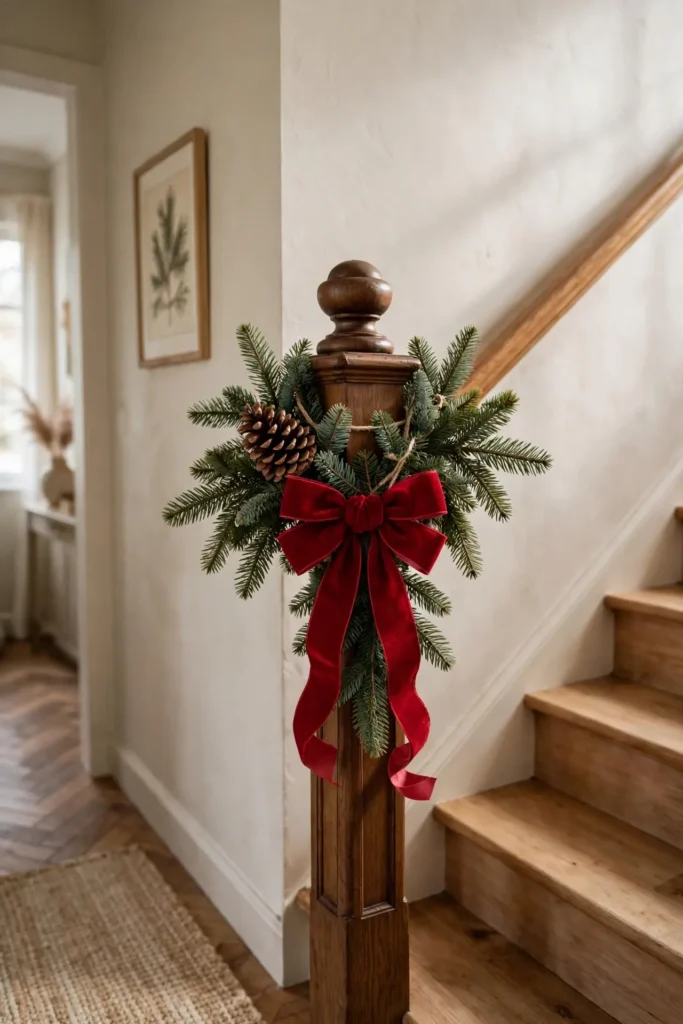
Newel Post Topper
A staircase at Christmas can look half dressed, because the banister is garlanded and the newel post at the bottom is bare. A newel post topper finishes the stairs, because a bunch of greenery, pinecones and a big bow crowns the post like a full stop. Steps: 1. Gather fir stems, a pinecone and a sprig of berries into a bunch, and bind the stems with twine. 2. Tie a large bow over the binding, and add a hanging loop at the back. 3. Fix the bunch to the top of the newel post with twine, and check it does not block the handrail. Diy christmas decorations in newel form suit a hallway staircase best, because the post is the first thing a visitor touches on the way up.
Try it: Fix the topper so it does not block the handrail. A topper tied over the rail is a trip hazard on the stairs, while a topper fixed to the post top leaves the rail clear.
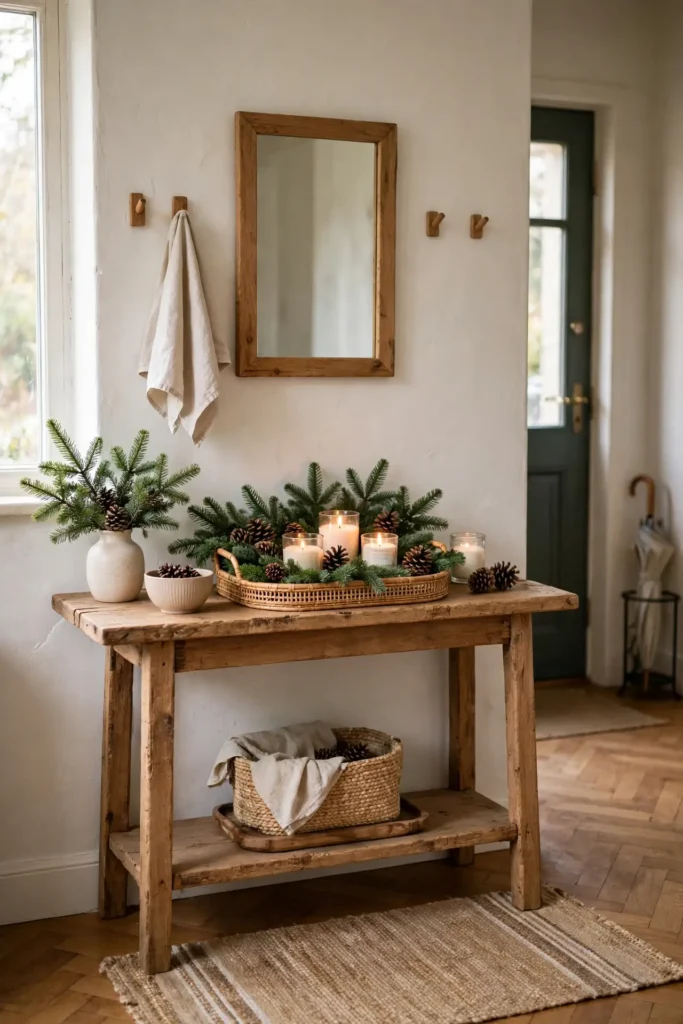
19
Hallway Console Arrangement
A hallway console table at Christmas can look like a dumping ground, because keys, post and bags pile up on it. A hallway console arrangement claims the table back, because a tray of greenery, candles and pinecones turns it into a display. Steps: 1. Clear the console, and set a tray or a folded runner down its centre. 2. Arrange a small fir bunch, two candle jars and three pinecones on the tray, tallest at the back. 3. Add a small framed photo or a wooden star, and keep the arrangement to one end if the console is also used daily. Homemade christmas decorations in console form suit an entrance hall best, because the console is the first surface visitors see when they come in.
Try it: Keep the arrangement on a tray, not loose on the table. A tray corrals the greenery and the candle wax, while a loose arrangement spreads across the whole console.
Handmade Porch Decorations
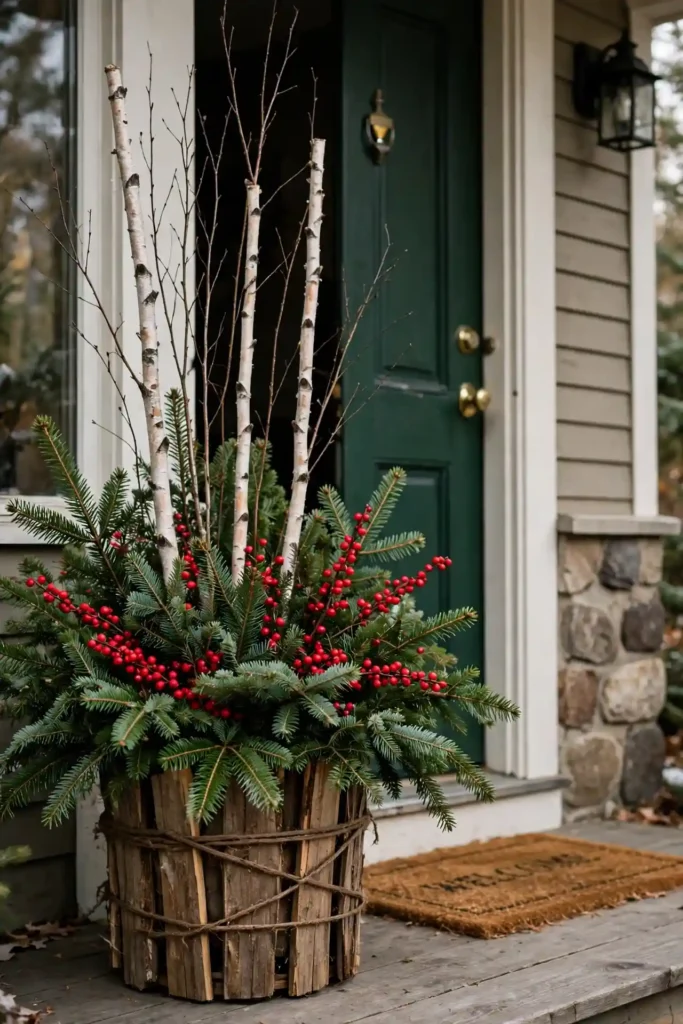
20
Handmade Porch Planter
A porch at Christmas can look bare, because the summer plants are gone and the pots stand empty. A diy christmas decor outdoor planter fills the pots, because fir branches, red berries and a birch twig bundle turn an empty pot into a winter arrangement. Steps: 1. Fill the pot with soil or foam, and push in three tall birch twigs at the back. 2. Add fir branches around the twigs, angled outward, and push in red berry stems between them. 3. Tie a bow around the pot rim, and water nothing, since the arrangement is decorative, not planted. A diy christmas decor outdoor planter suits a front porch best, because the planter frames the door before any visitor reaches it.
Try it: Angle the fir branches outward, not straight up. Branches pushed straight up look like a bundle of sticks, while branches angled outward read as a full arrangement.
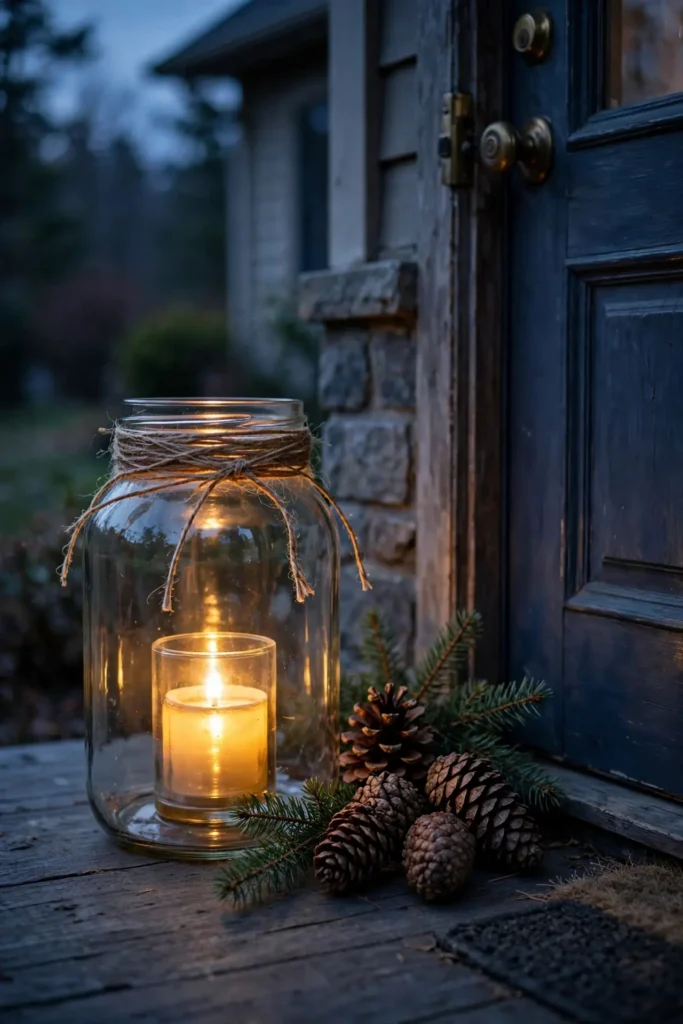
21
Handmade Porch Lantern
A porch at night can look dark, because the porch light alone gives no festive glow. A diy christmas decorations lantern adds the glow, because a jar or frame lantern with a candle inside lights the porch warmly. Steps: 1. Take a large glass jar or an open frame lantern, and wrap twine around its neck with a bow. 2. Place a battery candle inside, and add a few pinecones and a fir sprig around its base. 3. Set the lantern beside the door, sheltered from wind, and switch it on at dusk. A diy christmas decorations lantern suits a porch step best, because the lantern guides visitors to the door after dark.
Try it: Use a battery candle in a porch lantern, and shelter it from wind. A real candle blows out on a porch, while a battery candle glows steadily all evening.
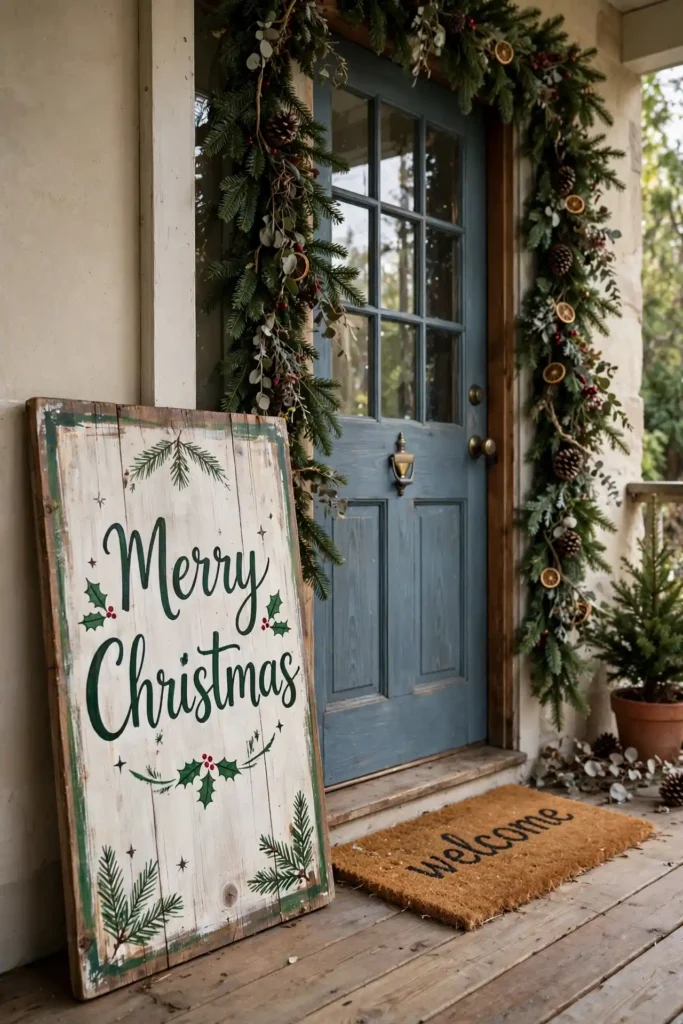
22
Wooden Porch Sign
A porch dressed in greenery can still look anonymous, because nothing on it says a greeting. A wooden porch sign says it, because a painted board leaning by the door reads a welcome in plain words. Steps: 1. Cut or buy a tall narrow board, sand it smooth, and paint it in a festive colour. 2. Paint or stencil a greeting down the board in contrasting paint, and add a small painted star or tree at the top. 3. Seal the board with outdoor varnish, and lean it beside the door where it does not block the path. Diy christmas outdoor decorations ideas in sign form suit a front porch best, because the sign is the first greeting a visitor reads.
Try it: Seal the sign with outdoor varnish, and lean it where it does not block the path. An unsealed sign warps in rain, while a sealed sign leaning clear of the path lasts all season.
Pro tip: Make one decoration per zone before you make a second for any zone. A house with one handmade piece on the tree, the mantel, the door and the table reads as decorated, and a house with five pieces on the tree and nothing elsewhere reads as a decorated tree.
Three rules for handmade decorations that look intentional, not thrown together
Most handmade christmas decorations look unfinished for the same three reasons, and all three are fixable.
- First, finish every edge. A tree skirt with a raw hem, a banner with loose threads and a wreath with a bare back all read as rushed, while edges hemmed, sealed and neatened read as made with care, because the edge is what the eye checks first.
- Second, decorate by zone. A house with five pieces in one zone and nothing elsewhere looks half done, while a house with one piece in every zone looks complete, because the eye travels the whole house, not one corner.
- Third, keep one palette per house. A house in one colour family, with one accent at most, reads as designed, while a house in five mixed craft colours reads as a craft fair stall, because the eye spots the jumble at once.
Storing and reusing your handmade Christmas decorations
Handmade Christmas decorations last for years if you store them properly, and the storage step is part of the making, not an afterthought.
- First, store each decoration separately. A handmade piece knocked against others chips, cracks and loses glitter, so wrap each one in tissue and box it on its own.
- Second, keep fabric decorations dry. Tree skirts, stockings, runners and wall hangings warp and mould in damp, so store them in a dry cupboard with a silica packet, away from lofts that leak.
- Third, label the box with the zone inside. A box labelled with the zone and the year saves the January hunt, while an unlabelled box means opening every box to find one decoration, and a labelled box also tells you which pieces need re-sealing next year.
Questions readers ask
What is the easiest handmade christmas decoration to make?
The easiest handmade christmas decoration to make is christmas bunting or felt napkin rings, because both need only fabric or card, scissors and glue, and take under an hour with no special tools. Start with the bunting, since cutting triangles and gluing them to ribbon is the whole job and a mistake costs one flag.
How do you make handmade christmas decorations at home?
You make handmade christmas decorations at home by choosing one zone, tree, mantel, door, table, wall, window, hall or porch, gathering the matching supplies, and following numbered making steps through cutting, sewing, assembling and finishing. A handmade christmas decoration starts with the zone, not the project, since the zone decides the size, the materials and where the piece will hang.
What supplies do I need to start making christmas decorations?
You need fabric, felt, card, glue, ribbon, paint and a clear sealant to start making christmas decorations, plus the zone’s own supplies, fir branches for garlands and wreaths, a dowel for a wall hanging, or a board for a porch sign. A beginner kit of those basics covers most of the 22 ideas in this list.
How do you make a handmade christmas wreath that lasts?
You make a handmade christmas wreath that lasts by binding the branches in one direction with florist wire, wiring in every pinecone and berry instead of gluing them, and hanging the wreath sheltered from wind and rain. A wreath bound and wired this way keeps its shape all season, while a glued wreath sheds its decorations at the first gust.
Can kids make handmade christmas decorations safely?
Yes, kids can make handmade christmas decorations safely, and the best projects for children are bunting, felt napkin rings, paper window stars and ornament strand garlands, because each uses safe materials and no sharp tools. Keep hot glue, cutting tools and glitter to adults, and let children handle the cutting, painting and decorating steps.
How long do homemade christmas decorations last?
Homemade christmas decorations last for years when they are finished properly, sealed where needed, and stored separately in tissue in a dry cupboard. A sealed wooden sign or a hemmed tree skirt lasts for decades, while an unsealed paper star in damp storage may last only one season.
How do you hang handmade decorations without damaging walls?
You hang handmade decorations without damaging walls by using adhesive hooks rated for the weight, picture rail hooks where they exist, and freestanding pieces like porch signs and console arrangements where no hook is needed. A decoration hung on a rated hook comes down clean in January, while a nailed decoration leaves a hole to fill.
How do I store handmade decorations so they do not break?
You store handmade decorations so they do not break by wrapping each one separately in tissue, boxing it on its own, and keeping the box in a dry cupboard away from sunlight and weight. Stored this way, fabric, wood and card decorations last for many seasons, while decorations stored loose in a shared box chip and crush within a year.
People Also Ask
What is the most popular handmade christmas decoration?
The most popular handmade christmas decoration is the handmade wreath, followed closely by the handmade garland and the handmade tree skirt, because a wreath suits every door, a garland suits every mantel, and a tree skirt suits every tree. Handmade christmas decorations in wreath, garland and skirt form dominate the craft lists, since all three methods work for beginners and experienced makers alike.
How much do handmade christmas decorations cost to make?
Handmade christmas decorations cost $2 to $20 each in most cases, with bunting and napkin rings at the lower end and hand sewn tree skirts at the higher end. Making a full set for one zone usually lowers the per-piece price, since supplies like felt, fabric and ribbon stretch across many decorations.
What handmade christmas decorations should beginners avoid?
Beginners should avoid folded window stars and pocket advent calendars on a first attempt, because each of those needs precise folding or many small sewn pockets to look clean. Start with bunting, a mantel letter banner and a porch planter, and save window stars and advent calendars for a second season.
loved these ideas? ✿
Save this guide for later
Pin it to your board so it’s there when you’re ready to recreate it.

Curated by
Hey! I'm Sanaullah — visual curator and content creator. I search, curate, and test the best aesthetic ideas across Pinterest so you can easily transform your living space, style daily outfits, and try simple creative DIYs without the overwhelm.